How to Draw a Tree
Welcome to our simple guide on how to draw a tree from scratch. Whether you are a kid or an adult picking up a pencil for the first time, this tutorial is made just for you. Drawing a tree is easy and fun when you break it down into basic shapes. Let's get started on your creative journey!
- Easy
- 15 Minutes
- Ages 4+
- nature
- plants
- outdoors
- beginner
What You Will Learn
In this simple lesson, you will learn how to draw a tree by using easy lines and curves. We will start with a sturdy trunk and slowly build up a big, bushy canopy of leaves. This beginner-friendly method makes creating plant shapes a total breeze for anyone.

How to Draw a Tree Step by Step
- 1Step 1 of 9
Draw the trunk sides
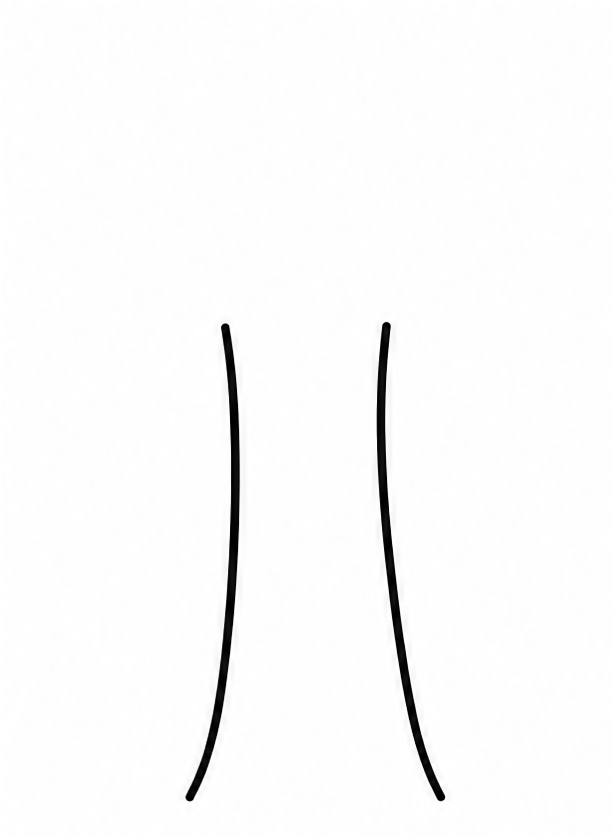
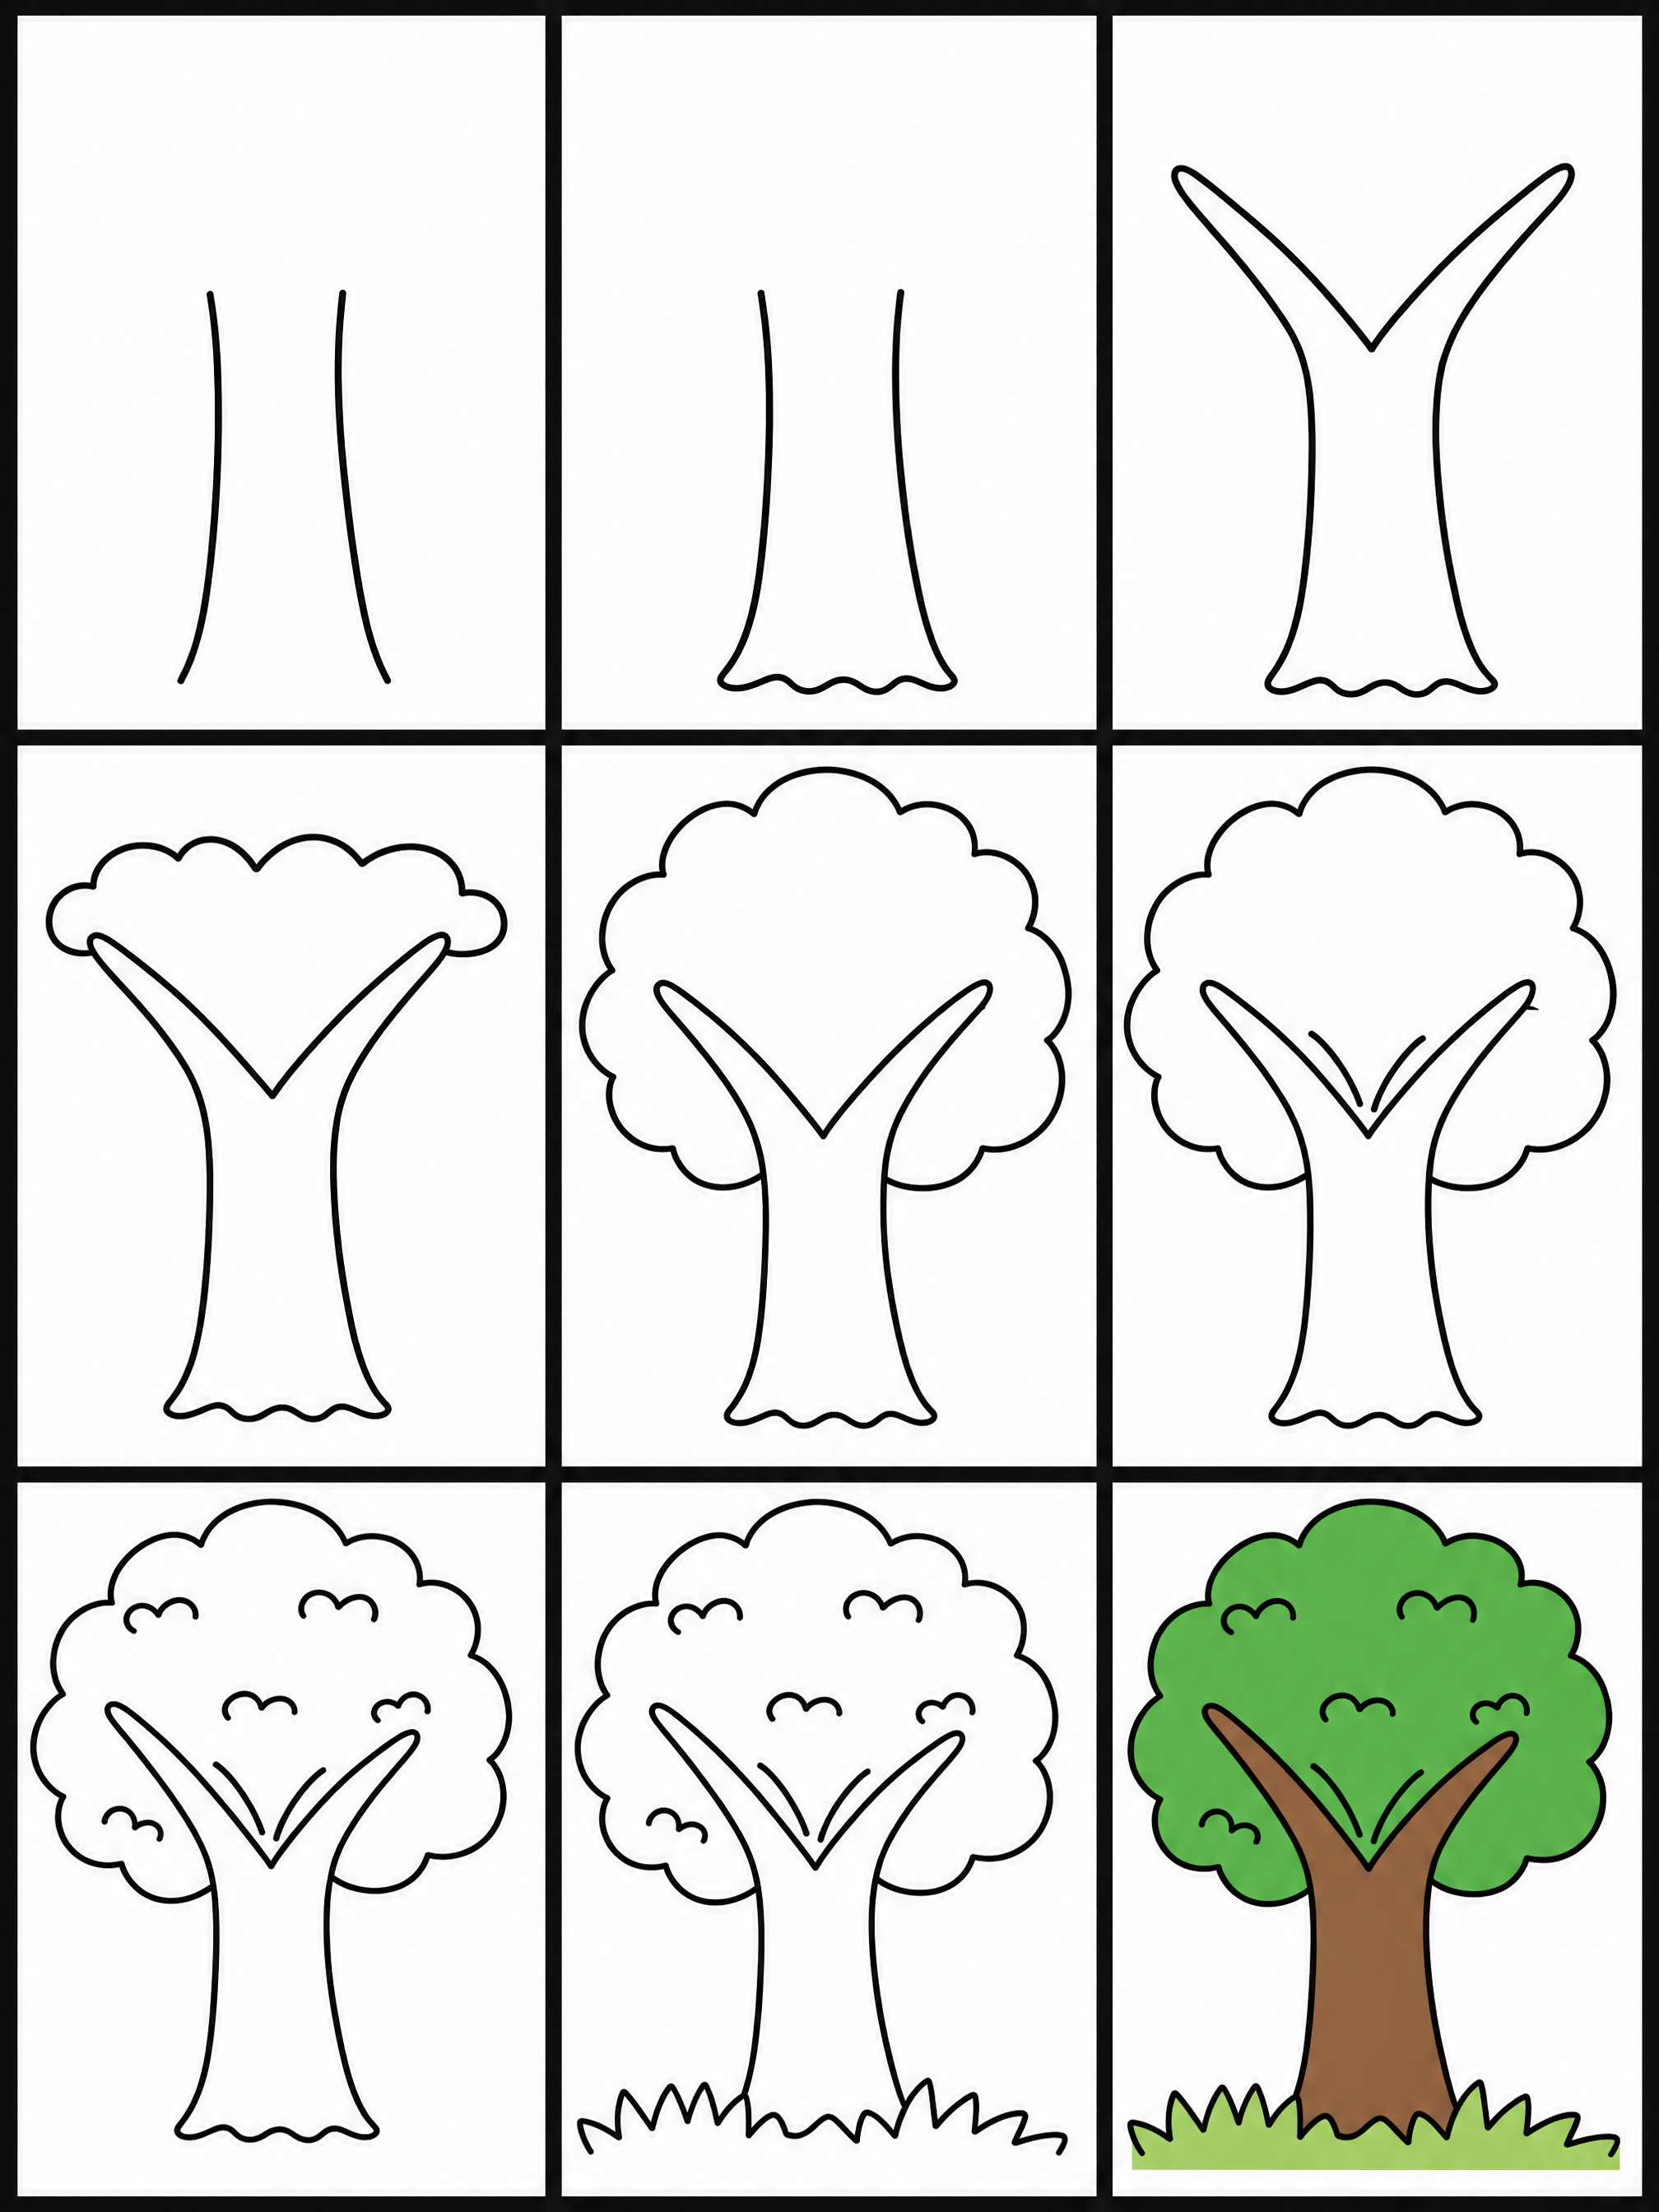
Let's begin learning how to draw a tree by making the trunk. Draw two long, slightly curved vertical lines near the bottom of your paper. Make them a little wider at the very bottom and closer together at the top.
Tip: Press lightly with your pencil so you can easily erase any small mistakes later on.
- 2Step 2 of 9
Connect the bottom base
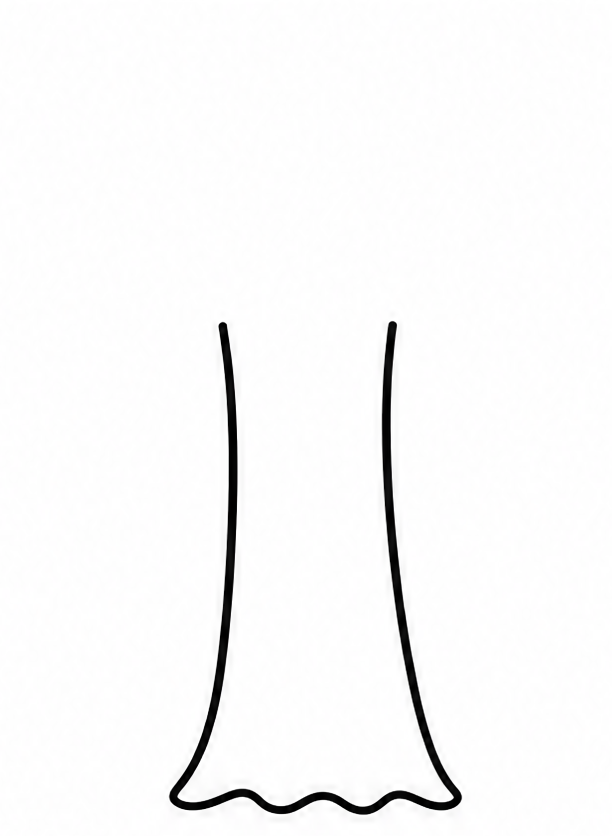
Now, connect the bottom of your two long lines with a short, wavy horizontal line. This simple step creates the strong roots at the very base of your drawing. It gives your tall trunk a flat, solid area to stand perfectly on the ground.
Tip: A wavy line makes the roots look much more natural than a perfectly straight line.
- 3Step 3 of 9
Add a branch split
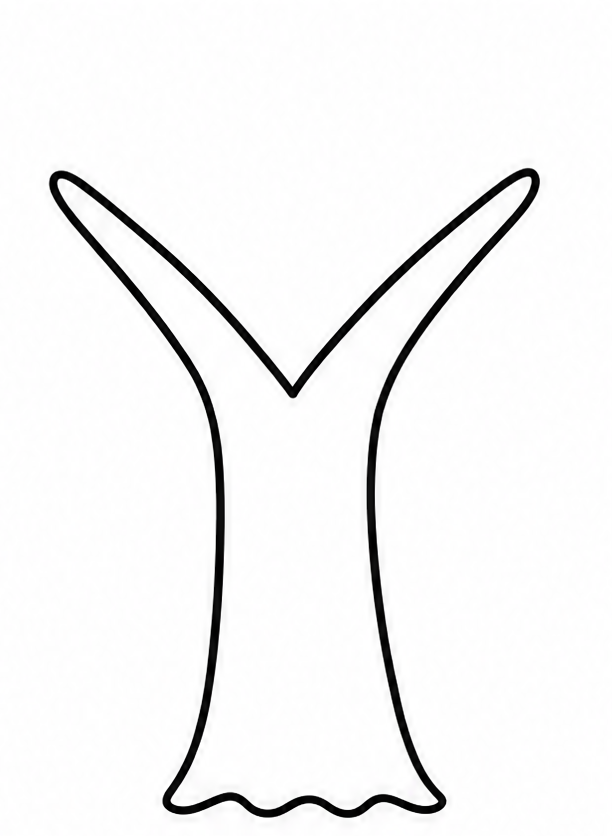
At the top of your trunk lines, draw a wide, open "V" shape to split the wood. This creates the main area where the heavy branches start to grow outwards. The lines should connect smoothly and easily from the lower trunk sides.
Tip: Think of it like drawing a large capital letter Y right at the top.
- 4Step 4 of 9
Draw bottom leaf canopy
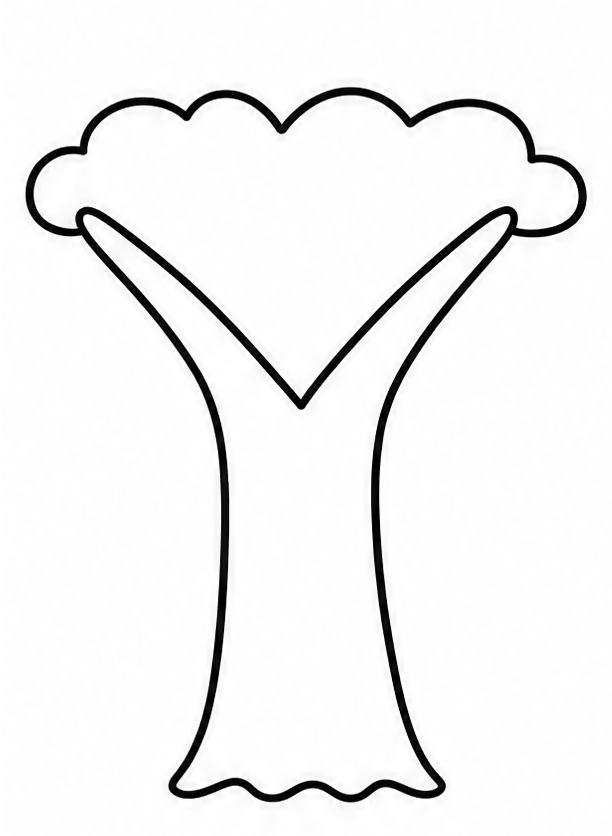
Next, start building the green leaves by drawing a wide, bumpy line right above the branches. Use lots of small, connected curves that look exactly like the bottom half of a fluffy cloud. This forms the sturdy base of your tree canopy.
Tip: Make the little curves different sizes for a fun, bouncy, and highly natural look.
- 5Step 5 of 9
Finish the big top
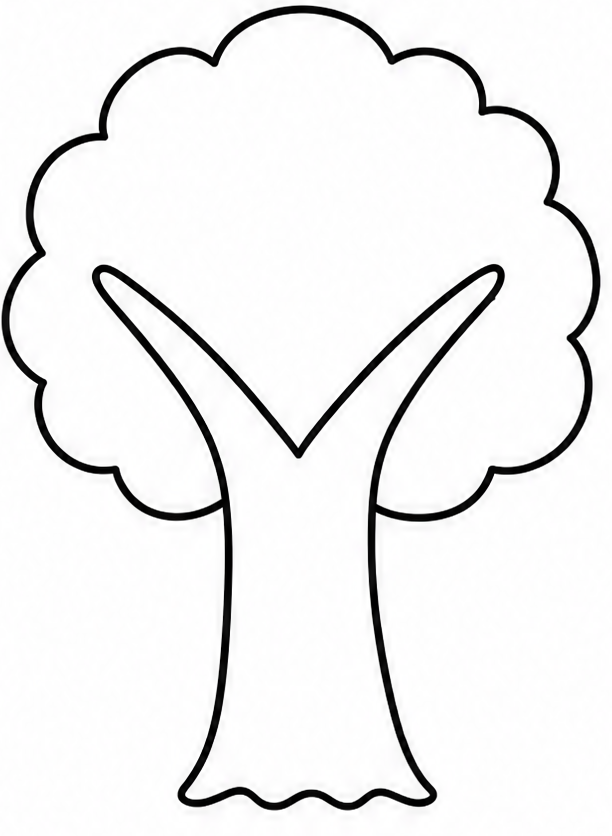
Keep adding more bumpy, connected curves to form the rest of the thick leaf canopy. Draw a huge half-circle of fluffy curves that goes all the way up and around. Bring the line right back down to connect with the bottom canopy line.
Tip: Imagine you are drawing the top half of a giant piece of popcorn!
- 6Step 6 of 9
Add inner branch lines
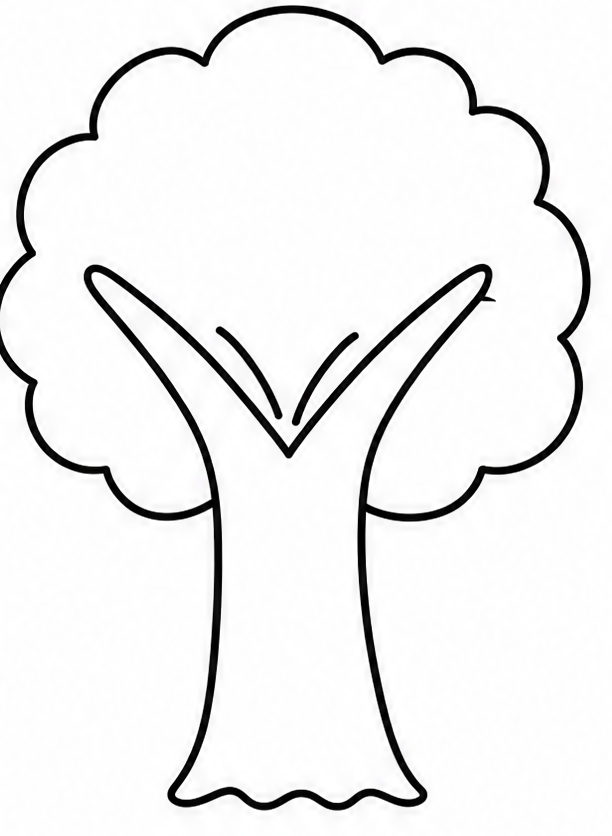
To make the trunk look even better, draw a few short, curved lines inside the main trunk area. Place them right where the wood splits into the open "V" shape. This adds a nice, easy touch of detail to your tree drawing.
Tip: Keep these inside detail lines very short and simple so they do not look cluttered.
- 7Step 7 of 9
Draw inner leaf details
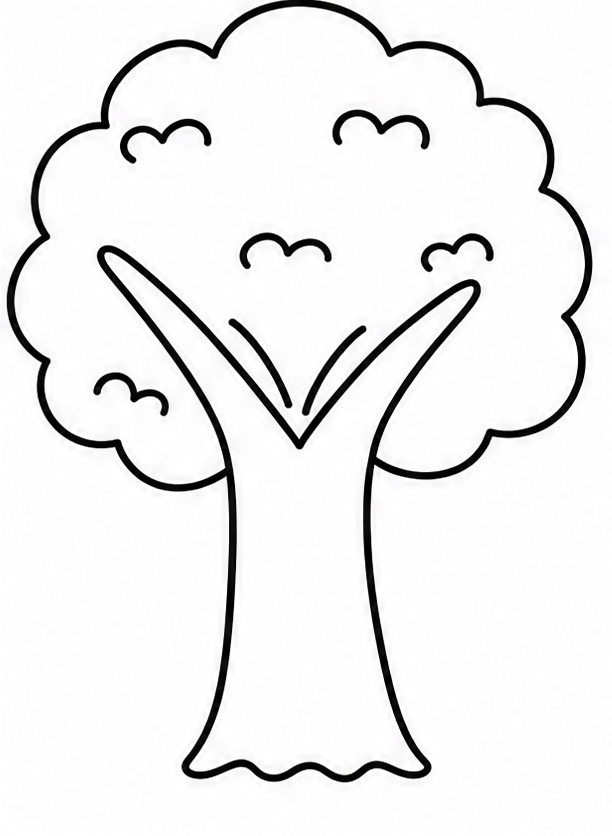
Add a few tiny, bumpy lines inside the large, leafy canopy area at the top. These small groups of curves help show where the thick leaves overlap each other. They make the top look big, bouncy, and full of wonderful life.
Tip: Just two or three little groups of bumps are plenty for this easy step!
- 8Step 8 of 9
Draw grass at the base
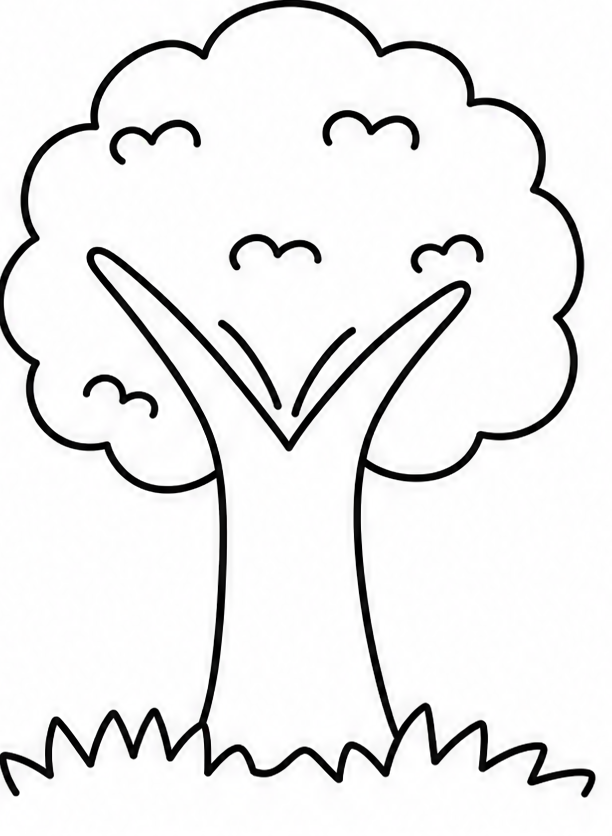
Give your tree a nice place to live by adding some fresh grass at the very bottom. Draw a few sharp, zigzag lines coming right out from the base of the trunk. This simple trick easily shows blades of grass hiding the bottom roots.
Tip: Draw the grass spikes pointing in slightly different directions to make them look real.
- 9Finished drawing
Add color and finish
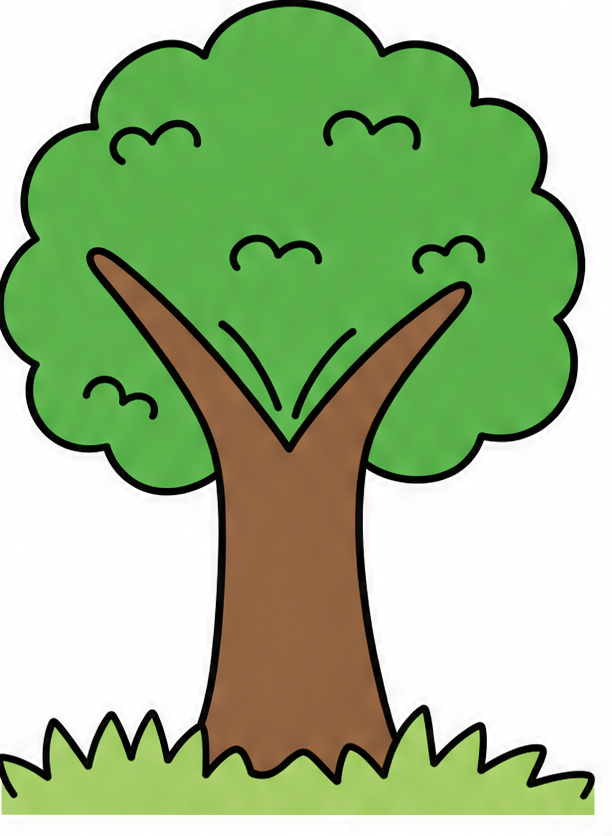
You have officially learned how to draw a tree from start to finish! Now it is time to add some color. Grab a brown crayon for the thick trunk and a bright green for the big leafy top. Add some light green for the grass!
Tip: Have fun using different shades of bright green to make your picture totally unique.
Draw Tree in 9 Easy Steps
Anyone can learn how to draw a tree — no drawing experience needed.
9
Simple steps
15 Minutes
Start to finish
Ages 4+
Great for
Fun Ways to Change Your Tree
Once you master the basic steps, try making your beautiful tree totally unique! You can change the shape of the leaves, make the trunk much taller, or add fun little details.
Tall Pine Tree
Make the trunk very straight and use sharp, zigzag triangles for the green leaves instead of round bumps.
Colorful Fall Tree
Draw fewer leaves on the branches and color them bright red, orange, and lovely yellow.
Sweet Fruit Tree
Add small, perfect circles all around the leafy canopy to show yummy apples or oranges growing.
Common Beginner Mistakes
Drawing a totally straight trunk
A wooden trunk looks much better with a slight curve instead of being perfectly straight up and down like a ruler.
Making the leaves too smooth
Real leaves are very bumpy and wild, so make sure to use lots of small curved bumps for the top canopy.
Forgetting the branches
Always remember to draw the open "V" shape in the middle so the top leaves have a strong place to sit!
How to Draw Tree: All 9 Steps at a Glance
Here is the whole tree drawing, step by step, in one picture — save it or print it to follow along.