How to Draw Eyes
Welcome to our fun guide on how to draw eyes! If you have ever felt stuck, do not worry because this tutorial breaks everything down into simple shapes. Discovering how to draw eyes on a face is totally doable for kids and beginners alike. Grab your pencils and let us get started right away.
- Easy
- 15 Minutes
- Ages 5+
- facial features
- kids drawing
- easy art
Making Your Drawing Simple
In this how to draw eyes tutorial, we use basic curved lines and circles. By taking it one step at a time, you will quickly master drawing these expressive shapes.

How to Draw Eyes Step by Step
- 1Step 1 of 9
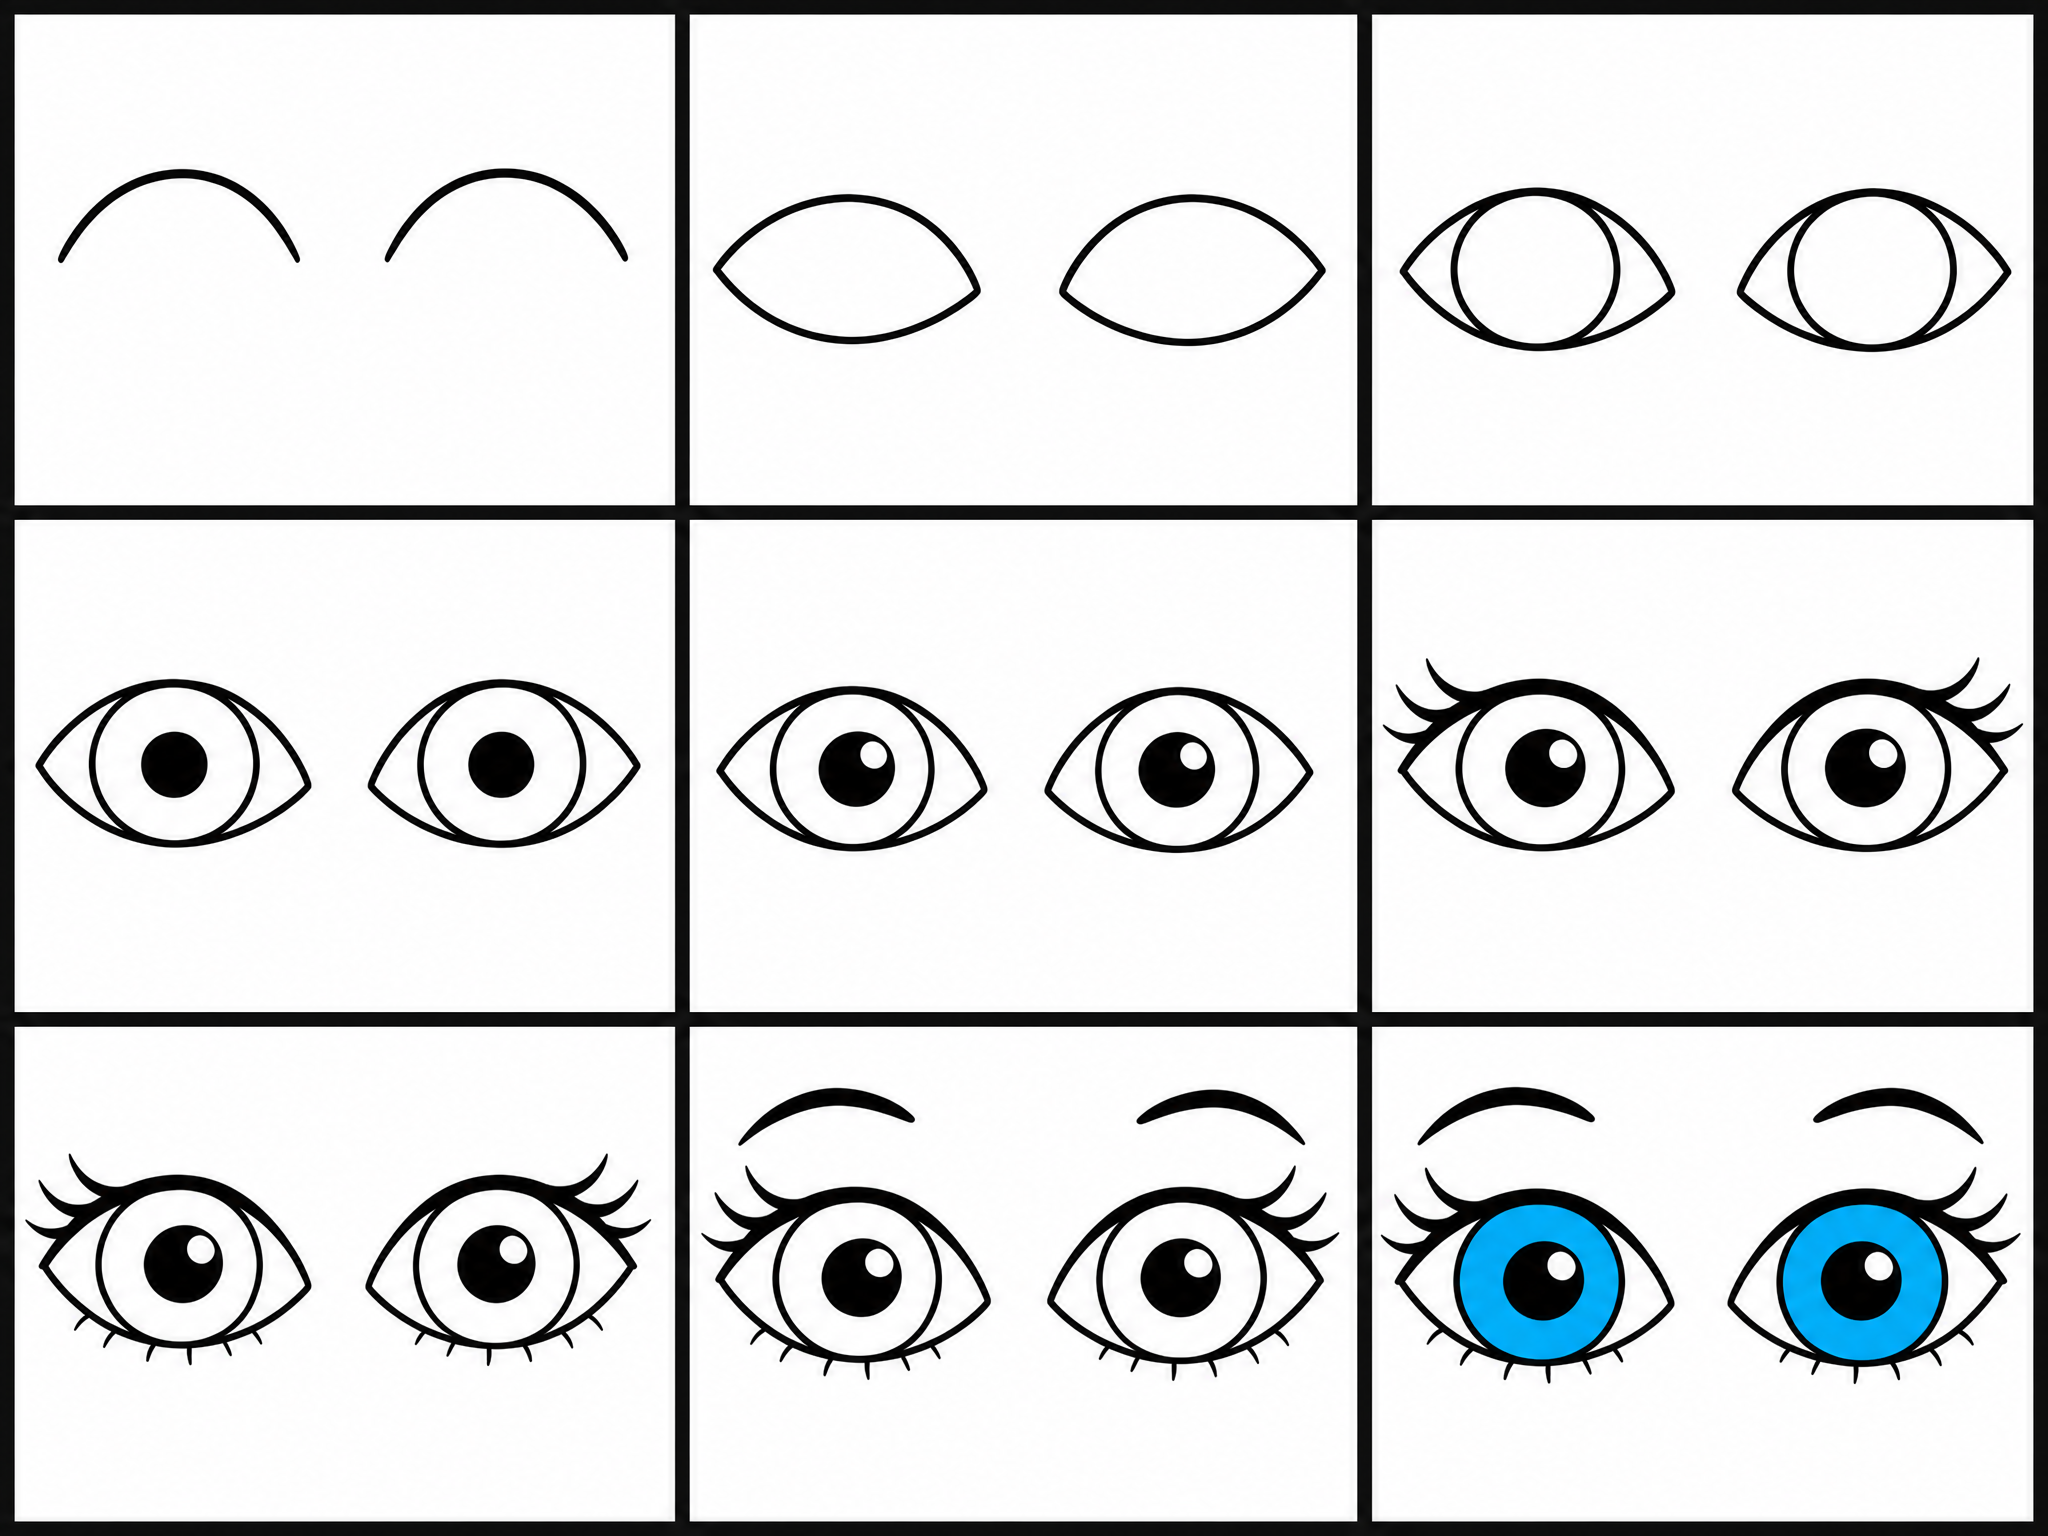
Draw the top curves
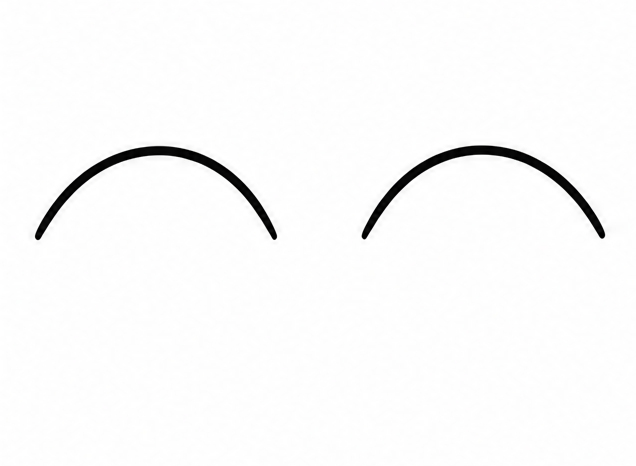
Start by drawing curved lines that look like small, gentle rainbows. These will be the top parts of your eyes. Keep your pencil strokes smooth and wide, making sure to leave enough space underneath to finish the rest of the drawing.
Tip: Draw lightly so you can easily fix any mistakes later.
- 2Step 2 of 9
Draw the bottom curves
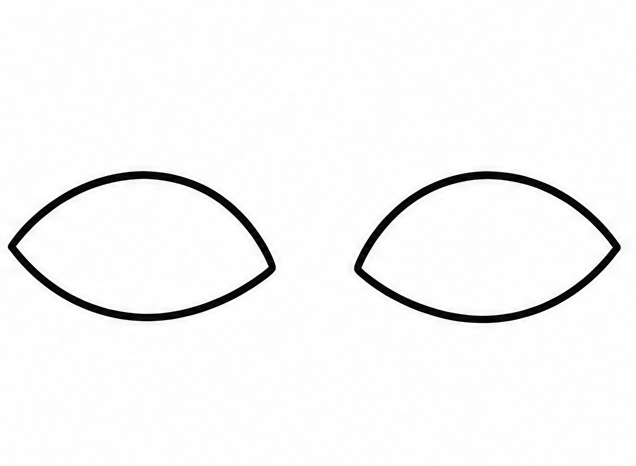
Now, add a slightly flatter curved line under each of the top rainbow shapes to close them. It should look like an almond or a lemon shape when you are done. Make sure the corners connect neatly at the edges.
Tip: The bottom curve is usually less round than the top.
- 3Step 3 of 9
Add the large circles
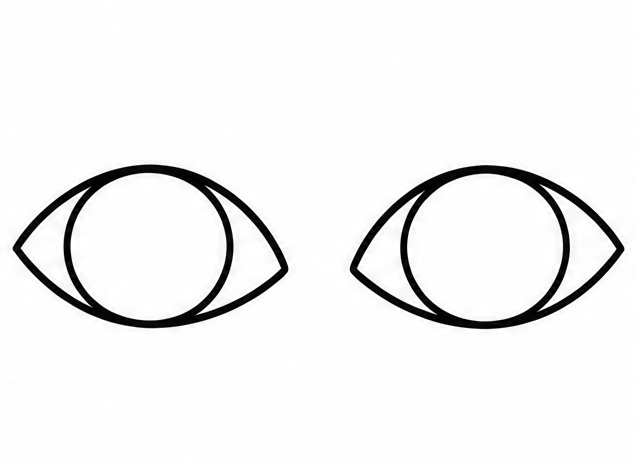
Inside each almond shape, sketch a large circle. This is the section that will hold your beautiful color later on. Let the top and bottom of your circle touch the edges of the almond shape so they sit inside perfectly naturally.
Tip: You can use a small coin to trace perfect circles!
- 4Step 4 of 9
Draw the dark centers
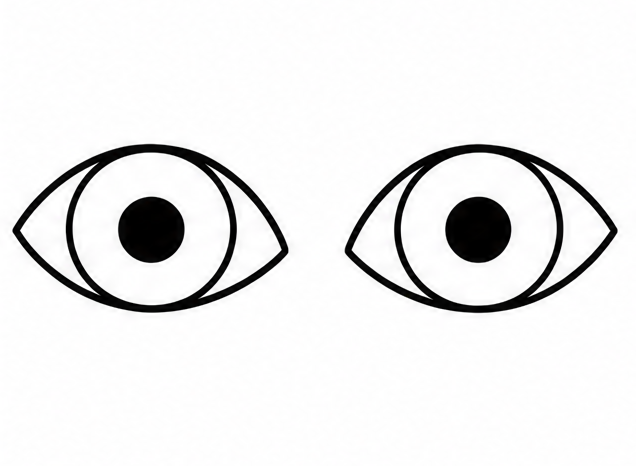
Right in the middle of those large circles, draw a smaller solid black circle. This dark center part helps bring your drawing completely to life. Take your time to make them match in size and shape as best as you possibly can.
Tip: Shade these inner circles entirely black with your pencil.
- 5Step 5 of 9
Create the shiny highlights
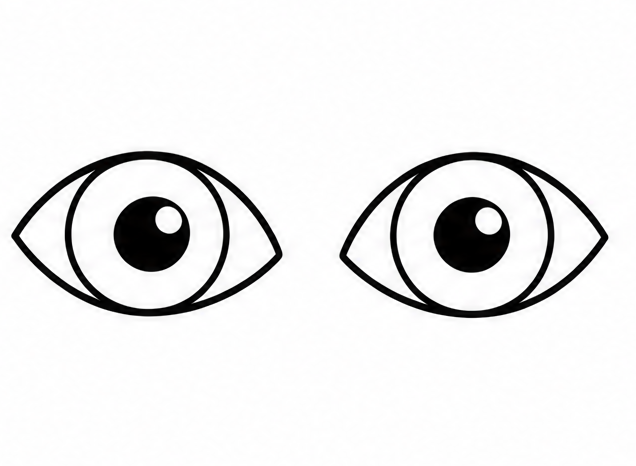
Let us make them sparkle! Draw a tiny circle near the top edge of each dark center. Leave these tiny shapes completely white to look like light is reflecting off them. It adds a wonderful bright spark to your artwork.
Tip: Little white spots make them look wet and shiny.
- 6Step 6 of 9
Add the upper eyelashes
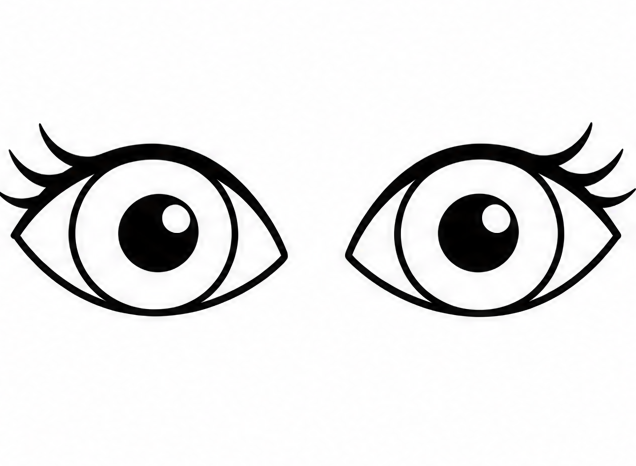
Next, make the top curved line a little thicker and darker with your pencil. Then, draw short, quick swooping lines flicking outward from the top edge. These neat lashes will beautifully frame your eyes and make them stand out.
Tip: Flick your pencil up and out to make natural-looking lashes.
- 7Step 7 of 9
Draw the bottom eyelashes
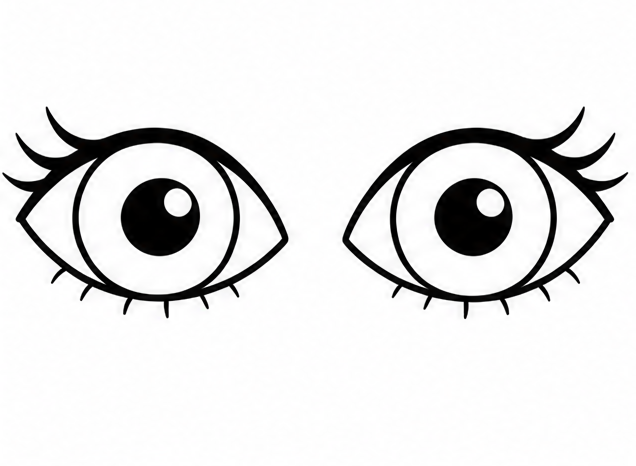
Add a few tiny, spaced-out lashes along the bottom curve. Keep these strokes much shorter and lighter than the top ones. Just a handful of tiny strokes will be plenty to complete the lovely lower edge of the shape.
Tip: Keep the bottom lashes gentle and very light.
- 8Step 8 of 9
Sketch the eyebrows
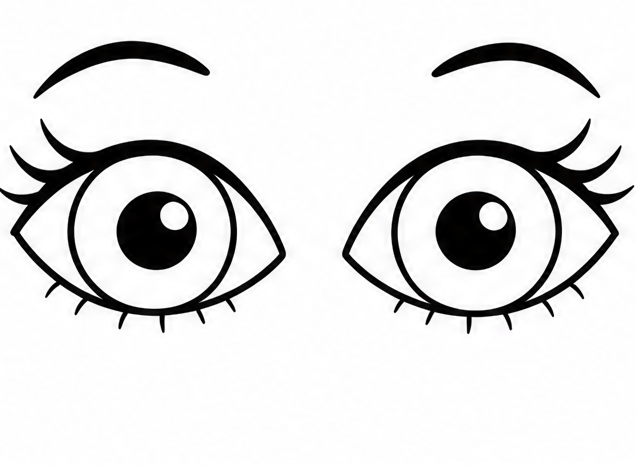
Draw a thick, curved shape floating above each eye to make the eyebrows. Start slightly thicker near the middle and let them taper to a neat point at the outer ends. This gives your drawing a very friendly and happy expression.
Tip: Eyebrows show lots of emotion, so curve them nicely.
- 9Finished drawing
Add simple color and finish
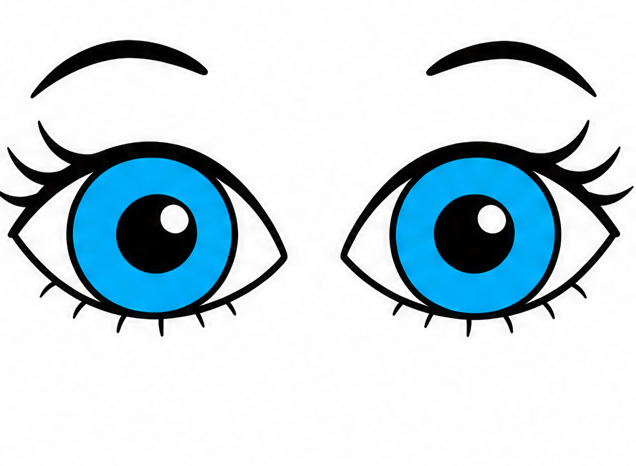
It is time for the final touch! Color the large circles with your favorite shades like blue, green, or brown. Leave the shiny spots white, and your amazing drawing is fully complete and ready to show off to your family.
Tip: Use gentle pressure with your colored pencils to shade smoothly.
Draw Eyes in 9 Easy Steps
Anyone can learn how to draw eyes — no drawing experience needed.
9
Simple steps
15 Minutes
Start to finish
Ages 5+
Great for
Fun Ways to Change Your Drawing
Once you know how to draw eyes, you can try mixing things up. Changing the shapes slightly will give totally new and fun expressions.
Sleepy Shape
Draw the top curve much lower so they look half-closed and very tired.
Winking Shape
Draw one side totally closed with a single curved smiling line and lovely lashes.
Happy Curves
Make the bottom line curve upward like a big smile to show pure joy.
Common Beginner Bumps
Making the center too small
If the dark center is tiny, it can look strange. Make sure it takes up a good amount of space inside the colored part.
Drawing stiff lashes
Eyelashes look best when they curve outward gently. Try flicking your pencil rather than drawing straight, stiff sticks.
Forgetting the shiny spot
Skipping the little white light reflection can make your drawing look flat. Always leave a tiny blank circle.
How to Draw Eyes: All 9 Steps at a Glance
Here is the whole eyes drawing, step by step, in one picture — save it or print it to follow along.