How to Draw Hands
If you want to know how to draw hands, you have come to the right place! Many people think drawing hands is tricky, but breaking them down into basic shapes makes it super easy. This fun, beginner-friendly lesson is perfect for kids and adults alike. Grab your favorite pencil, and let's start creating together!
- Easy
- 15 Minutes
- Ages 5+
- anatomy
- body parts
- people
- easy drawing
About This Easy Hand Drawing
In this lesson, you will learn how to build a hand using a simple square for the palm and soft ovals for the fingers. This step-by-step method takes the frustration out of the process, proving that anyone can learn how to draw hands easily. Soon you will be able to add them to all your favorite drawings!

How to Draw Hands Step by Step
- 1Step 1 of 9
Draw the palm shape
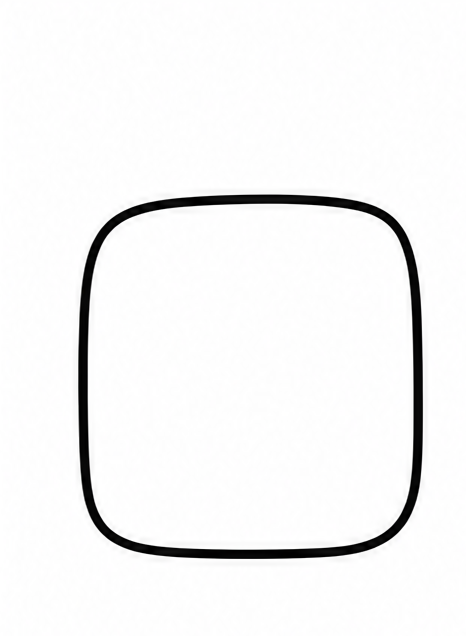
Learning how to draw hands starts with the palm! Draw a big, soft square shape in the middle of your paper. Make the bottom edges slightly narrower than the top, almost like a piece of toast, to form the base.
Tip: Press lightly with your pencil to start.
- 2Step 2 of 9
Add the thumb base
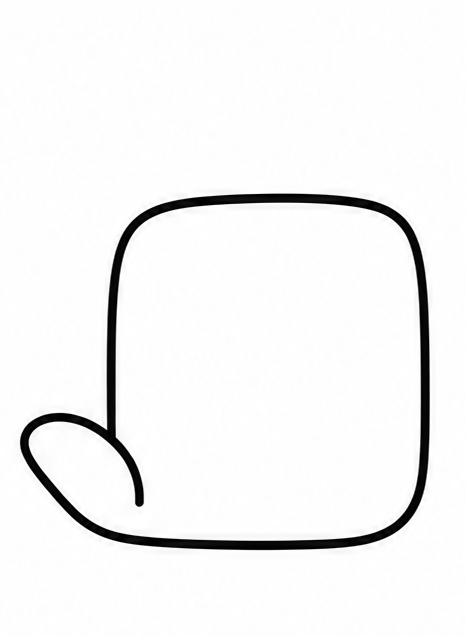
Now let's start the thumb. On the lower left or right side of your palm shape, draw a small curved wedge or a soft triangle. This acts as the thick base where the thumb connects to the rest of the hand.
Tip: Keep the bottom part smooth and rounded.
- 3Step 3 of 9
Draw the top of the thumb
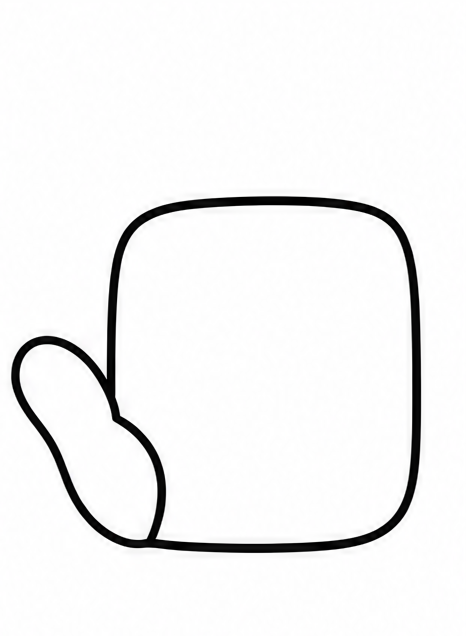
From that base wedge, draw a short, curved oval pointing upward and outward to finish the thumb. Make sure the tip is nice and round. Breaking the fingers down into these simple shapes makes the whole process much easier for beginners!
Tip: The thumb only has one middle joint line to worry about.
- 4Step 4 of 9
Draw the middle finger
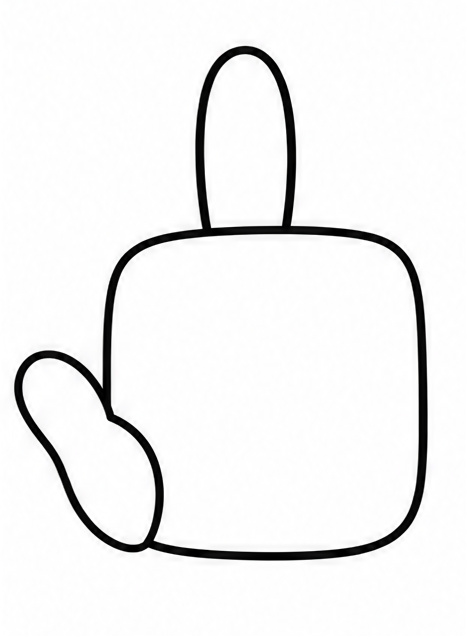
It is easiest to draw the tallest finger next so we know where the center is. Draw a tall, long oval sticking straight up from the top middle of your palm shape. Give it a gentle, rounded tip at the very top.
Tip: Make sure this middle finger is the tallest part.
- 5Step 5 of 9
Add the index finger
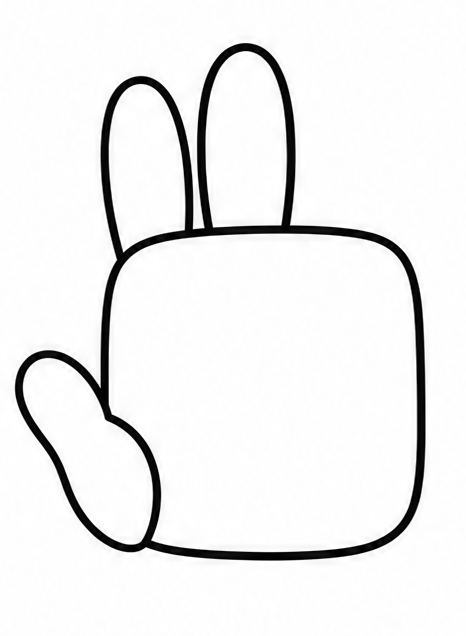
Right next to that tall finger, draw the index finger. Make it an oval that is just a little bit shorter than the middle one. Let it sit right on the top edge of the palm shape so they fit snugly together.
Tip: Leave a tiny bit of space between the fingers.
- 6Step 6 of 9
Draw the ring finger
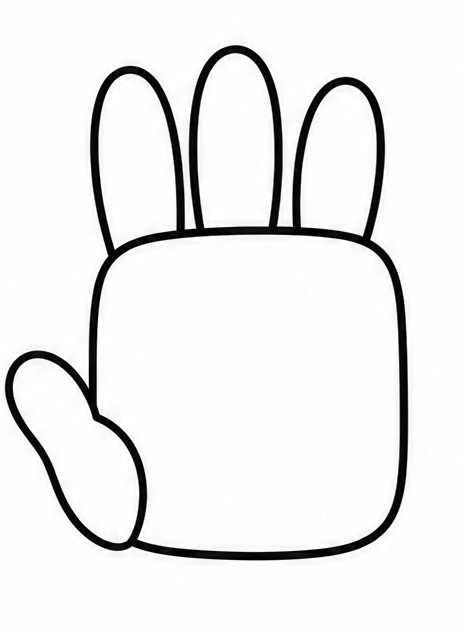
On the other side of the middle finger, it is time to draw the ring finger. Make this oval about the exact same height as the index finger you just drew. It should curve very slightly inward toward the middle.
Tip: Fingers naturally lean a little toward the center.
- 7Step 7 of 9
Add the pinky finger
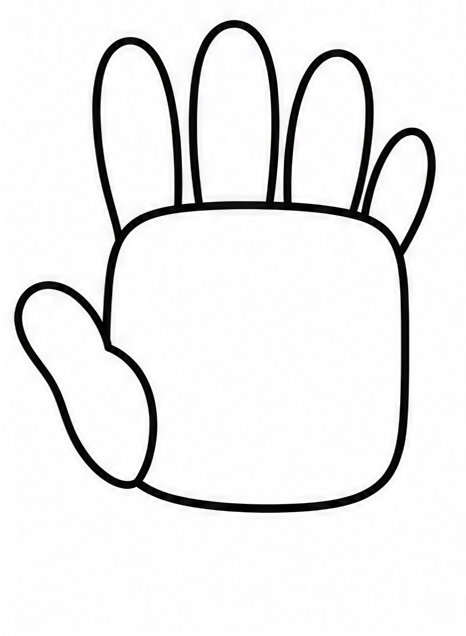
Finally, draw the pinky finger on the outside edge of the palm. This is the shortest and thinnest finger of them all. Curve it slightly so it points gently toward the other fingers. Now you have a complete outline of the hand!
Tip: The pinky sits a bit lower on the palm than the others.
- 8Step 8 of 9
Erase lines and add details
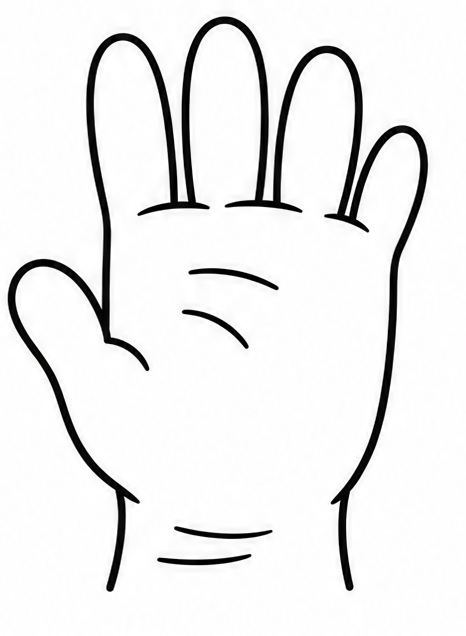
Grab your eraser and carefully remove the overlapping sketch lines where the fingers connect to the main palm square. Then, draw a few small curved lines on the fingers to show the knuckles, and add a line for the wrist at the bottom.
Tip: Erasing the inside lines makes it look like one piece.
- 9Finished drawing
Add simple color
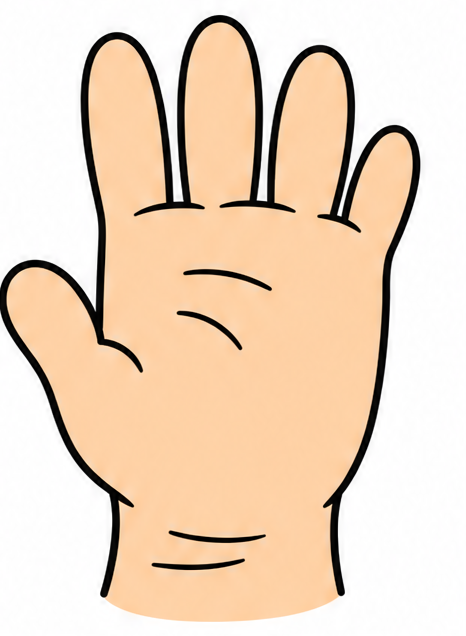
It is time to bring your drawing to life! Color your hand outline using any flat skin tone you like. You can use crayons, markers, or colored pencils. Keep your coloring smooth and even to complete your simple, beginner-friendly artwork.
Tip: Color in one direction to make it look neat.
Draw Hands in 9 Easy Steps
Anyone can learn how to draw hands — no drawing experience needed.
9
Simple steps
15 Minutes
Start to finish
Ages 5+
Great for
Fun Variations for How to Draw Hands
Once you master the basic open palm, try changing things up! You can adjust the fingers to make fun gestures while using the exact same simple steps.
High Five
Draw the fingers spread out wide and add some bouncy motion lines around the outside.
Peace Sign
Fold the ring finger and pinky finger down into the palm, leaving the pointer and middle fingers up.
Simple Wave
Tilt the entire hand slightly to the side and draw little curved action lines near the fingertips.
Common Beginner Mistakes
Fingers all the same size
Remember that the middle finger is the tallest, and the pinky is the shortest. Varying their lengths makes it look natural.
Making the palm too small
The palm should be almost the same length as the middle finger. If it is too short, the hand looks out of balance.
Sharp, pointy fingertips
Fingertips are soft and rounded, not sharp like triangles. Keep your pencil lines gentle and curvy at the top.
How to Draw Hands: All 9 Steps at a Glance
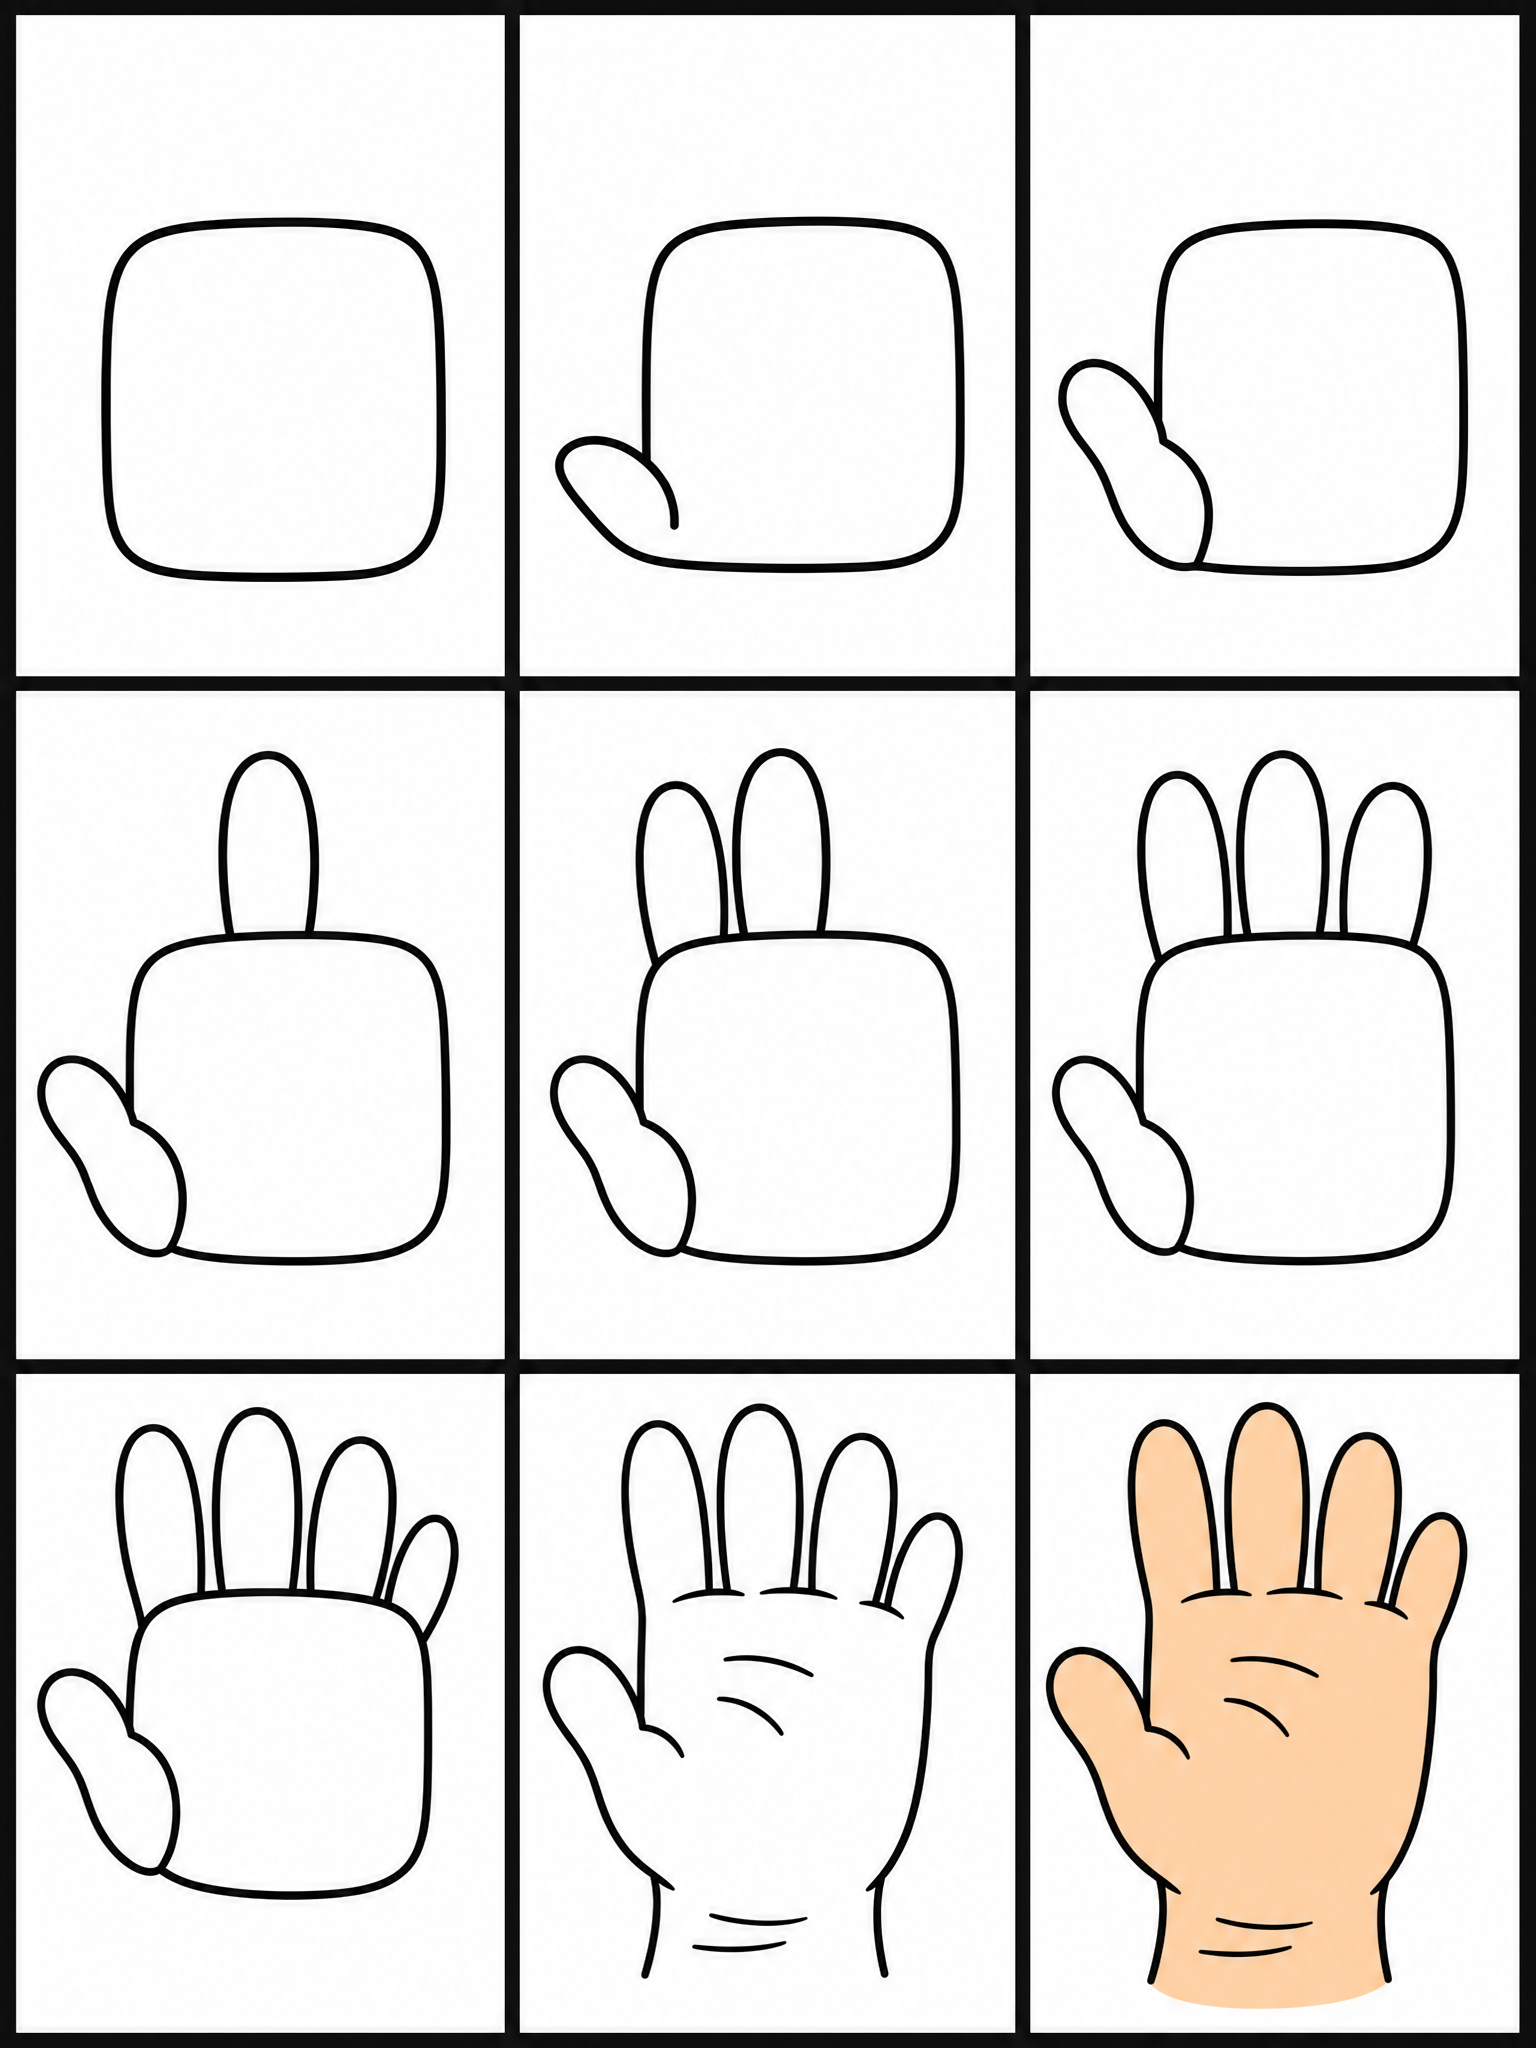
Here is the whole hands drawing, step by step, in one picture — save it or print it to follow along.
Frequently Asked Questions
General

Ready to Draw Hands?
Grab a pencil and follow the 9 easy steps — you can finish your hands drawing in minutes.