How to Draw Hair
Welcome to our fun and simple guide on how to draw hair! If you have ever wondered how to give your characters a great look, you are in the right place. We will use easy shapes and lines to build up the volume, making drawing hair a breeze for kids and beginners alike. Grab your pencil and let's get started!
- Easy
- 15 Minutes
- Ages 5+
- hair
- face
- people
- easy drawing
About This Hair Drawing Guide
In this lesson, you will learn how to draw hair on a head using simple, sweeping lines. We break down the process into easy pieces, starting from a basic head shape to the final flowy strands. By the end, you will know exactly how to draw on hair for all your fun drawings.

How to Draw Hair Step by Step
- 1Step 1 of 9
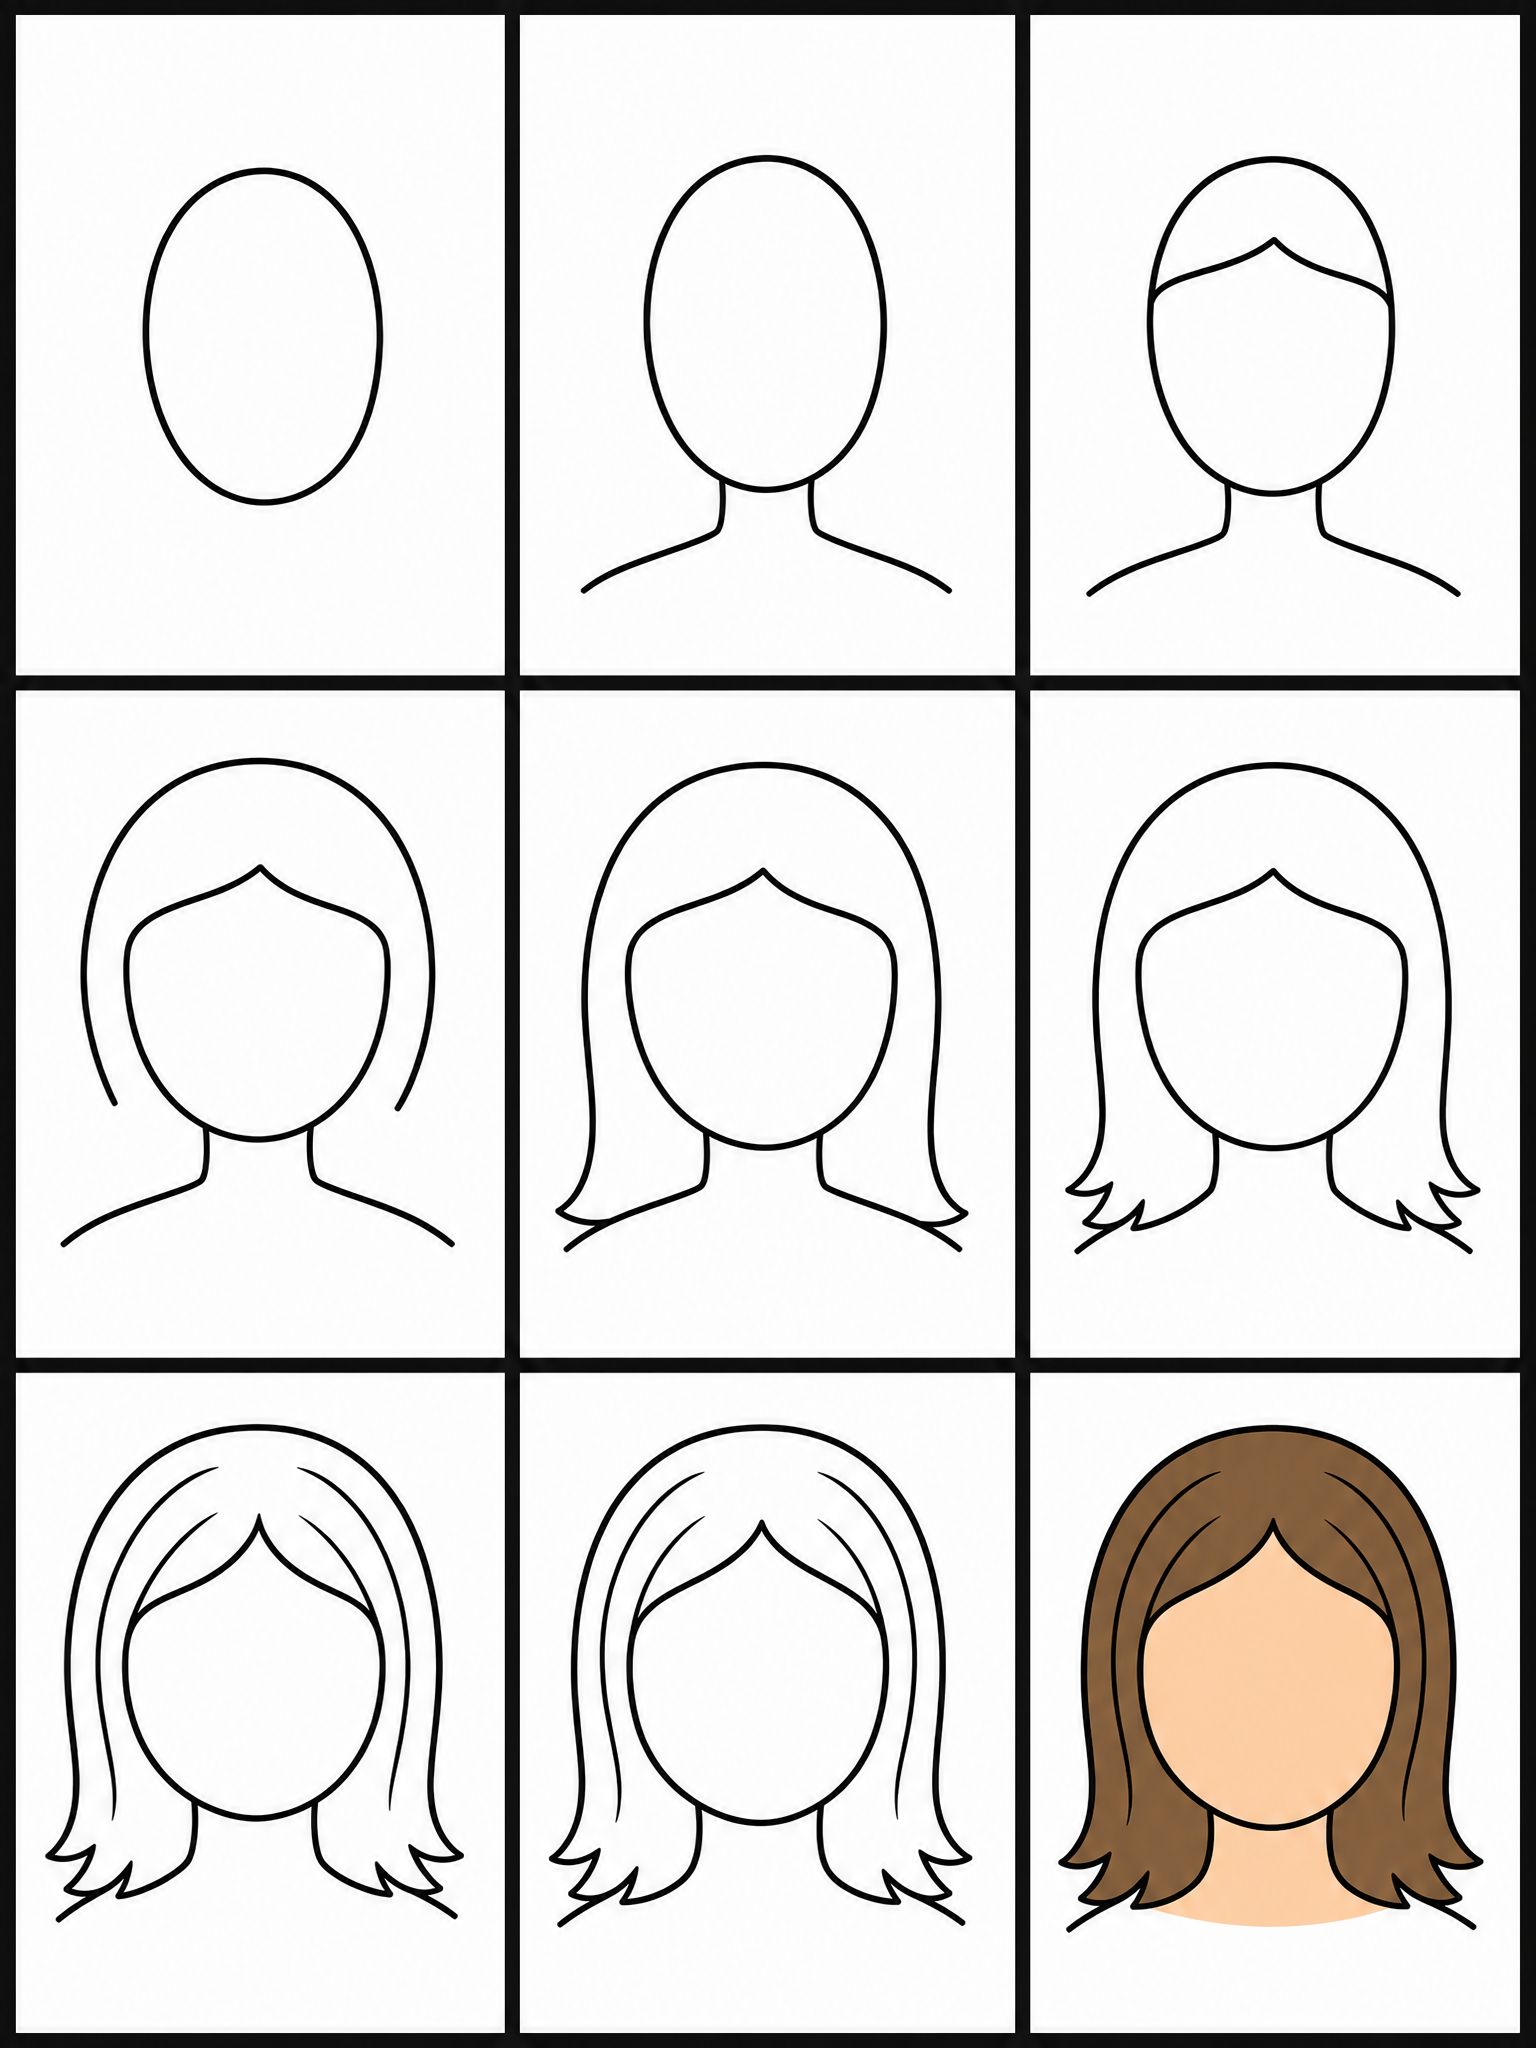
Draw the base head
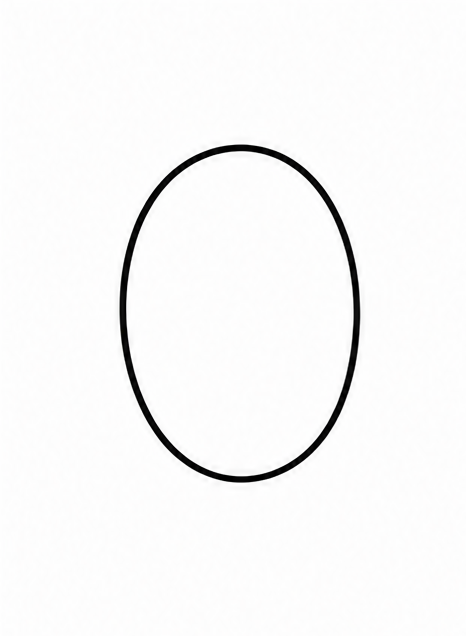
Let's start by drawing a simple oval for the base of the head. This gives us a solid foundation to place our hair onto. Keep the lines light, as we will be erasing parts of this oval later when we add the hair!
Tip: Draw lightly so you can easily erase the top of the head later.
- 2Step 2 of 9
Add neck and shoulders
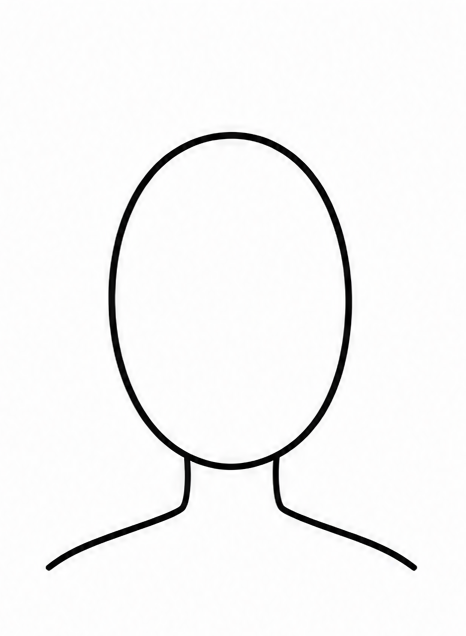
Underneath the oval, draw two short lines curving downward for the neck. Then, draw two longer lines sloping gently outward to create the shoulders. This helps us see exactly how to draw hair on a face and shoulders later on.
Tip: Keep the neck lines short and even on both sides.
- 3Step 3 of 9
Map out the hairline
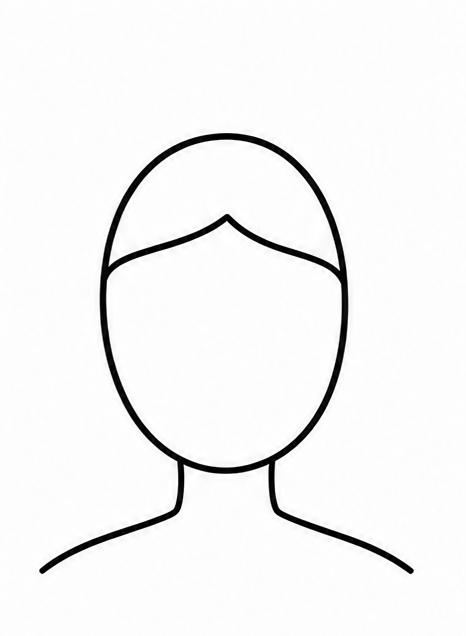
Now, let's draw the hairline near the top of the oval. Draw a curved line across the forehead that dips down slightly in the middle. This curved line tells us where the front of your hair will start growing from.
Tip: The hairline should look like a very wide, gentle letter M or U.
- 4Step 4 of 9
Draw the top outline
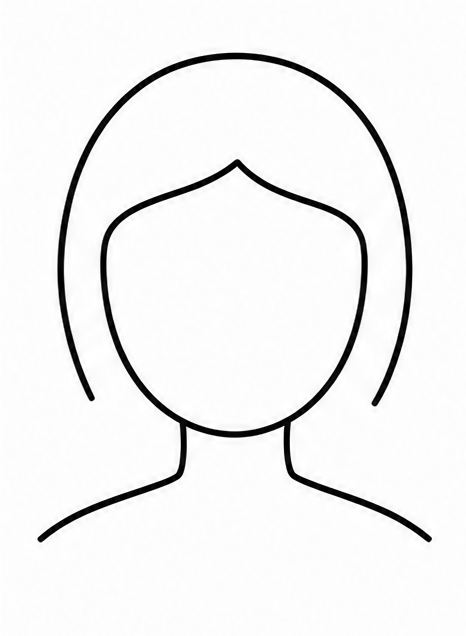
Learning how to draw hair for beginners means leaving room for volume! Draw a large, curved line that goes over the top of the oval head. Make sure it sits a little bit higher than the actual head to make the hair look thick.
Tip: Leave a little gap between the head and the top of the hair.
- 5Step 5 of 9
Frame the face
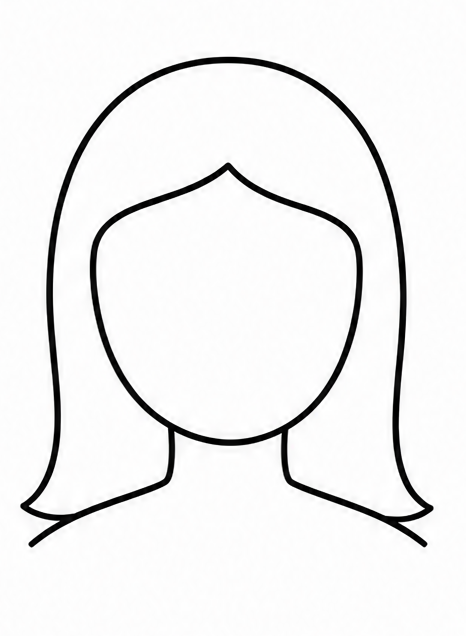
From the top outline, draw two smooth, swooping lines down the sides of the face. Let these lines curve gently inward toward the cheeks and then down past the neck. This frames the face perfectly and starts showing the length.
Tip: Sweep your pencil smoothly to create nice, flowing lines.
- 6Step 6 of 9
Draw the bottom ends
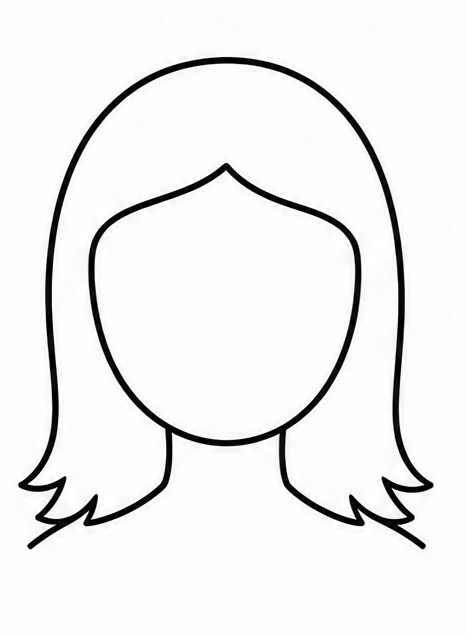
Connect the sides of the hair to the shoulders by drawing a few slightly jagged, curved lines. This creates the bottom edge of the hair. You can make it as long or as short as you want to practice hair how to draw techniques.
Tip: Use small V-shapes to make the ends look like hair cut at the bottom.
- 7Step 7 of 9
Add flowing strands
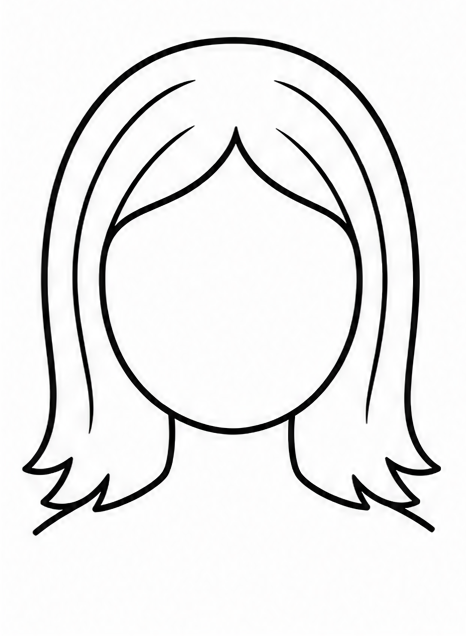
Inside the main hair shape, draw a few long, sweeping lines that follow the shape of the outside curves. These lines add texture and show the direction the hair is flowing. This is the best trick when figuring out how to draw a hair texture!
Tip: Do not draw too many lines; just a few will do the trick nicely.
- 8Step 8 of 9
Clean up your drawing
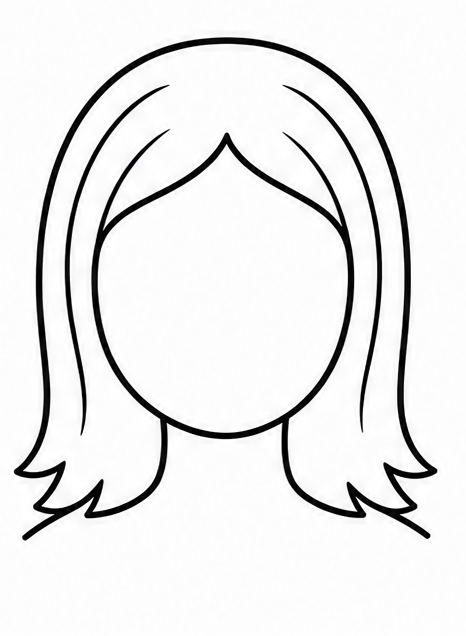
Take your eraser and carefully remove the parts of the original oval head that are hidden beneath the hair. Erasing these extra lines makes your drawing look neat and shows exactly how to draw hair on head shapes cleanly.
Tip: Blow away the eraser dust gently so you do not smudge your work.
- 9Finished drawing
Add simple color / finish
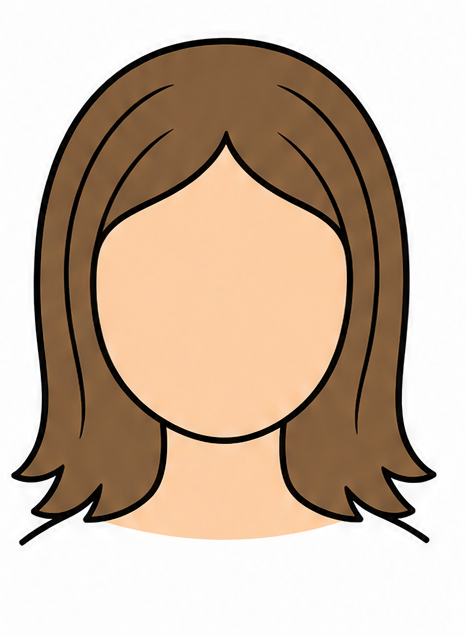
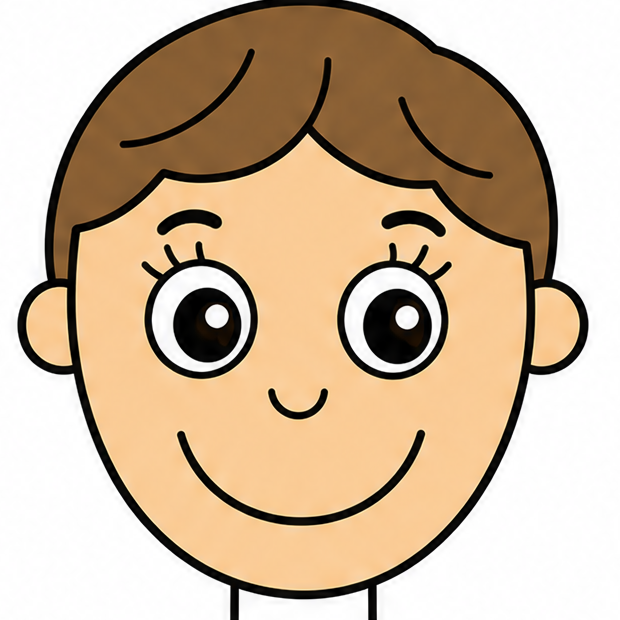
Finally, pick your favorite color to fill in the hair! You can use brown, blonde, black, or even a fun bright color like pink. Color inside the lines evenly to complete your awesome drawing of hair. Great job!
Tip: Color in the same direction as the hair lines for a smooth look.
Draw Hair in 9 Easy Steps
Anyone can learn how to draw hair — no drawing experience needed.
9
Simple steps
15 Minutes
Start to finish
Ages 5+
Great for
Fun Ways to Change Your Hair Drawing
Once you know how to draw hair, you can switch things up! Try these simple ideas to make your drawing unique and special.
Short Cut
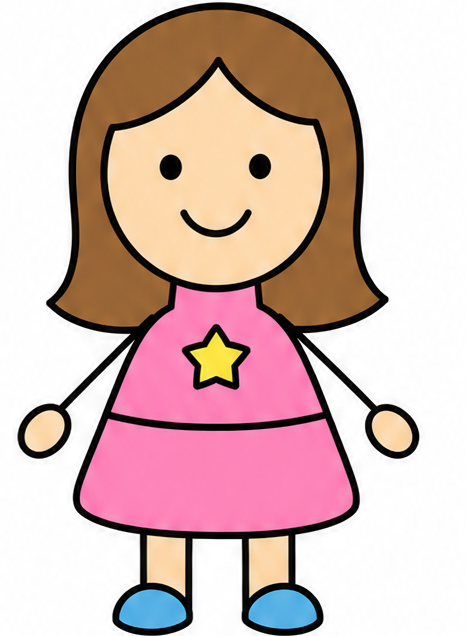
Draw the bottom edge of the hair stopping just below the ears instead of reaching all the way down to the shoulders.
Adding an Accessory
Draw a simple little bow, a headband, or a pretty flower on one side of the hair near the top.
Windy Day
Make the sweeping lines point to one side so the hair looks like it is blowing gently in the wind.
Common Hair Drawing Mistakes
Making it completely flat
Drawing the top line right on the head makes it look flat. Always leave a little gap above the head for volume!
Drawing straight lines
Hair naturally bends and flows. Use curved lines instead of stiff, straight lines to make it look much better.
Pressing too hard early on
If you press too hard on the starting oval, it will be tough to erase later. Keep your pencil light until the very end.
How to Draw Hair: All 9 Steps at a Glance
Here is the whole hair drawing, step by step, in one picture — save it or print it to follow along.