How to Draw a Flower
Welcome! If you want to learn how to draw a flower, you are in the perfect place. This guide is super easy and made especially for kids and total beginners. Grab your pencils and let's get started on your beautiful drawing!
- Easy
- 15 Minutes
- Ages 4+
- Nature
- Plants
Why This Flower Drawing is Easy
Discovering how to draw a flower should be fun, not frustrating! We break the shape down into a simple circle for the center and easy curves for the petals. By taking it one small piece at a time, anyone can create beautiful art.

How to Draw a Flower Step by Step
- 1Step 1 of 9
Draw the center circle
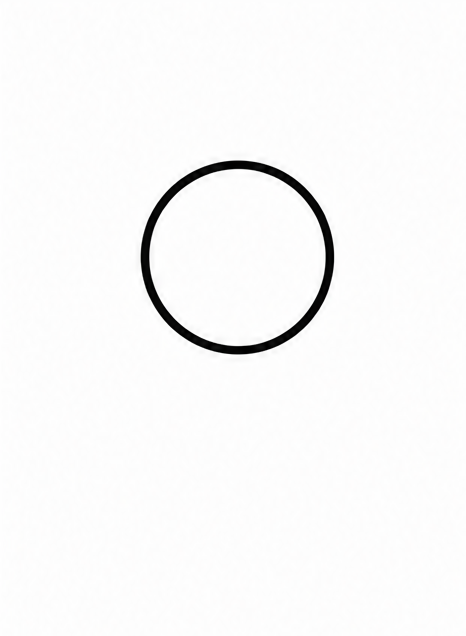
Let's start learning how to draw a flower by drawing a medium-sized circle right in the middle of your paper. This circle will be the very center of your beautiful bloom, where all the colorful petals will attach later.
Tip: Draw lightly so you can erase mistakes easily.
- 2Step 2 of 9
Add top and bottom petals
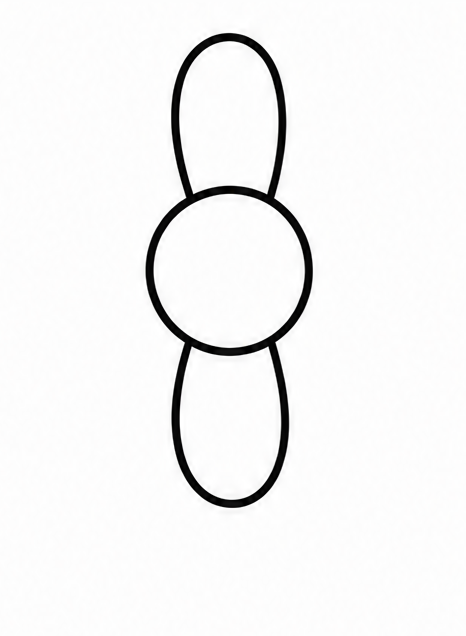
Next, draw a big, curved loop pointing up from the top of your circle. Then, draw another matching loop pointing down from the bottom. These shapes look just like long, soft bunny ears attached to the center!
Tip: Try to make both petals about the same size.
- 3Step 3 of 9
Draw the side petals
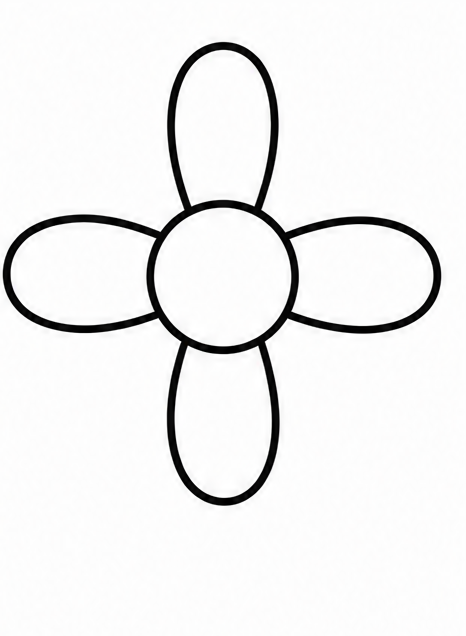
Now, add two more petals on the left and right sides of the center circle. Just draw a curved loop pointing to the left, and another one pointing to the right. Your beautiful drawing looks a bit like a cross now!
Tip: Turn your paper if it helps you draw the curves.
- 4Step 4 of 9
Fill in the empty spaces
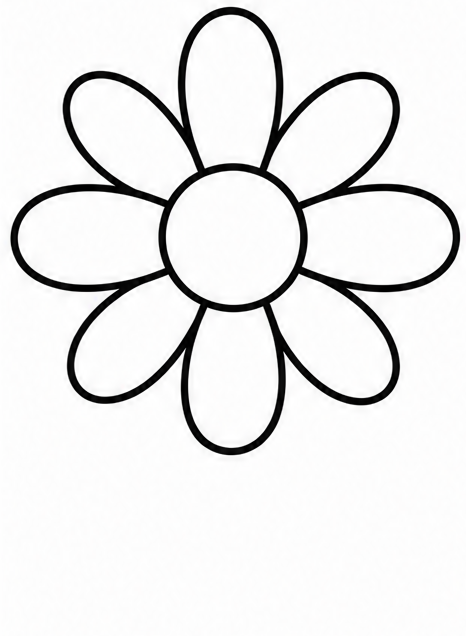
Let's make our bloom look nice and full by filling in the gaps. Draw four more curved petals in the empty diagonal spaces between your first four petals. Just connect the loops from the circle out into the blank corners.
Tip: It is perfectly okay if some petals overlap slightly!
- 5Step 5 of 9
Draw the stem
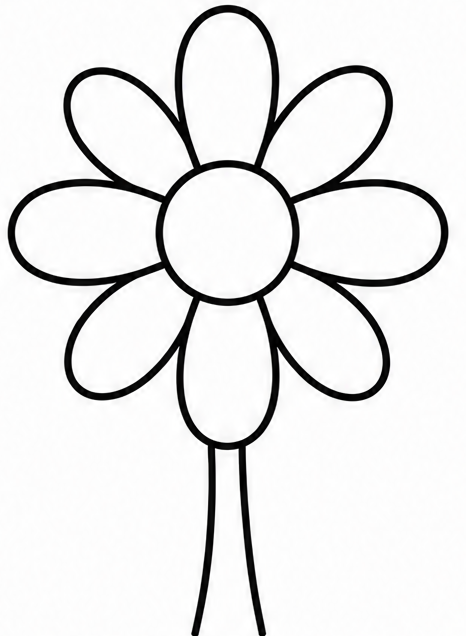
Underneath the bottom petal, draw a long, slightly curved line going down toward the bottom edge of your paper. Draw another line right next to it to make the stem nice and thick so it can hold up your bloom.
Tip: A slightly curved stem looks more natural than straight.
- 6Step 6 of 9
Add the first leaf
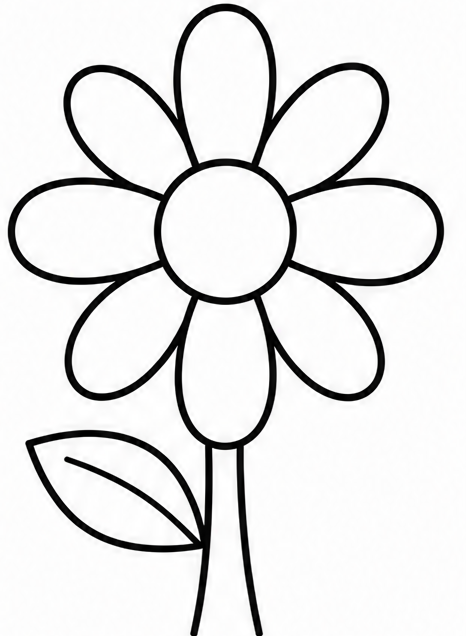
On the left side of the stem, draw a pointy oval shape pointing upwards and outward. This will be your very first leaf! Draw a small, gentle line down the middle of the leaf to give it some nice detail.
Tip: Leaves can be any size, so just have fun.
- 7Step 7 of 9
Draw the second leaf
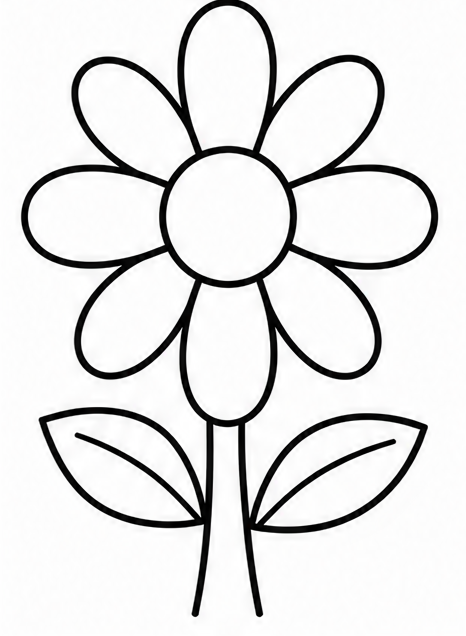
Now let's balance everything out by adding a second leaf on the right side of the stem. Draw another pointy oval shape curving up, and add a straight line down the middle just like you did for the first one.
Tip: Place this leaf slightly higher or lower than the first.
- 8Step 8 of 9
Add center details
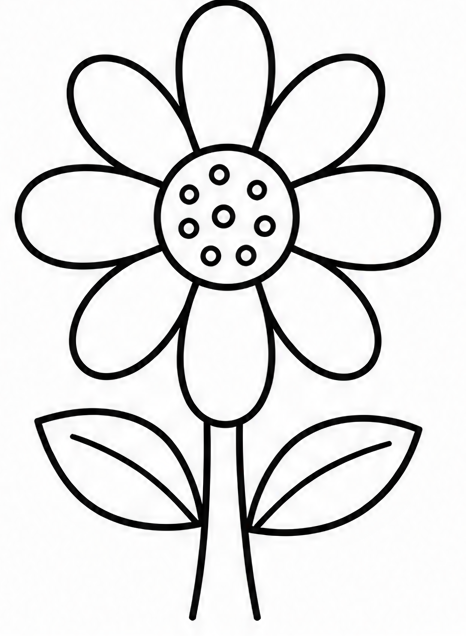
To make your drawing extra special, let's add some fun texture to the center. Draw a bunch of tiny little dots or small circles inside the very first circle you drew. This makes it look bumpy and real like nature!
Tip: Do not press too hard with your pencil.
- 9Finished drawing
Add simple color
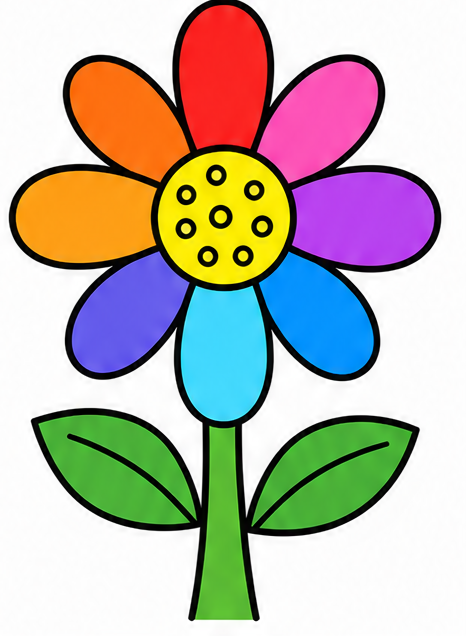
The final step in how to draw a flower is adding some bright, happy colors! Use a cheerful yellow for the bumpy center, green for the stem and leaves, and pick your absolute favorite color to fill in the petals.
Tip: Color in the same direction to keep your artwork neat.
Draw Flower in 9 Easy Steps
Anyone can learn how to draw a flower — no drawing experience needed.
Simple steps
Start to finish
Great for
Fun Ways to Change Your Flower
Once you know the basics, try making your drawing totally unique with these simple and creative ideas.
Change the Petal Shapes
Instead of round loops, try drawing pointy triangles or wavy lines for the petals.
Draw a Giant Bloom
Make the center circle huge so the drawing fills up the entire page.
Add a Happy Face
Draw two little eyes and a big smile inside the center circle to make it friendly.
Common Beginner Mistakes
Drawing petals too small
If the petals are too tiny, the center looks giant. Make sure your loops reach far out from the middle.
A perfectly straight stem
Real plants bend toward the sun. Add a gentle curve to your stem so it looks natural.
Rushing the first circle
When learning how to draw a flower, beginners often rush the first step. Take your time to make a nice, neat circle so the rest is easy.
How to Draw Flower: All 9 Steps at a Glance
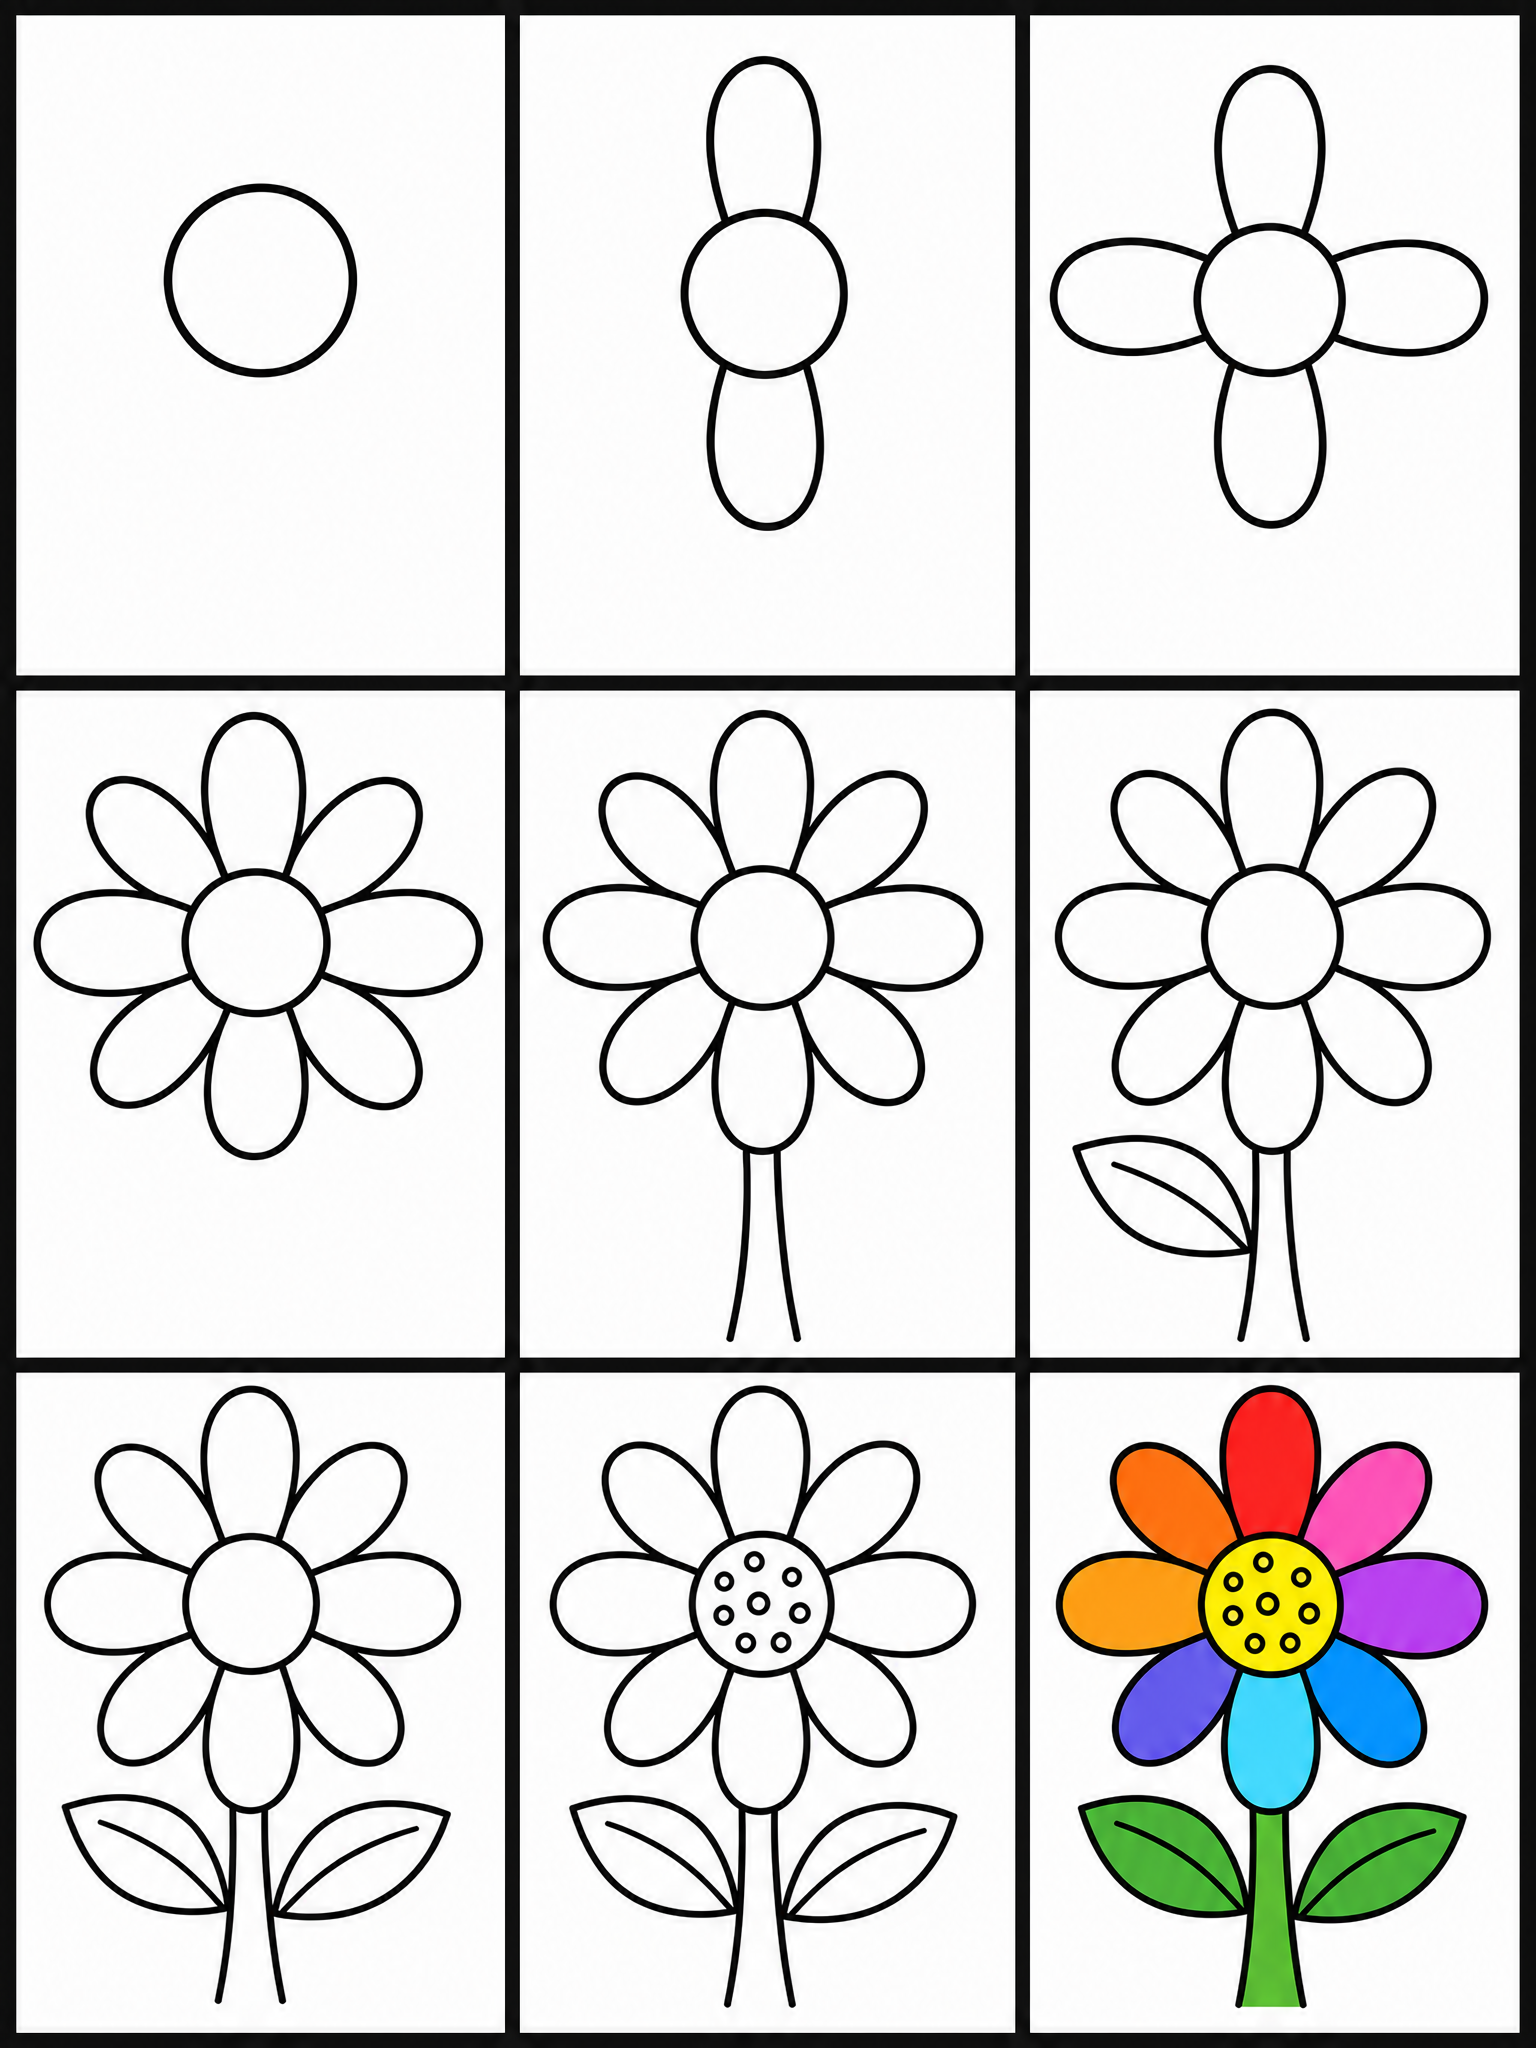
Here is the whole flower drawing, step by step, in one picture — save it or print it to follow along.
Frequently Asked Questions


Ready to Draw Flower?
Grab a pencil and follow the 9 easy steps — you can finish your flower drawing in minutes.