How to Draw a Skull
If you want to know how to draw a skull, you have found the perfect guide! We have created a super easy method that anyone can follow. Just grab your favorite pencil, and let's make some fun art together.
- Easy
- 15 minutes
- Ages 5+
- Art
- Drawing
- Beginners
- Kids
Why This Tutorial Makes It Simple
Learning how to draw a skull for kids or complete beginners is incredibly simple when we break it down into easy shapes. By starting with a basic circle for the top of the head and adding a curved box for the jaw, you will build a great foundation.

How to Draw a Skull Step by Step
- 1Step 1 of 9
Draw the main circle
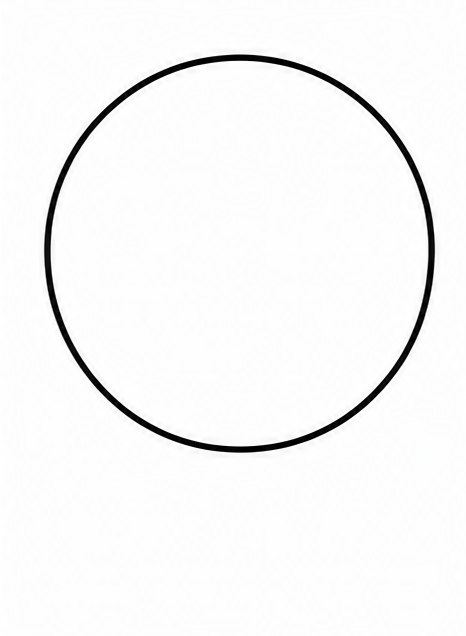
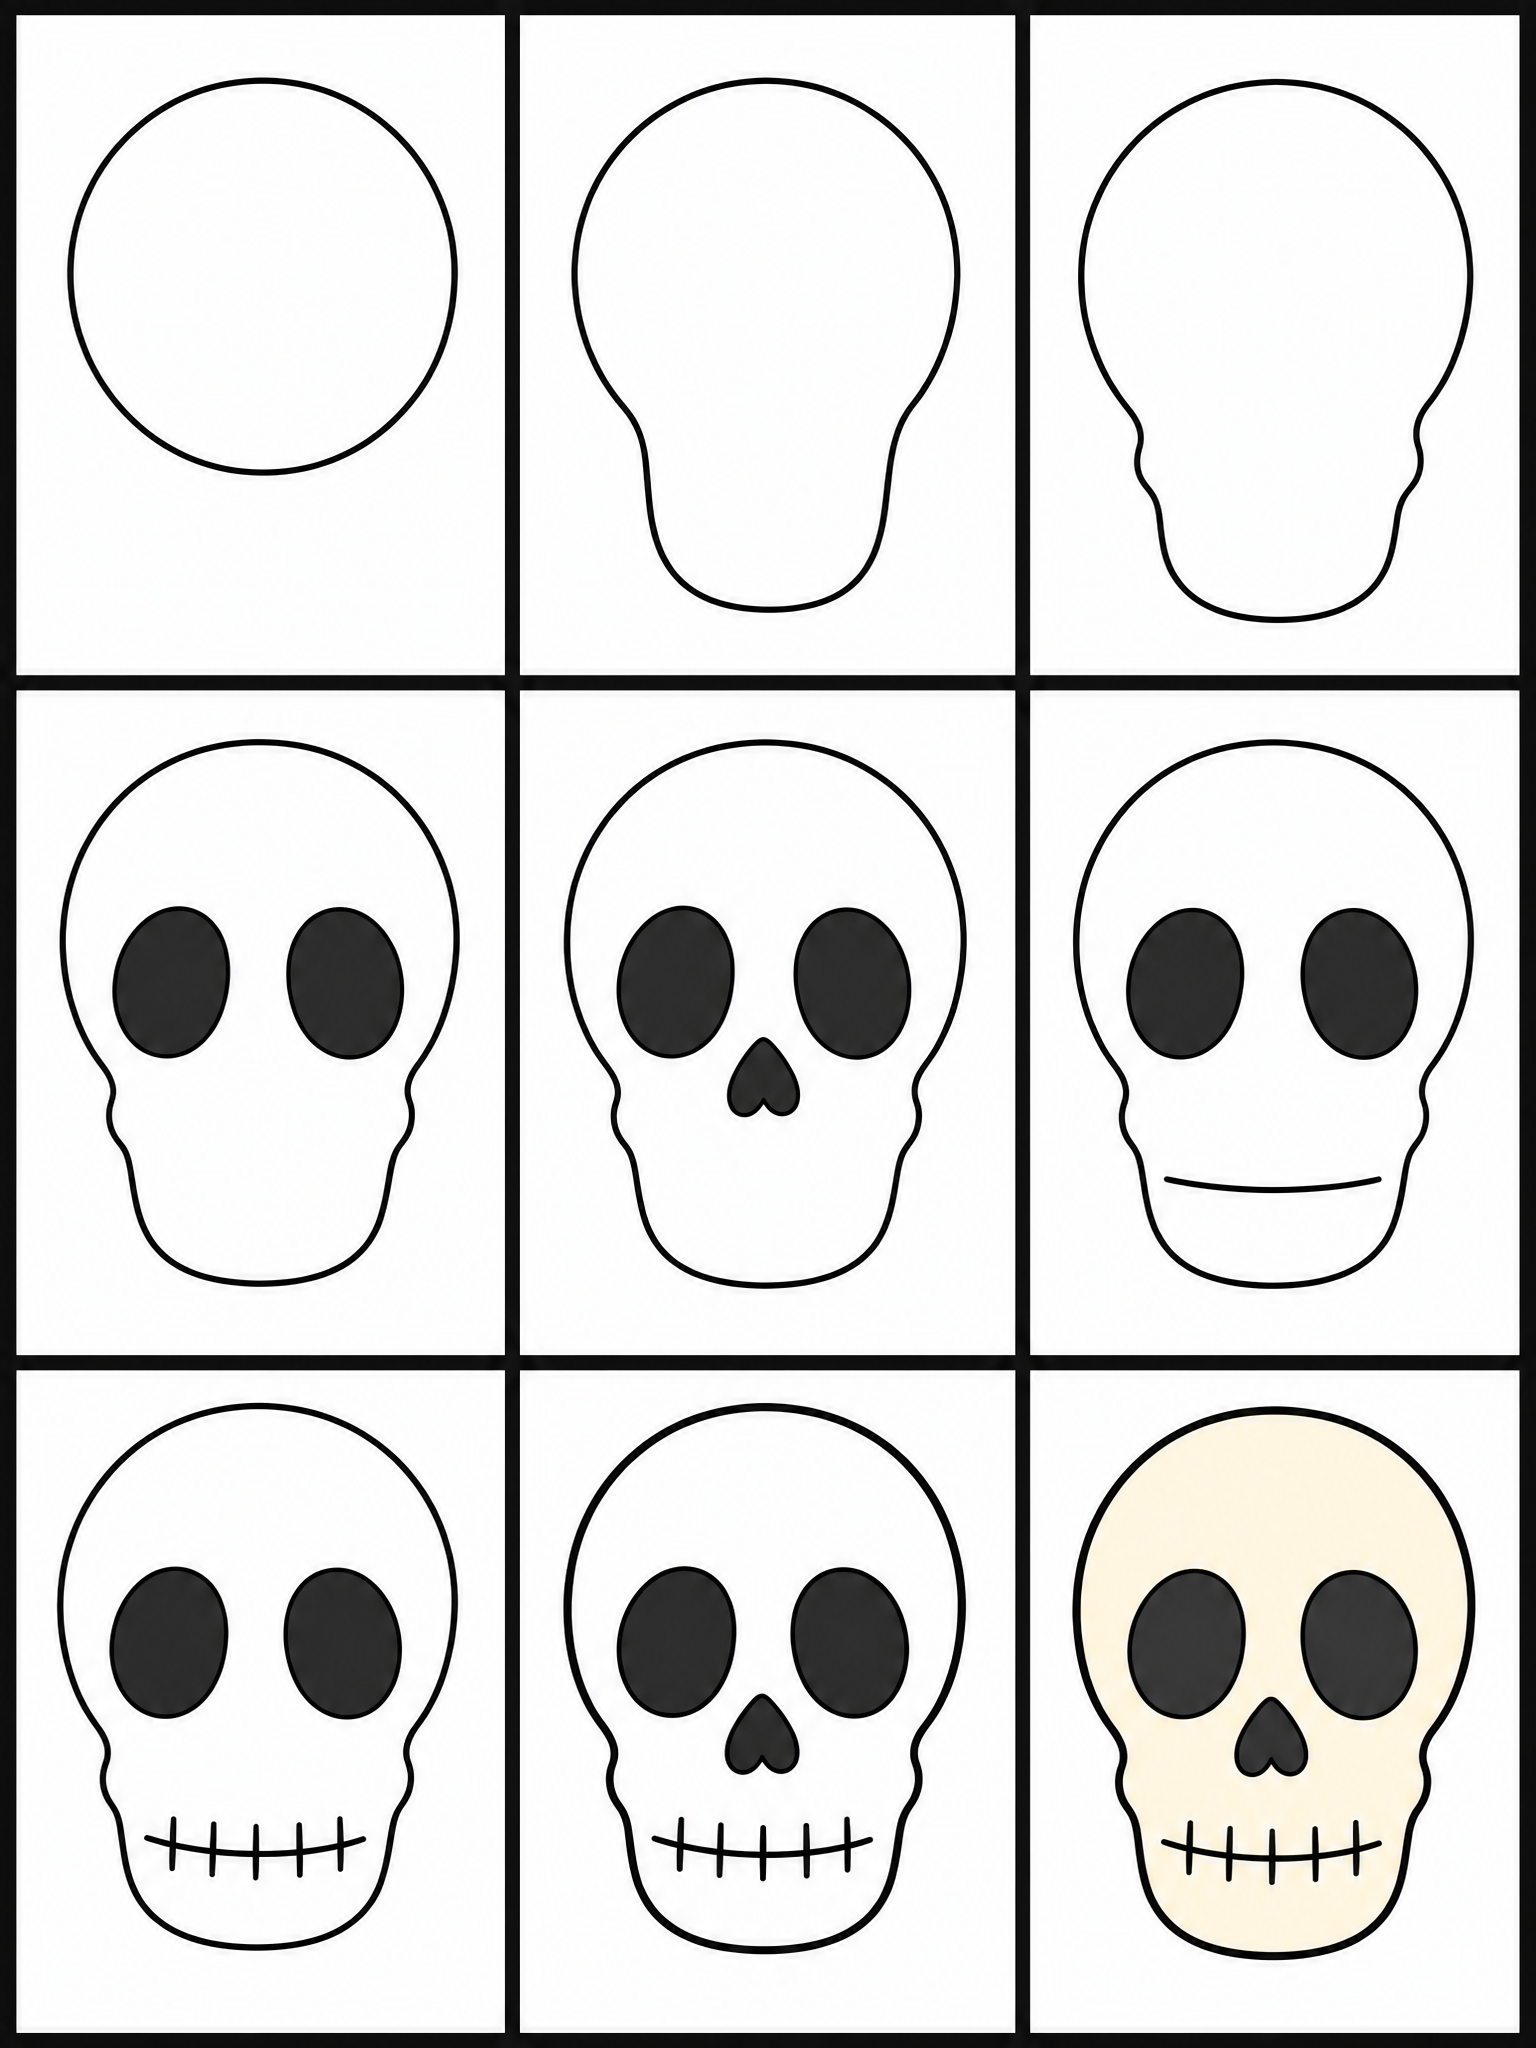
Start by drawing a large circle right in the middle of your paper. This big round shape will form the top part of the head, called the cranium. Keep your lines nice and light so you can erase them later if you need to as we continue learning how to draw a skull.
Tip: Draw lightly so it is easy to fix any little mistakes.
- 2Step 2 of 9
Add the jawbone shape
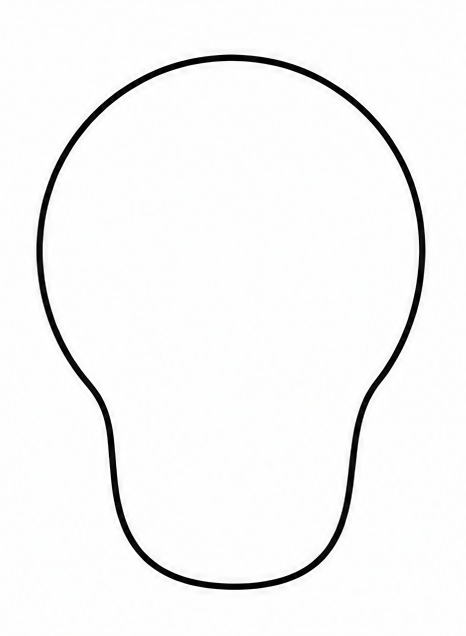
Below your big circle, draw a wide U-shape that connects to the bottom half of the circle. This creates the lower jaw area. The bottom line should be slightly flat instead of perfectly round. Now your shape should look a bit like a lightbulb!
Tip: Make sure the jaw is narrower than the top circle.
- 3Step 3 of 9
Outline the cheekbones
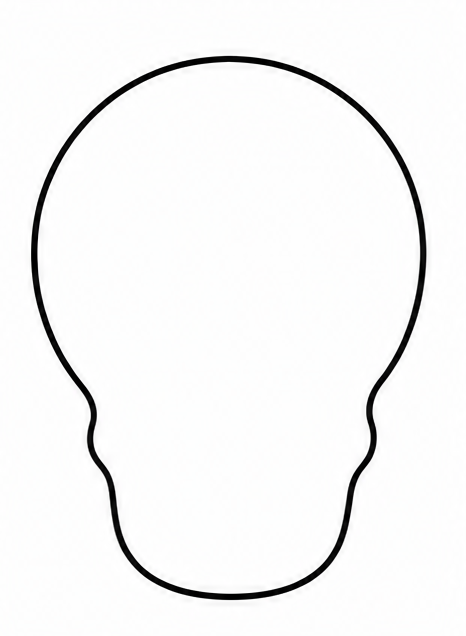
Let's give the face some shape by adding curved lines on the sides. Draw an inward curve just below the middle of the big circle, connecting down to the jawline. Doing this on both the left and right sides will make the cheekbones stand out beautifully.
Tip: Try to keep both sides looking mostly even.
- 4Step 4 of 9
Draw the eye sockets
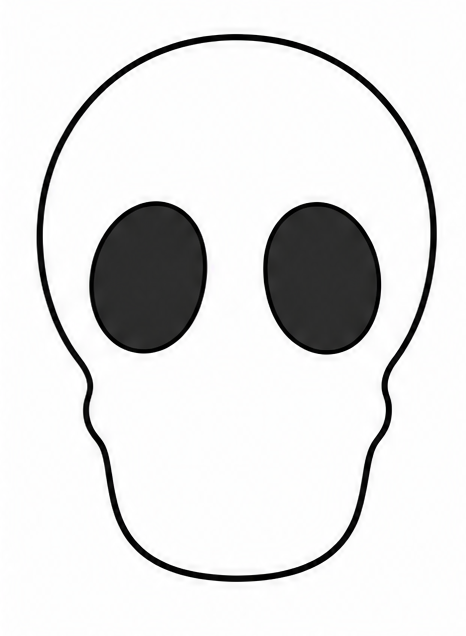
Right in the middle of the face, draw two large ovals for the empty eye spaces. You can make them perfectly round, or slightly angled down toward the center for a tough look. Leave a little bit of space between the two shapes.
Tip: Big eye sockets make your drawing look much more fun!
- 5Step 5 of 9
Add the nasal cavity
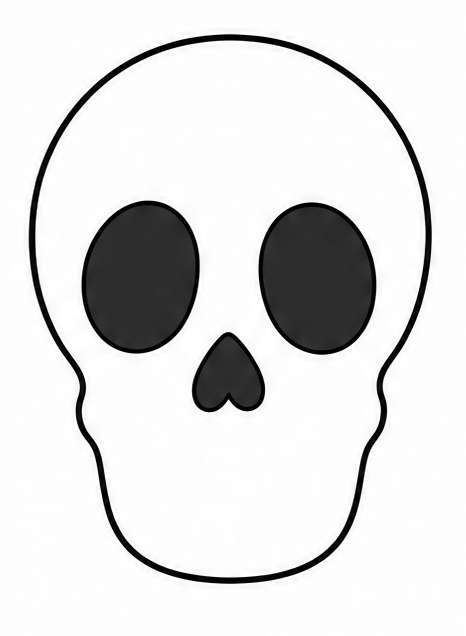
Just below the eyes and right in the middle, draw a small upside-down heart shape. This forms the hollow space for the nose area. If an upside-down heart is too tricky, a simple triangle works perfectly too! You are doing great.
Tip: Place the nose directly between the bottom of the eyes.
- 6Step 6 of 9
Draw the mouth line
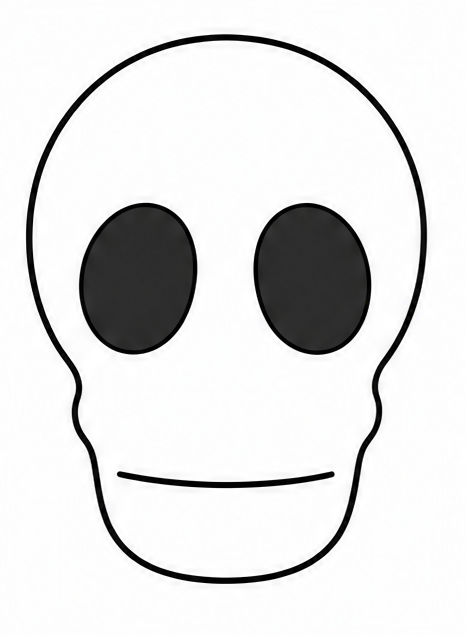
Find the middle of the lower jaw section. Draw one long horizontal line straight across this space. This line gives us a guide for where all the teeth will go in the next step. Curve the ends of the line up just a tiny bit.
Tip: Keep this horizontal line centered inside the jaw.
- 7Step 7 of 9
Add the teeth lines
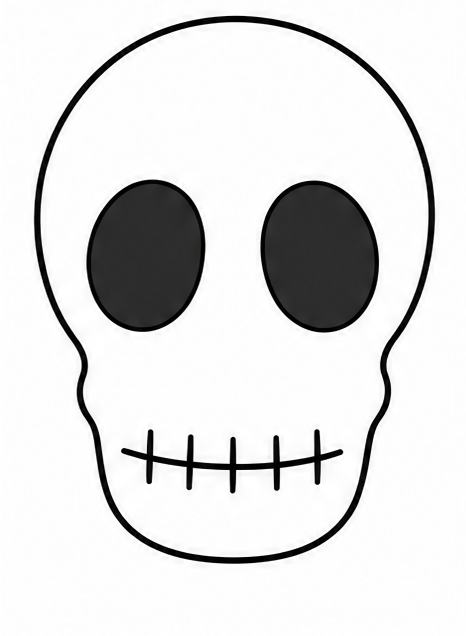
Now, draw several short vertical lines crossing right over that horizontal line you just made. Space them out nicely to create small blocks. These little blocks will instantly look like rows of upper and lower teeth. Draw about five or six lines across.
Tip: They do not have to be perfectly straight; natural lines look awesome.
- 8Step 8 of 9
Clean up the outline
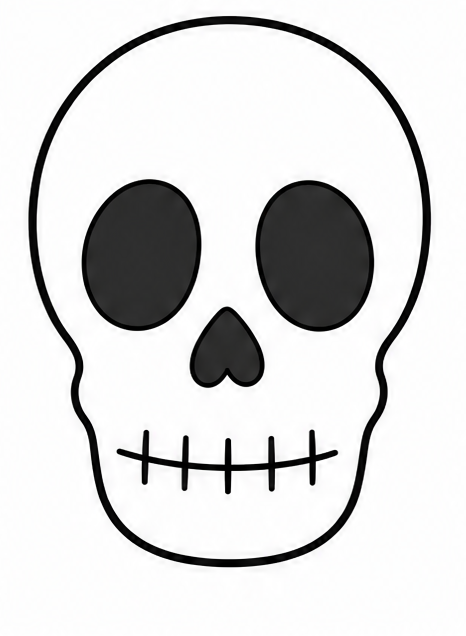
Take your eraser and carefully remove the lines from the original circle that run through the cheekbones and jaw. Trace over your final outer shape to make it bold and smooth. Now your guide on how to draw a skull is almost fully complete!
Tip: Go slowly while tracing to keep your final lines neat.
- 9Finished drawing
Add simple color
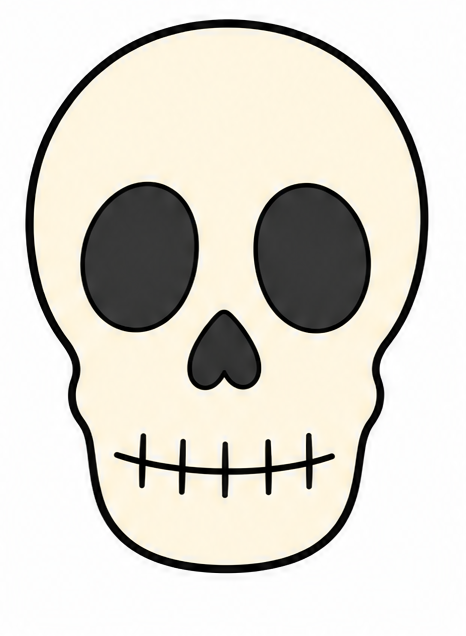
Time to finish up! You can leave the main bone area white or color it a soft cream. Fill in the eyes and nose hole with solid black or dark gray. Congratulations, you have successfully learned how to draw a cool skull!
Tip: Use a dark marker to make the eyes really pop.
Draw Skull in 9 Easy Steps
Anyone can learn how to draw a skull — no drawing experience needed.
Simple steps
Start to finish
Great for
Fun Ways to Customize Your Art
Once you know the basics of how to draw a skull head, you can change the details to make it unique! Try these fun ideas next time you draw skull shapes.
Add a Fun Hat
Draw a top hat, a baseball cap, or a pirate bandana on the top of the head for extra personality.
Change the Expression
Tilt the eyes inwards to make it look angry, or curve the teeth line upward for a big, happy smile.
Include Accessories
Give your drawing an eyepatch or some funny glasses to make it silly and cool.
Common Mistakes When Learning How to Draw a Skull
Making the jaw too wide
If the jaw is wider than the top of the head, the shape can look a little strange. Keep the jaw slightly narrower than the upper circle.
Drawing the eyes too small
Tiny eyes can make the face look pinched. Draw large, bold ovals to give your artwork that classic look.
Pressing too hard on the pencil
If you draw the first circle too dark, it will be hard to erase the guidelines later. Always sketch lightly at first.
How to Draw Skull: All 9 Steps at a Glance
Here is the whole skull drawing, step by step, in one picture — save it or print it to follow along.