How to Draw a Elf
Welcome to our fun art lesson! Today, we are learning how to draw a elf using very simple shapes. Whether you are getting ready for the holidays or just love drawing, this guide will help you create a festive friend. Grab your pencil, and let's get started!
- Easy
- 20 Minutes
- Ages 5+
- holiday
- fantasy
Why This is Easy
If you are wondering how to draw a elf using simple shapes, you are in the right place! We break the drawing down into basic parts like circles, triangles, and easy curves. This means absolutely anyone can do it, even if you have never drawn before.

How to Draw a Elf Step by Step
- 1Step 1 of 9
Draw the head
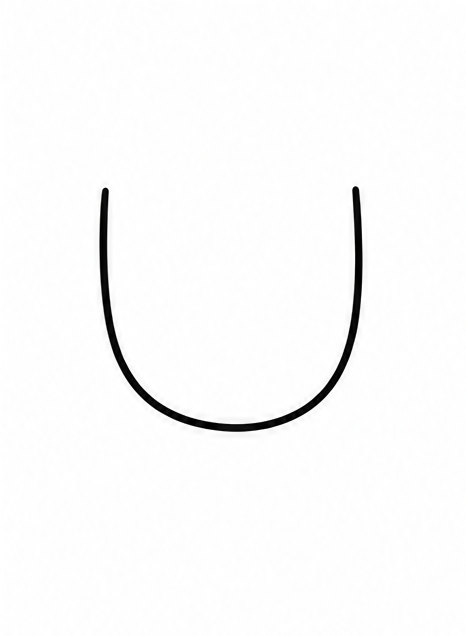
The first step in learning how to draw a elf is to start with the head. Draw a large, smooth U-shape right in the middle of your paper. This will be the face, leaving plenty of room for a fun hat above and the body below.
Tip: Draw lightly so you can easily erase any extra lines later.
- 2Step 2 of 9
Add the pointy ears
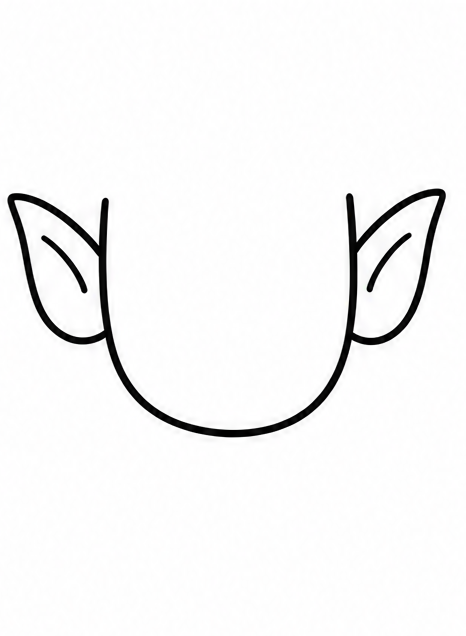
What makes an elf so special? The ears! On each side of the U-shape you just drew, add a long, sideways triangle that curves up just a little bit. Pointy ears instantly give your character that classic, magical look.
Tip: Try to make both ears roughly the same size and shape.
- 3Step 3 of 9
Draw a friendly face
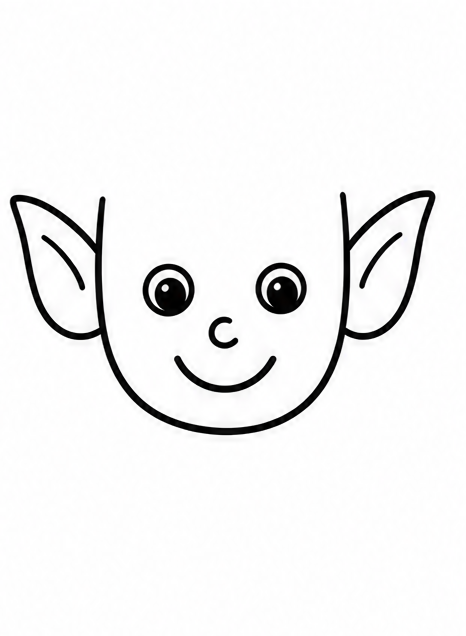
Let us give our friend a happy expression. Draw two small circles for the eyes near the middle of the face. Below the eyes, add a tiny curve for a cute nose, and a big, wide smile underneath to show they are full of joy.
Tip: You can add tiny dots inside the eyes for a bright sparkle.
- 4Step 4 of 9
Create the floppy hat
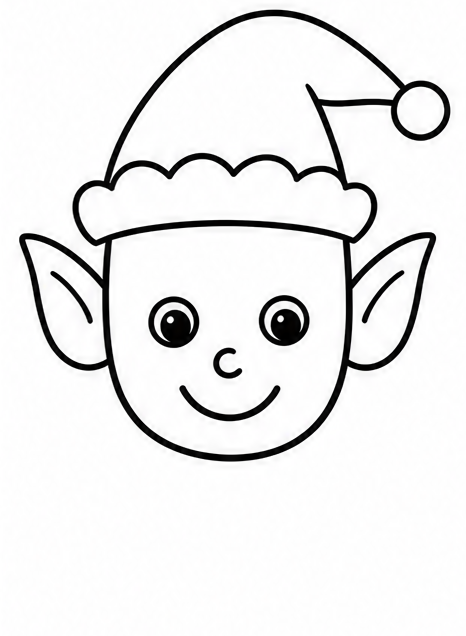
Draw a fluffy, cloud-like band across the top of the head for the rim of the hat. Then, draw a long, curved triangle swooping up and folding over to one side. Finish it off by adding a small circle at the very tip for a soft pom-pom.
Tip: The hat can bend to the left or the right, it is your choice!
- 5Step 5 of 9
Draw a zig-zag collar
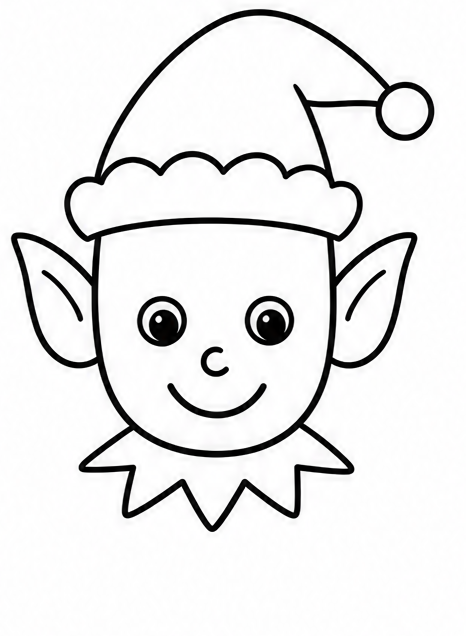
Right below the chin, draw a series of small, sharp zig-zag lines that connect from one side of the neck to the other. This creates a classic, festive collar. It looks like a row of little downward-pointing triangles resting just under the face.
Tip: Keep the zig-zags even, like the teeth of a friendly saw.
- 6Step 6 of 9
Outline the body and belt
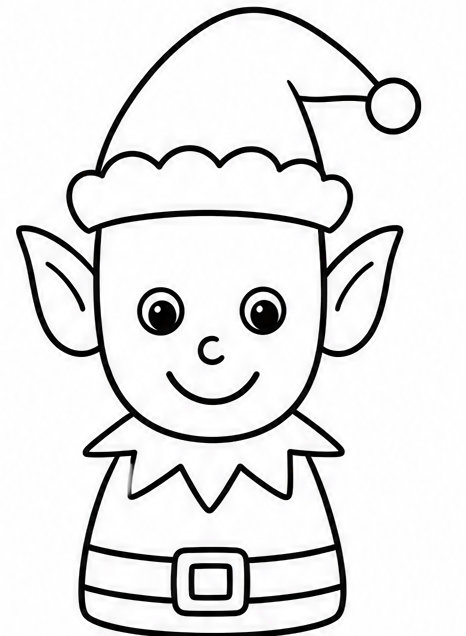
From the edges of the collar, draw two slightly curved lines coming down to form a bell shape for the body. Connect the bottom with a straight line. Right in the middle of this shape, draw a thick horizontal rectangle to make a neat little belt.
Tip: Make the body wide enough so your character looks nice and plump.
- 7Step 7 of 9
Add arms and hands
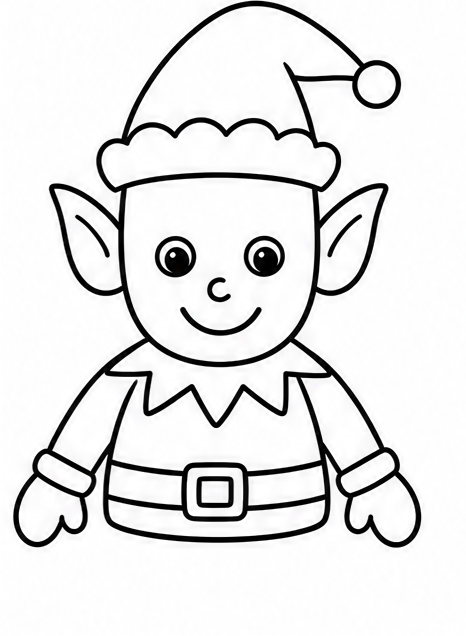
Draw two small tubes extending from the sides of the collar downwards. These are the arms. At the end of each arm, draw a simple oval with a smaller bump on the side for the thumb. This creates cozy mittens to keep their hands warm.
Tip: Simple mitten shapes are much easier to draw than individual fingers.
- 8Step 8 of 9
Draw legs and pointy shoes
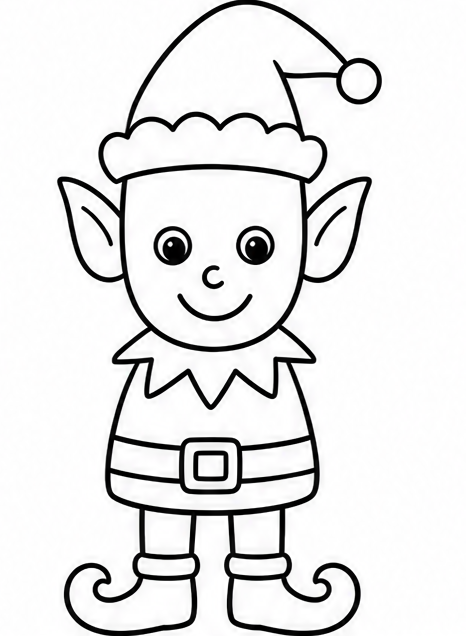
Underneath the body, draw two straight vertical lines for the legs. At the bottom of each leg, draw a shoe that curves up at the toe, looking like a little crescent moon. Pointy shoes are a must-have for any magical helper!
Tip: Make the toes point upward for that classic magical shoe look.
- 9Finished drawing
Add simple color
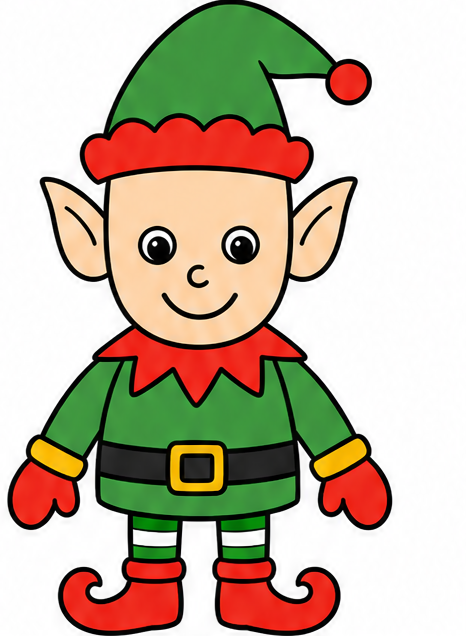
Great job, you have learned how to draw a elf! Now it is time to color. Grab your crayons or markers and use bright greens, cheerful reds, and a little bit of yellow for the belt buckle. Coloring brings your drawing to life!
Tip: Color in one direction to keep your drawing neat and smooth.
Draw Elf in 9 Easy Steps
Anyone can learn how to draw a elf — no drawing experience needed.
Simple steps
Start to finish
Great for
Make It Your Own
Once you know how to draw a elf, you can easily change things up to make a whole group of fun friends! Try mixing and matching these simple ideas.
Change the hat
Instead of a floppy hat, draw a tall, straight triangle hat pointing right up at the sky.
Hold a present
Draw a neat little square box in their hands with a simple, crossed bow on top.
Try new expressions
Change the smile to a surprised circle shape, or add little rosy cheeks under the eyes.
Common Drawing Mistakes
Drawing the body too long
If the body is too long, the legs might look squished. Keep the bell shape nice and compact!
Making the ears too small
Do not be afraid to make those ears big and pointy! That is what makes them look magical.
Pressing too hard with the pencil
If you press too hard, it is tough to erase mistakes. Always sketch your shapes lightly at first.
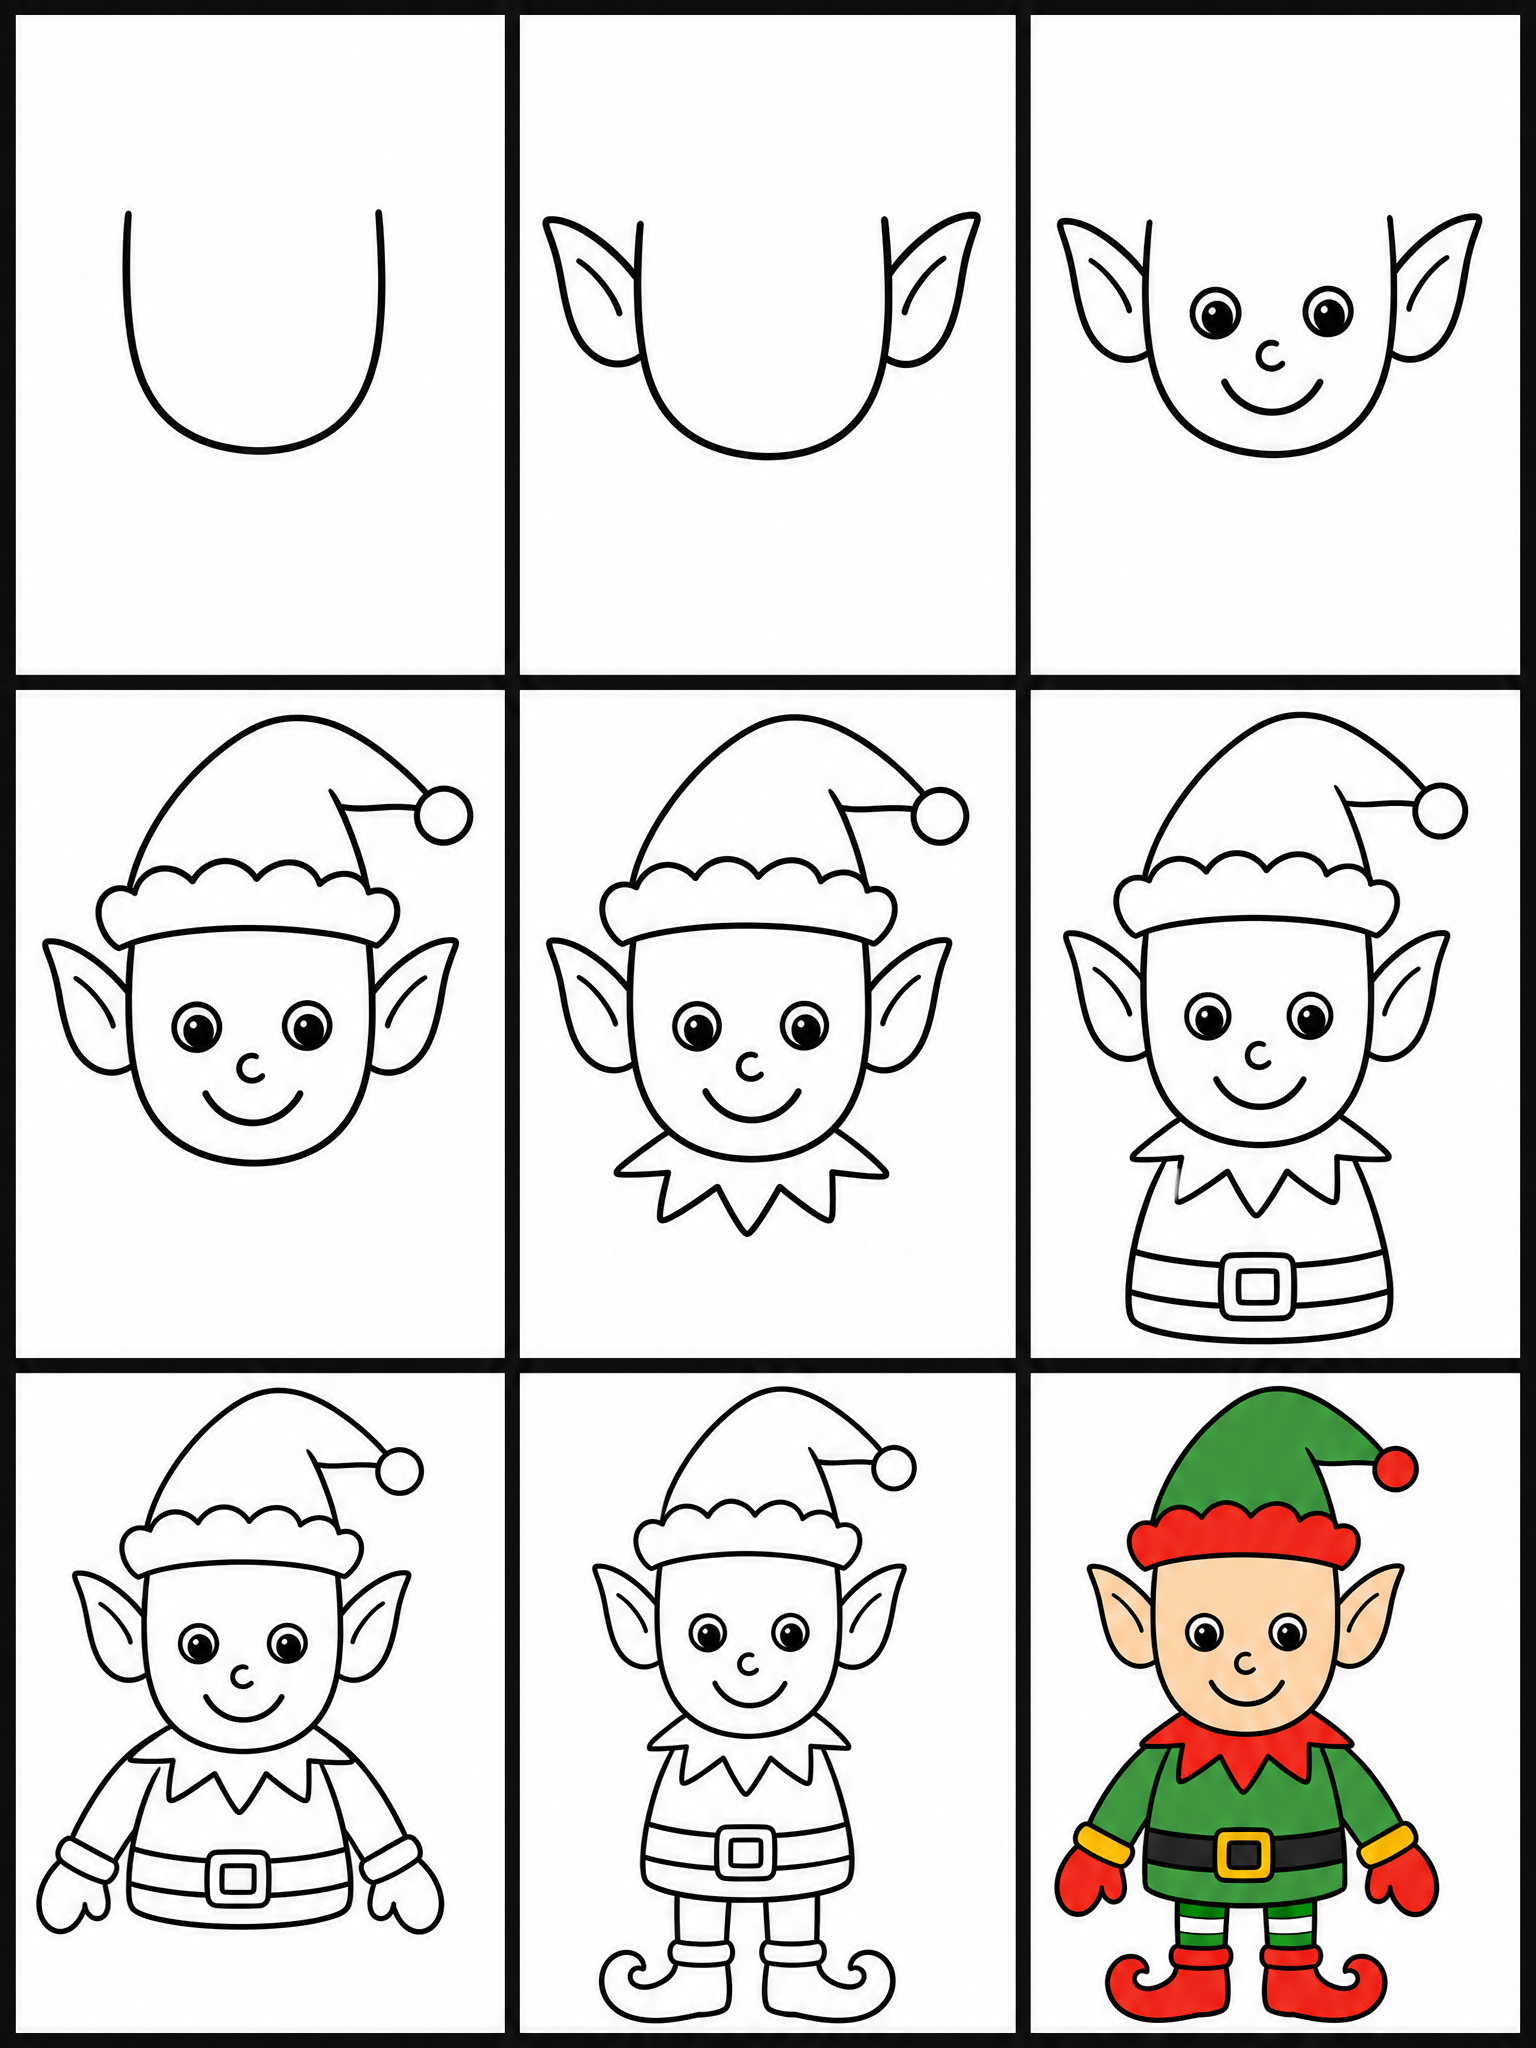
How to Draw Elf: All 9 Steps at a Glance
Here is the whole elf drawing, step by step, in one picture — save it or print it to follow along.
Frequently Asked Questions

Ready to Draw Elf?
Grab a pencil and follow the 9 easy steps — you can finish your elf drawing in minutes.