How to Draw a Turkey
Welcome to our fun and simple guide on how to draw a turkey! Whether you are a parent helping a child or a total beginner, these simple steps make learning easy and enjoyable. By breaking the bird down into basic shapes, you will see that drawing your turkey is a breeze. Grab your favorite pencil and let's get started!
- Easy
- 15 Minutes
- Ages 5+
- Animals
- Birds
- Beginner
- Kids
Learning the Basics of Drawing Your Turkey
In this lesson, we show you how to draw a turkey using simple circles and curved lines. You will start with the main round form, then learn how to draw a turkey face and a big fan of tail feathers step by step.

How to Draw a Turkey Step by Step
- 1Step 1 of 9
Draw the main body
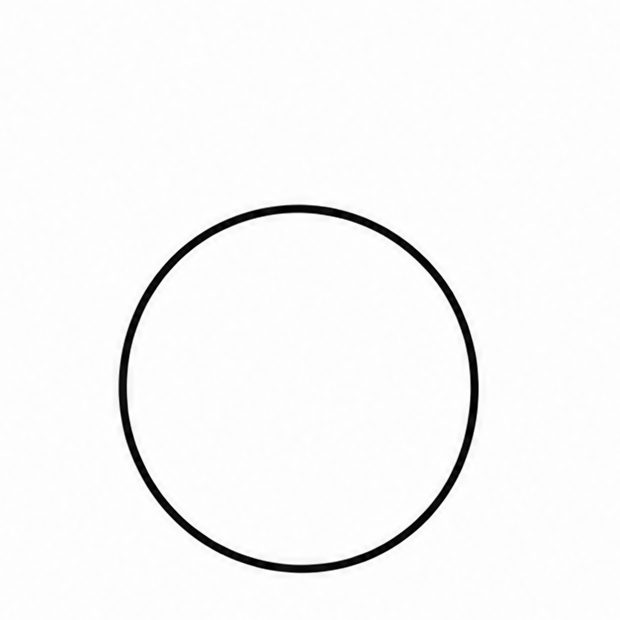
To start learning how to draw a turkey, draw a large, round shape in the lower middle of your paper. This big circle will be the main body. Make sure to leave plenty of room above and around it for the head and big tail feathers later.
Tip: Draw this first shape lightly so you can easily erase any mistakes.
- 2Step 2 of 9
Add the head and neck
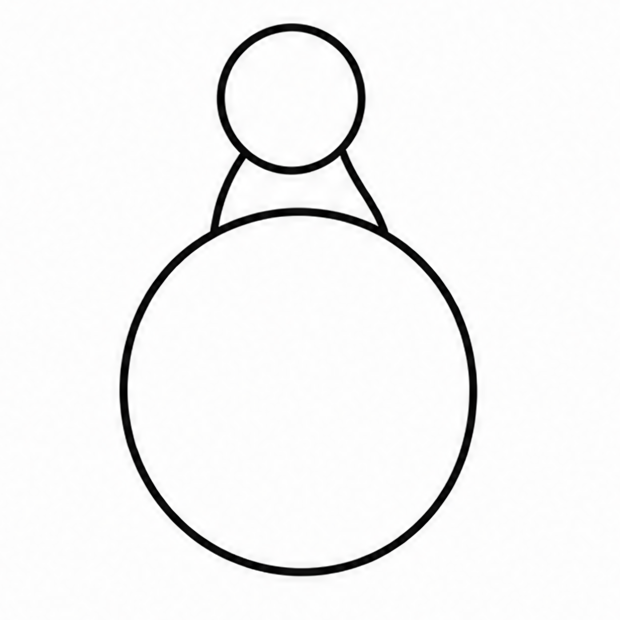
Next, draw a smaller round circle just above the main body to create the head. Then, draw two slightly curved lines pointing downward to smoothly connect the head right to the body. This forms a nice, simple and sturdy neck for your cute bird.
Tip: Keep the neck lines spaced apart so the neck does not look too thin.
- 3Step 3 of 9
Draw the beak and snood
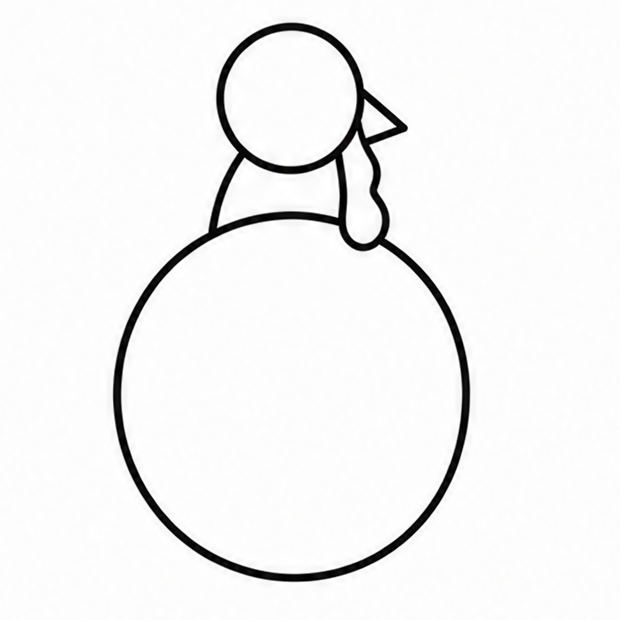
Now it is time to work on the face. Draw a small, sideways triangle on the front of the head to make the beak. Over the beak, draw a bumpy teardrop shape hanging down. This neat little flap is called a snood!
Tip: Make the snood droop right over the top edge of the beak.
- 4Step 4 of 9
Add the eye and wattle
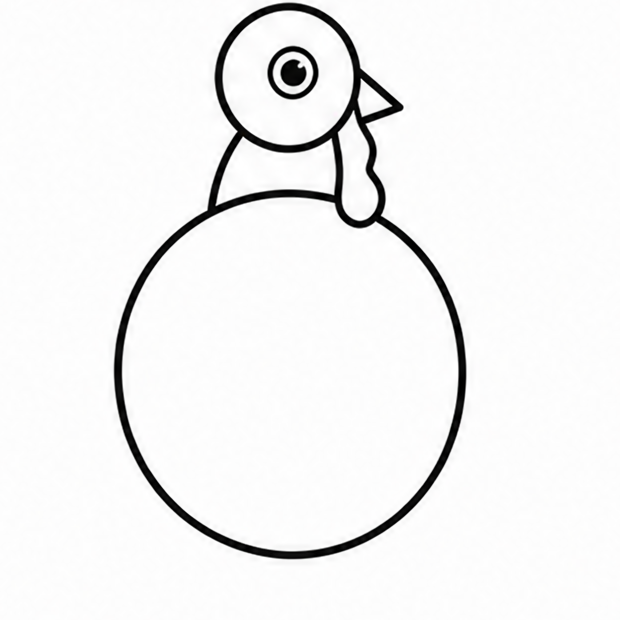
Draw a small dot or circle near the top of the head to give your bird a bright, happy eye. Below the beak and neck, draw a squiggly, bumpy shape hanging down towards the chest. This funny, bumpy part is called a wattle.
Tip: Draw the eye a bit larger if you want a friendlier look.
- 5Step 5 of 9
Draw the side wing
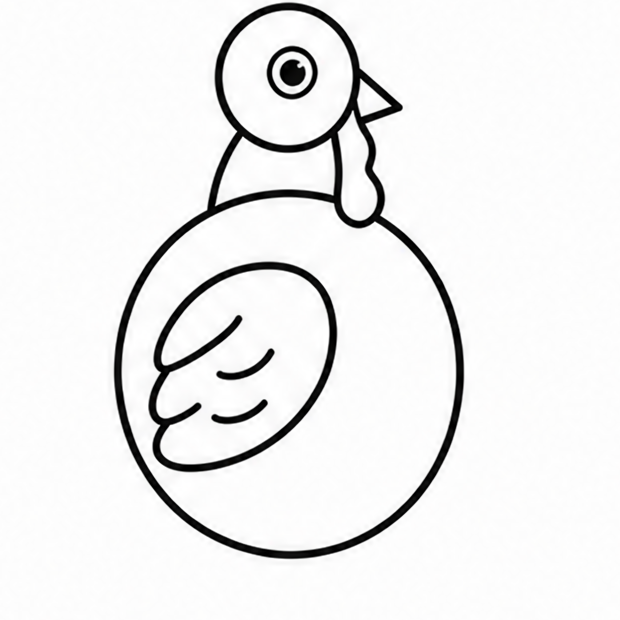
On the side of the large body circle, draw a long, curved shape that looks just like a folded leaf or a sideways letter U. Add a couple of gentle, curved lines inside this shape to show where the simple wing feathers perfectly overlap.
Tip: Let the wing rest right in the middle of the large body circle.
- 6Step 6 of 9
Add the legs and feet
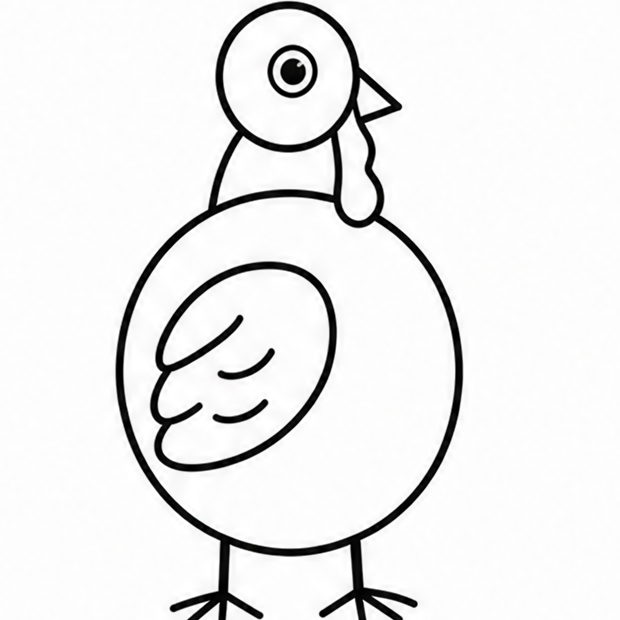
At the bottom of the round body, draw two straight vertical lines pointing down. These are the main legs of your bird. At the end of each leg, draw three straight lines pointing outward like a small fork to create the funny little toes.
Tip: Keep the legs short and sturdy to support the round body.
- 7Step 7 of 9
Draw the tail feather base
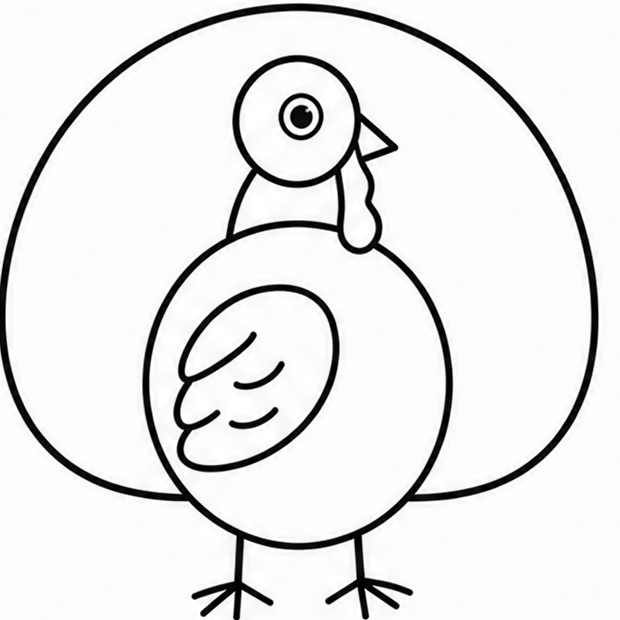
Behind the round body, draw a very large half-circle that arches right over the back and head. This huge shape creates the perfect background for the big fan of tail feathers. It should look like a giant rainbow shape standing behind your beautiful bird.
Tip: Make this shape extra wide so the tail looks big and impressive.
- 8Step 8 of 9
Detail the tail feathers
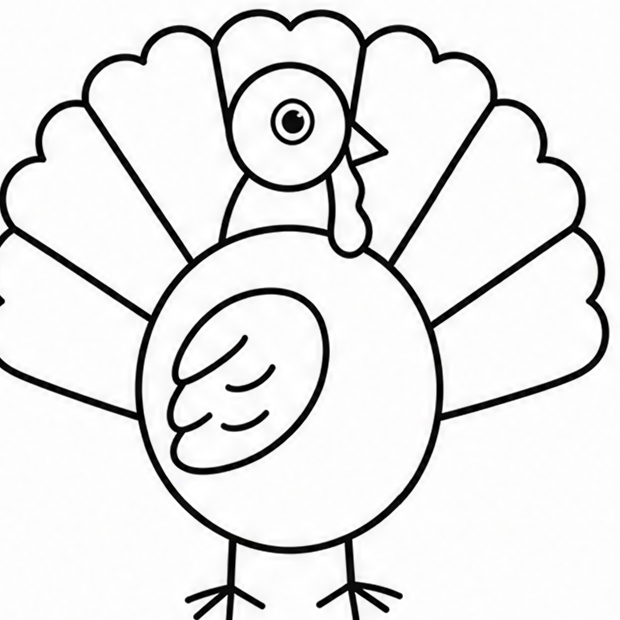
Turn the big half-circle into separate feathers by drawing straight lines from the body's edge out to the outside of the large arch. Add small bumps or soft scallops along the very top edge of the arch to show the rounded tips of each feather.
Tip: Space your straight lines out evenly to create nice, wide feathers.
- 9Finished drawing
Add simple color to finish
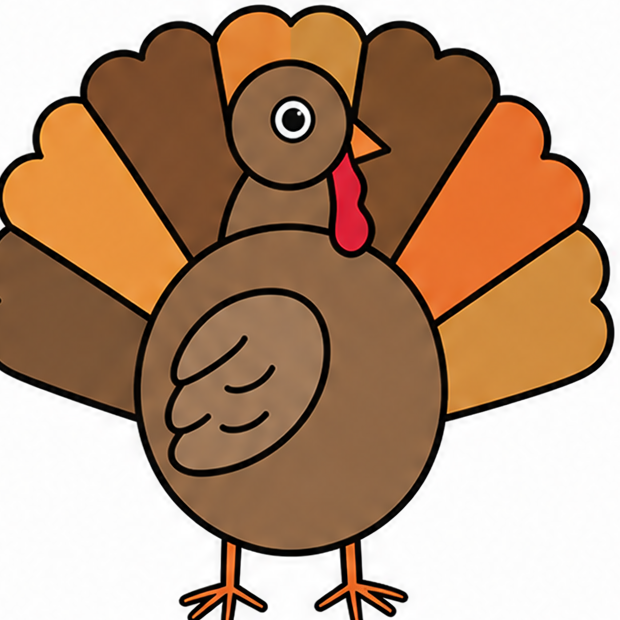
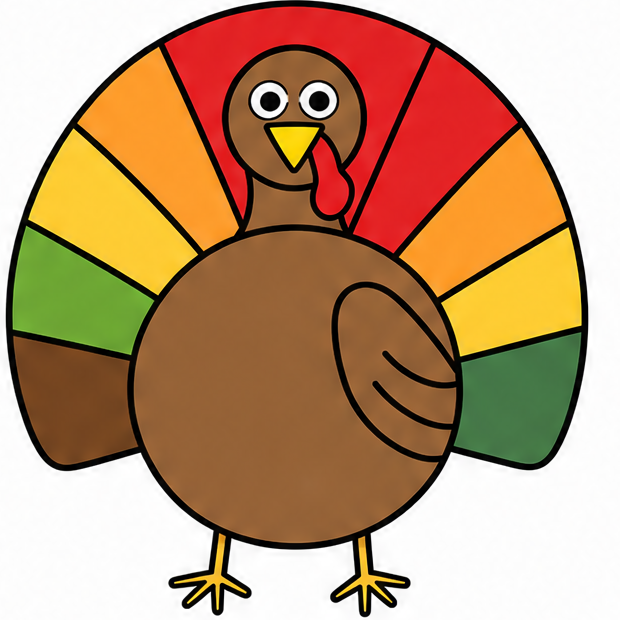
Erase any extra overlapping pencil lines. To finish learning how to draw a turkey, add fun, simple colors! Use a bright red for the wattle and snood, orange for the beak and feet, and different easy shades of brown for the round body and feathers.
Tip: Try using different crayons or markers to make the feathers super colorful!
Draw Turkey in 9 Easy Steps
Anyone can learn how to draw a turkey — no drawing experience needed.
9
Simple steps
15 Minutes
Start to finish
Ages 5+
Great for
Fun Turkey Ideas
Once you know how to draw a turkey, you can change its look! Try these fun ways to make your bird completely unique.
Change the pose
Draw the bird sitting quietly in the grass instead of standing up on its long legs.
Add a simple accessory
Give your funny bird a silly top hat or a little bow tie around its neck.
Change the expression
Make the eye wink or draw the beak slightly open like it is making a happy gobble sound.
Common Mistakes When Drawing Turkeys
Drawing the tail too small
If the fan of feathers looks tiny, it gets lost behind the body. Make the tail extra wide and tall to look impressive!
Making the neck too long
A super long neck will make the bird look a little strange. Keep the neck short, thick, and sturdy.
Forgetting the snood and wattle
These funny bumps give the bird its classic and recognizable face. Do not skip these great details.
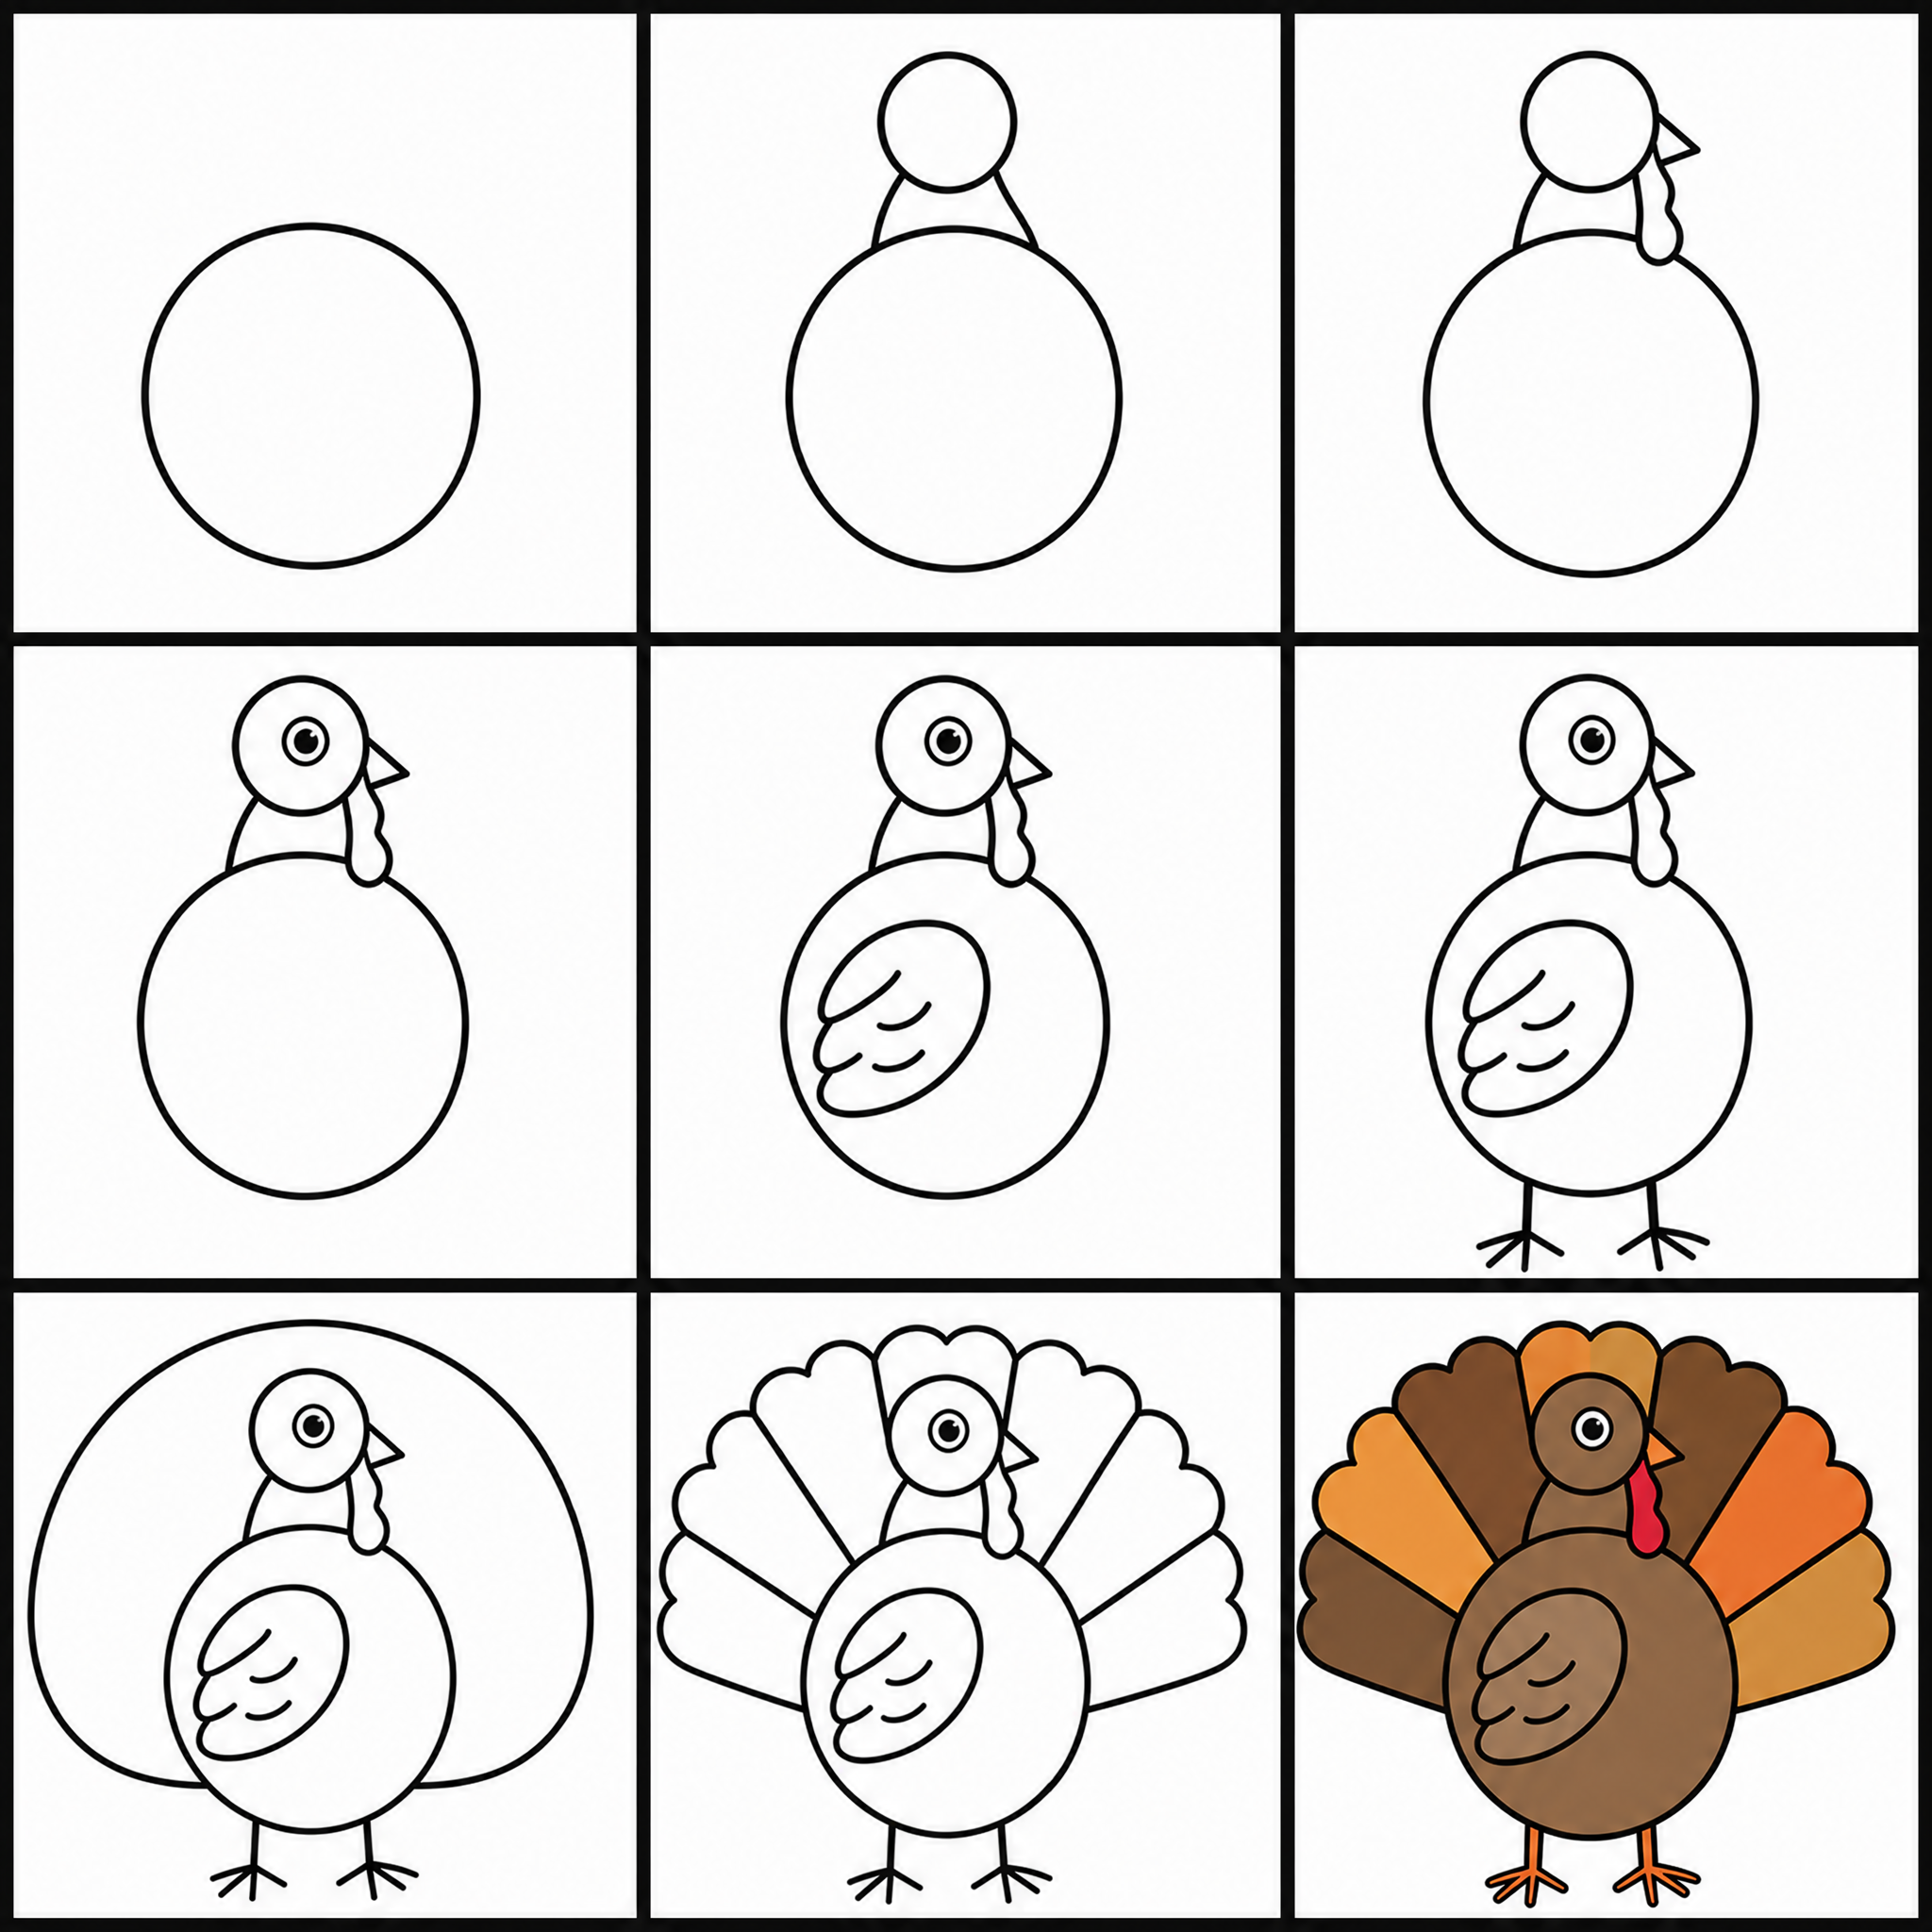
How to Draw Turkey: All 9 Steps at a Glance
Here is the whole turkey drawing, step by step, in one picture — save it or print it to follow along.
Frequently Asked Questions
General

Ready to Draw Turkey?
Grab a pencil and follow the 9 easy steps — you can finish your turkey drawing in minutes.