How to Draw a Christmas Tree
Are you wondering how to draw a christmas tree for the holidays? It is much easier than you might think to create your own festive masterpiece! In this simple tutorial, we will break down the drawing into a few basic shapes that kids and beginners can easily follow. Grab your pencils and let's get started on this fun winter project.
- Easy
- 15 Minutes
- Ages 4+
- Holiday
- Winter
- Beginner
About This Drawing Lesson
Welcome to this lesson on how to draw a christmas tree using very simple triangles and a star. You will learn to build the tree from top to bottom in sections, making it perfectly balanced and ready to decorate. By the end, you will have a beautiful drawing of your christmas tree to share!

How to Draw a Christmas Tree Step by Step
- 1Step 1 of 9
Draw the top star

Begin your drawing by sketching a simple five-pointed star near the top of your paper. This will be the beautiful tree topper. Make sure to leave plenty of room underneath for the rest of your christmas tree so you do not run out of space.
Tip: Draw the star lightly at first so you can easily erase any messy overlapping lines.
- 2Step 2 of 9
Draw the first leafy section
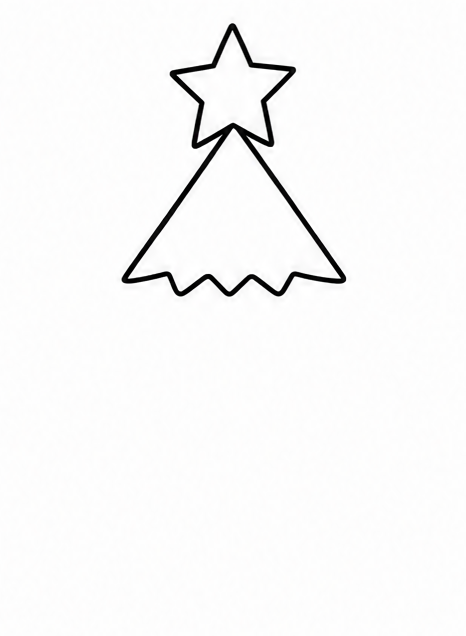
Right underneath the star, draw a triangle shape with a jagged or wavy bottom line. This forms the top tier of the branches. Keep the lines sloping gently outward like a little tent resting right below the glowing star.
Tip: Do not worry about making the jagged lines perfect; real trees are uneven and natural!
- 3Step 3 of 9
Add the middle branch section
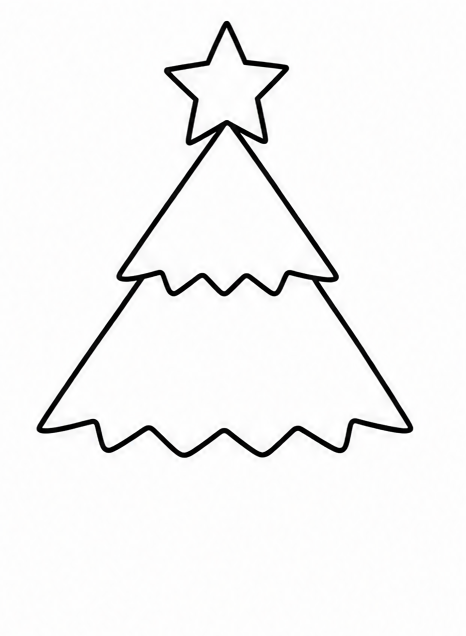
Now, add a slightly larger triangle shape just below the first one. Connect it right to the jagged bottom of the top section. This makes your christmas tree start to look wonderfully full and bushy as it grows toward the ground.
Tip: Keep the side lines slanting outward so the tree gradually gets wider at the bottom.
- 4Step 4 of 9
Draw the bottom leafy section
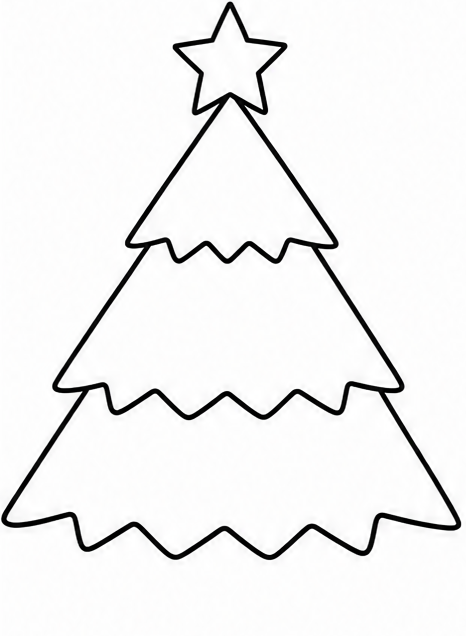
Draw a third, even wider section at the bottom, repeating that same jagged or scalloped edge. This completes the main green part of the branches. Let the sides flare out nice and wide so the bottom can hold plenty of ornaments.
Tip: Make this bottom section the widest part to give the tree a strong, balanced triangle shape.
- 5Step 5 of 9
Add the tree trunk
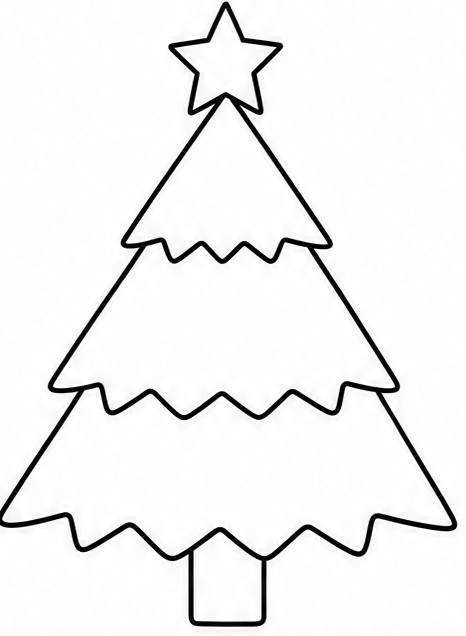
At the very center of the bottom section, draw two straight vertical lines going down. Connect them with a flat horizontal line at the base. This forms the sturdy wooden trunk for your christmas tree, holding up all those heavy green branches.
Tip: Keep the trunk short and centered so the tree looks perfectly balanced on the page.
- 6Step 6 of 9
String some festive garland
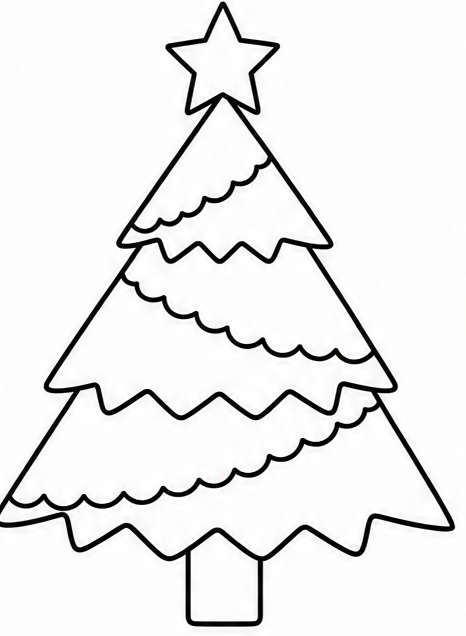
Let's start decorating! Draw soft, swooping diagonal lines across the green sections of the tree. These wavy lines look just like a pretty garland or a bright string of festive lights wrapping elegantly around the branches from top to bottom.
Tip: Curve the garland lines downward slightly to make the tree look round and full.
- 7Step 7 of 9
Hang the round ornaments
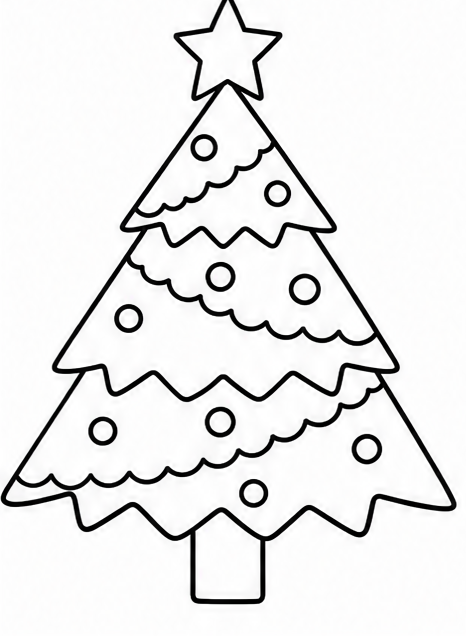
Draw small circles scattered all over the green branches. You can place some on the garland strings and some hanging by themselves. These simple circles will be the bright, colorful ornaments that make your holiday drawing look so cheerful.
Tip: Mix up the sizes of the circles just a little bit for a fun, varied look.
- 8Step 8 of 9
Draw the base or pot
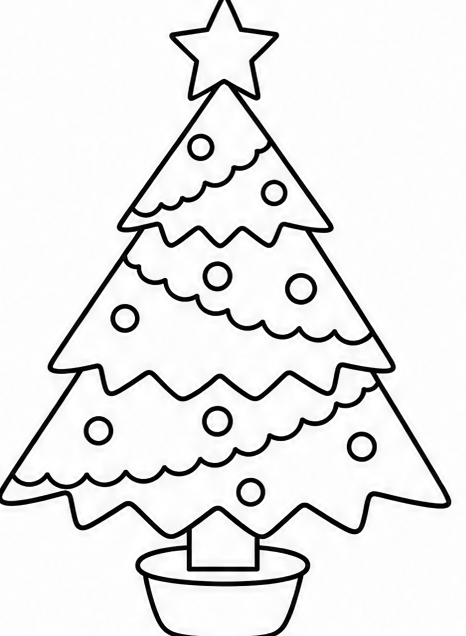
Draw a rounded rectangular pot or a curved snow bank right under the trunk. This gives your tree a solid place to stand so it does not look like it is floating in the air. A nice base grounds your entire picture.
Tip: You can also draw a skirt around the base instead of a pot if you prefer!
- 9Finished drawing
Add simple color to finish
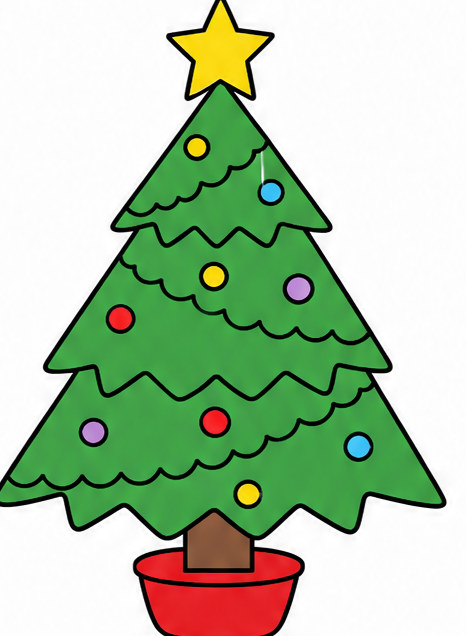
Finally, color your drawing! Use bright yellow for the star, a deep green for the branches, and a nice warm brown for the trunk. Fill in the ornaments with red, blue, and gold to make your christmas tree truly shine.
Tip: Learning how to draw a christmas tree is super fun when you add your favorite colors!
Draw Christmas Tree in 9 Easy Steps
Anyone can learn how to draw a christmas tree — no drawing experience needed.
Simple steps
Start to finish
Great for
Fun Ways to Customize Your Drawing
Once you know the basics, you can easily change up your design! Try these simple ideas to make your drawing unique.
Tall and Skinny Tree
Stretch your three triangles out to make a very tall, elegant tree that reaches the ceiling.
Snow-Covered Branches
Add white, bubbly, scalloped lines on top of the green branches to look like freshly fallen snow.
Gift-Wrapped Base
Instead of a pot, draw simple square boxes wrapped with large bows under the trunk for presents.
Common Beginner Mistakes (and How to Fix Them)
Making branches too straight
If the bottom lines are completely flat, the tree looks like a traffic cone. Use slightly wavy or jagged lines to make it look like natural, leafy pine needles.
Drawing the tree too skinny
If the tree does not get wider at the bottom, it might look unbalanced. Start narrow at the top and make sure each triangle tier gets a bit wider than the last one.
Drawing ornaments too big
Huge ornaments can cover up the nice green branches. Keep the circles small so they look like delicate decorations rather than giant bowling balls.
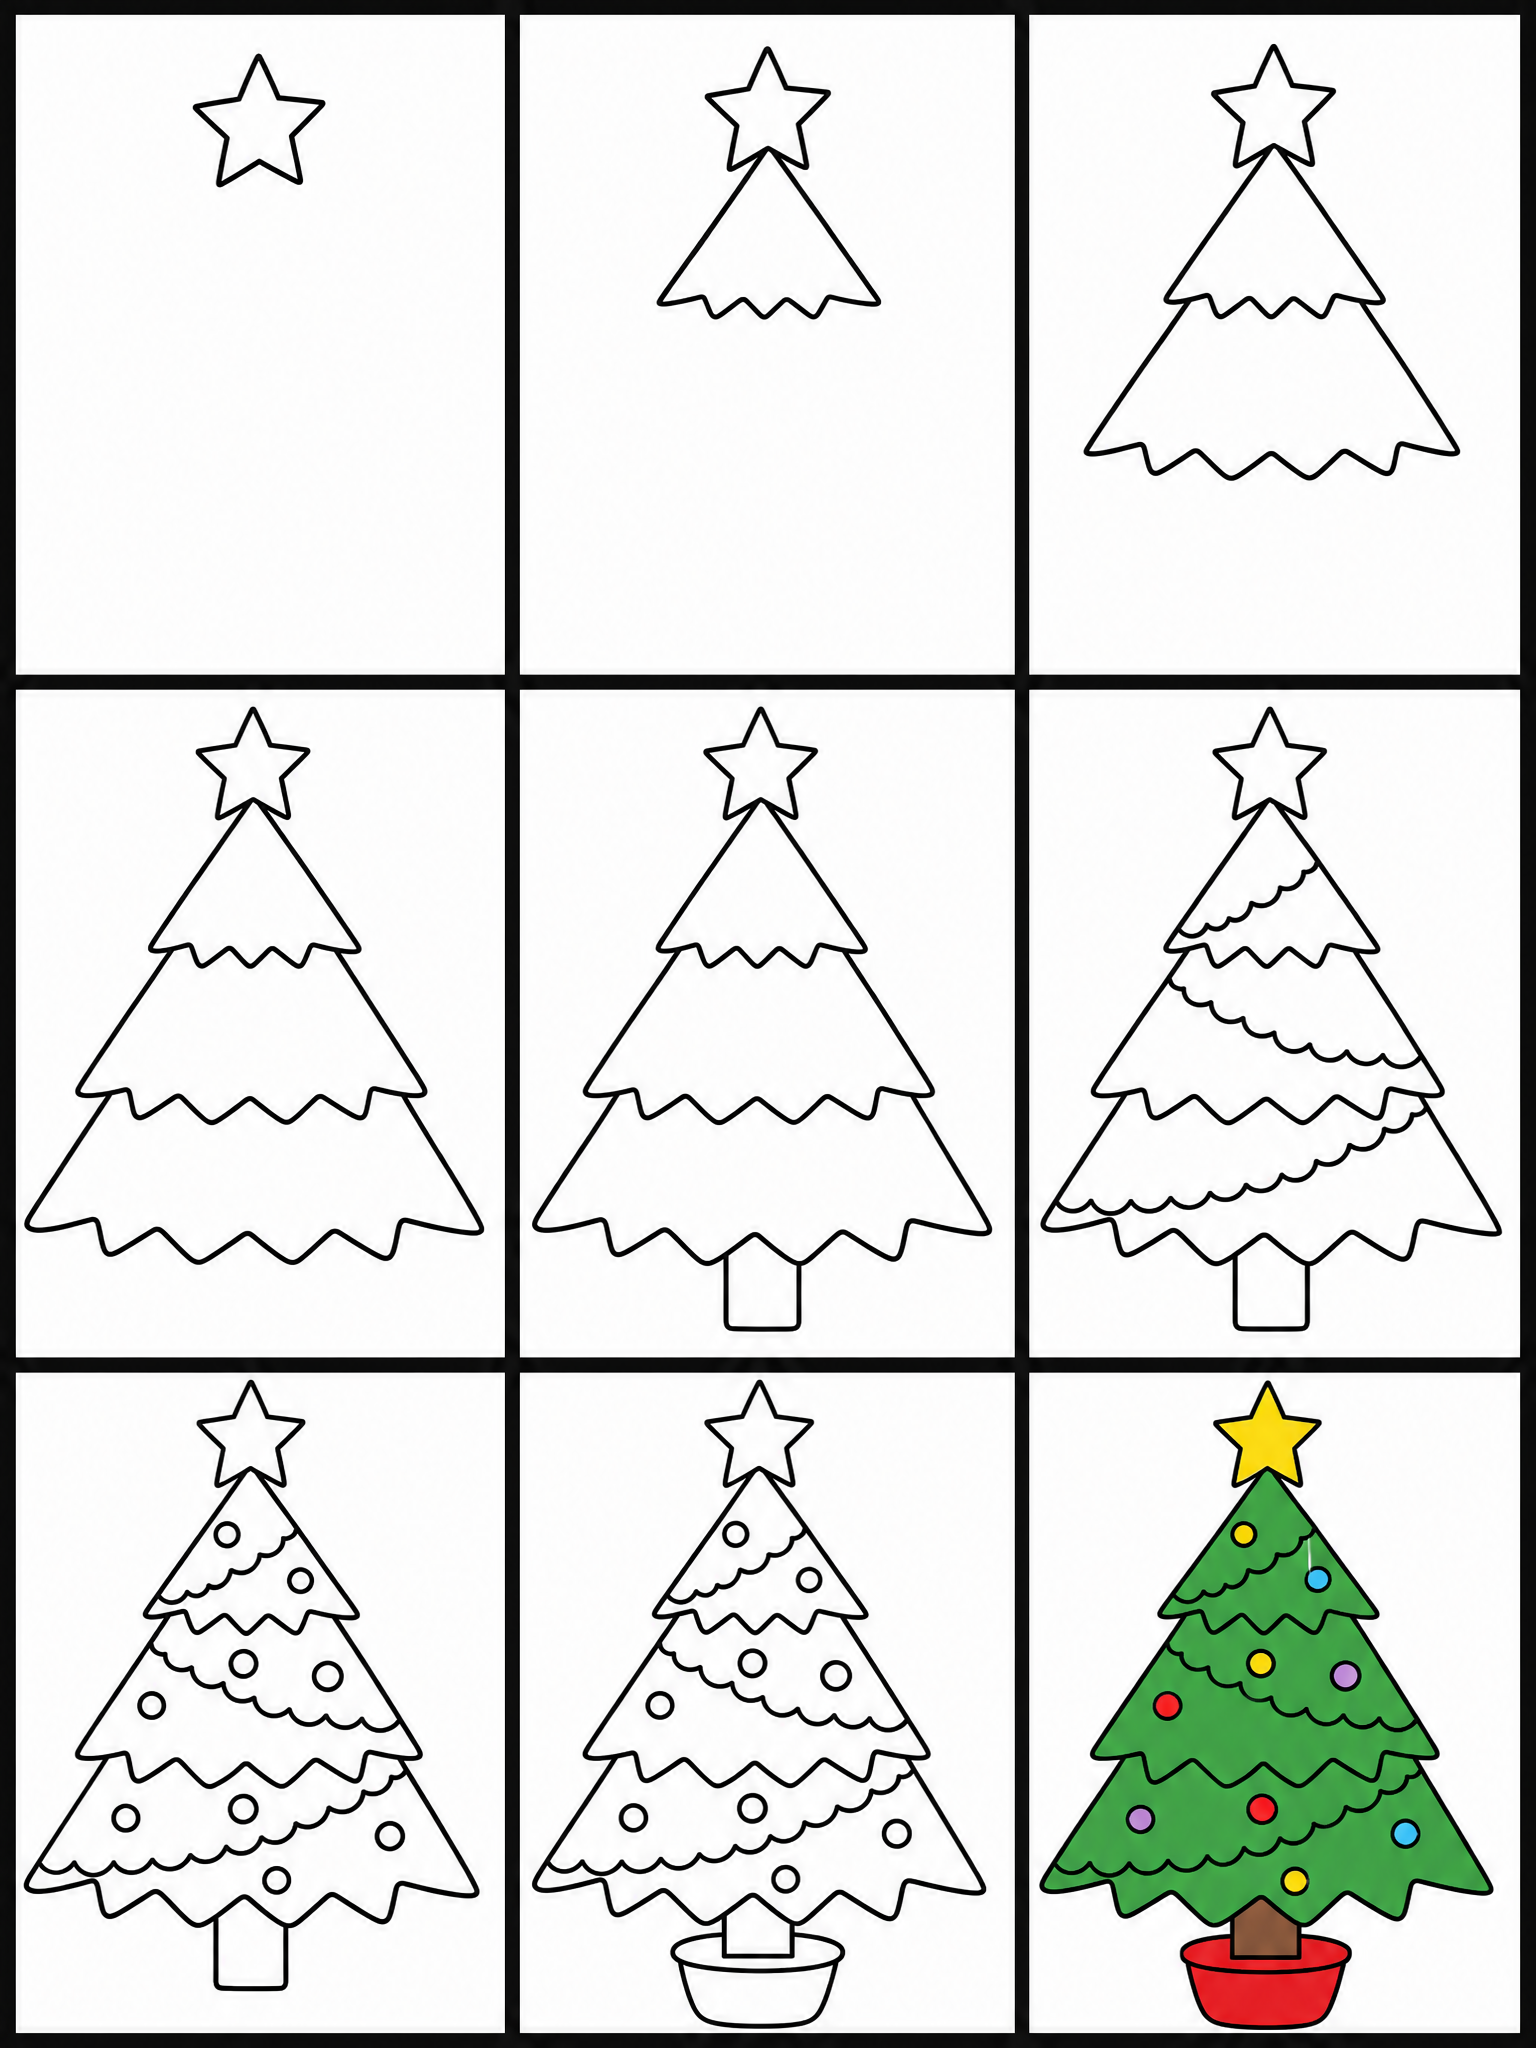
How to Draw Christmas Tree: All 9 Steps at a Glance
Here is the whole christmas tree drawing, step by step, in one picture — save it or print it to follow along.
Frequently Asked Questions


Ready to Draw Christmas Tree?
Grab a pencil and follow the 9 easy steps — you can finish your christmas tree drawing in minutes.