How to Draw a Spider Web
Learning how to draw a spider web is surprisingly easy and incredibly fun. You don't need to be a professional artist to make a cool, spooky design. This simple guide breaks everything down into basic straight lines and gentle curves that anyone can follow. Grab your favorite pencil and let's get started on your drawing!
- Easy
- 10 Minutes
- Ages 4+
- Nature
- Halloween
- Patterns
What You Will Learn
In this tutorial, you will discover that building a complex-looking pattern is actually just repeating simple shapes. We will start by creating a strong star-shaped frame, and then we will carefully weave curved rings outward from the center.

How to Draw a Spider Web Step by Step
- 1Step 1 of 6
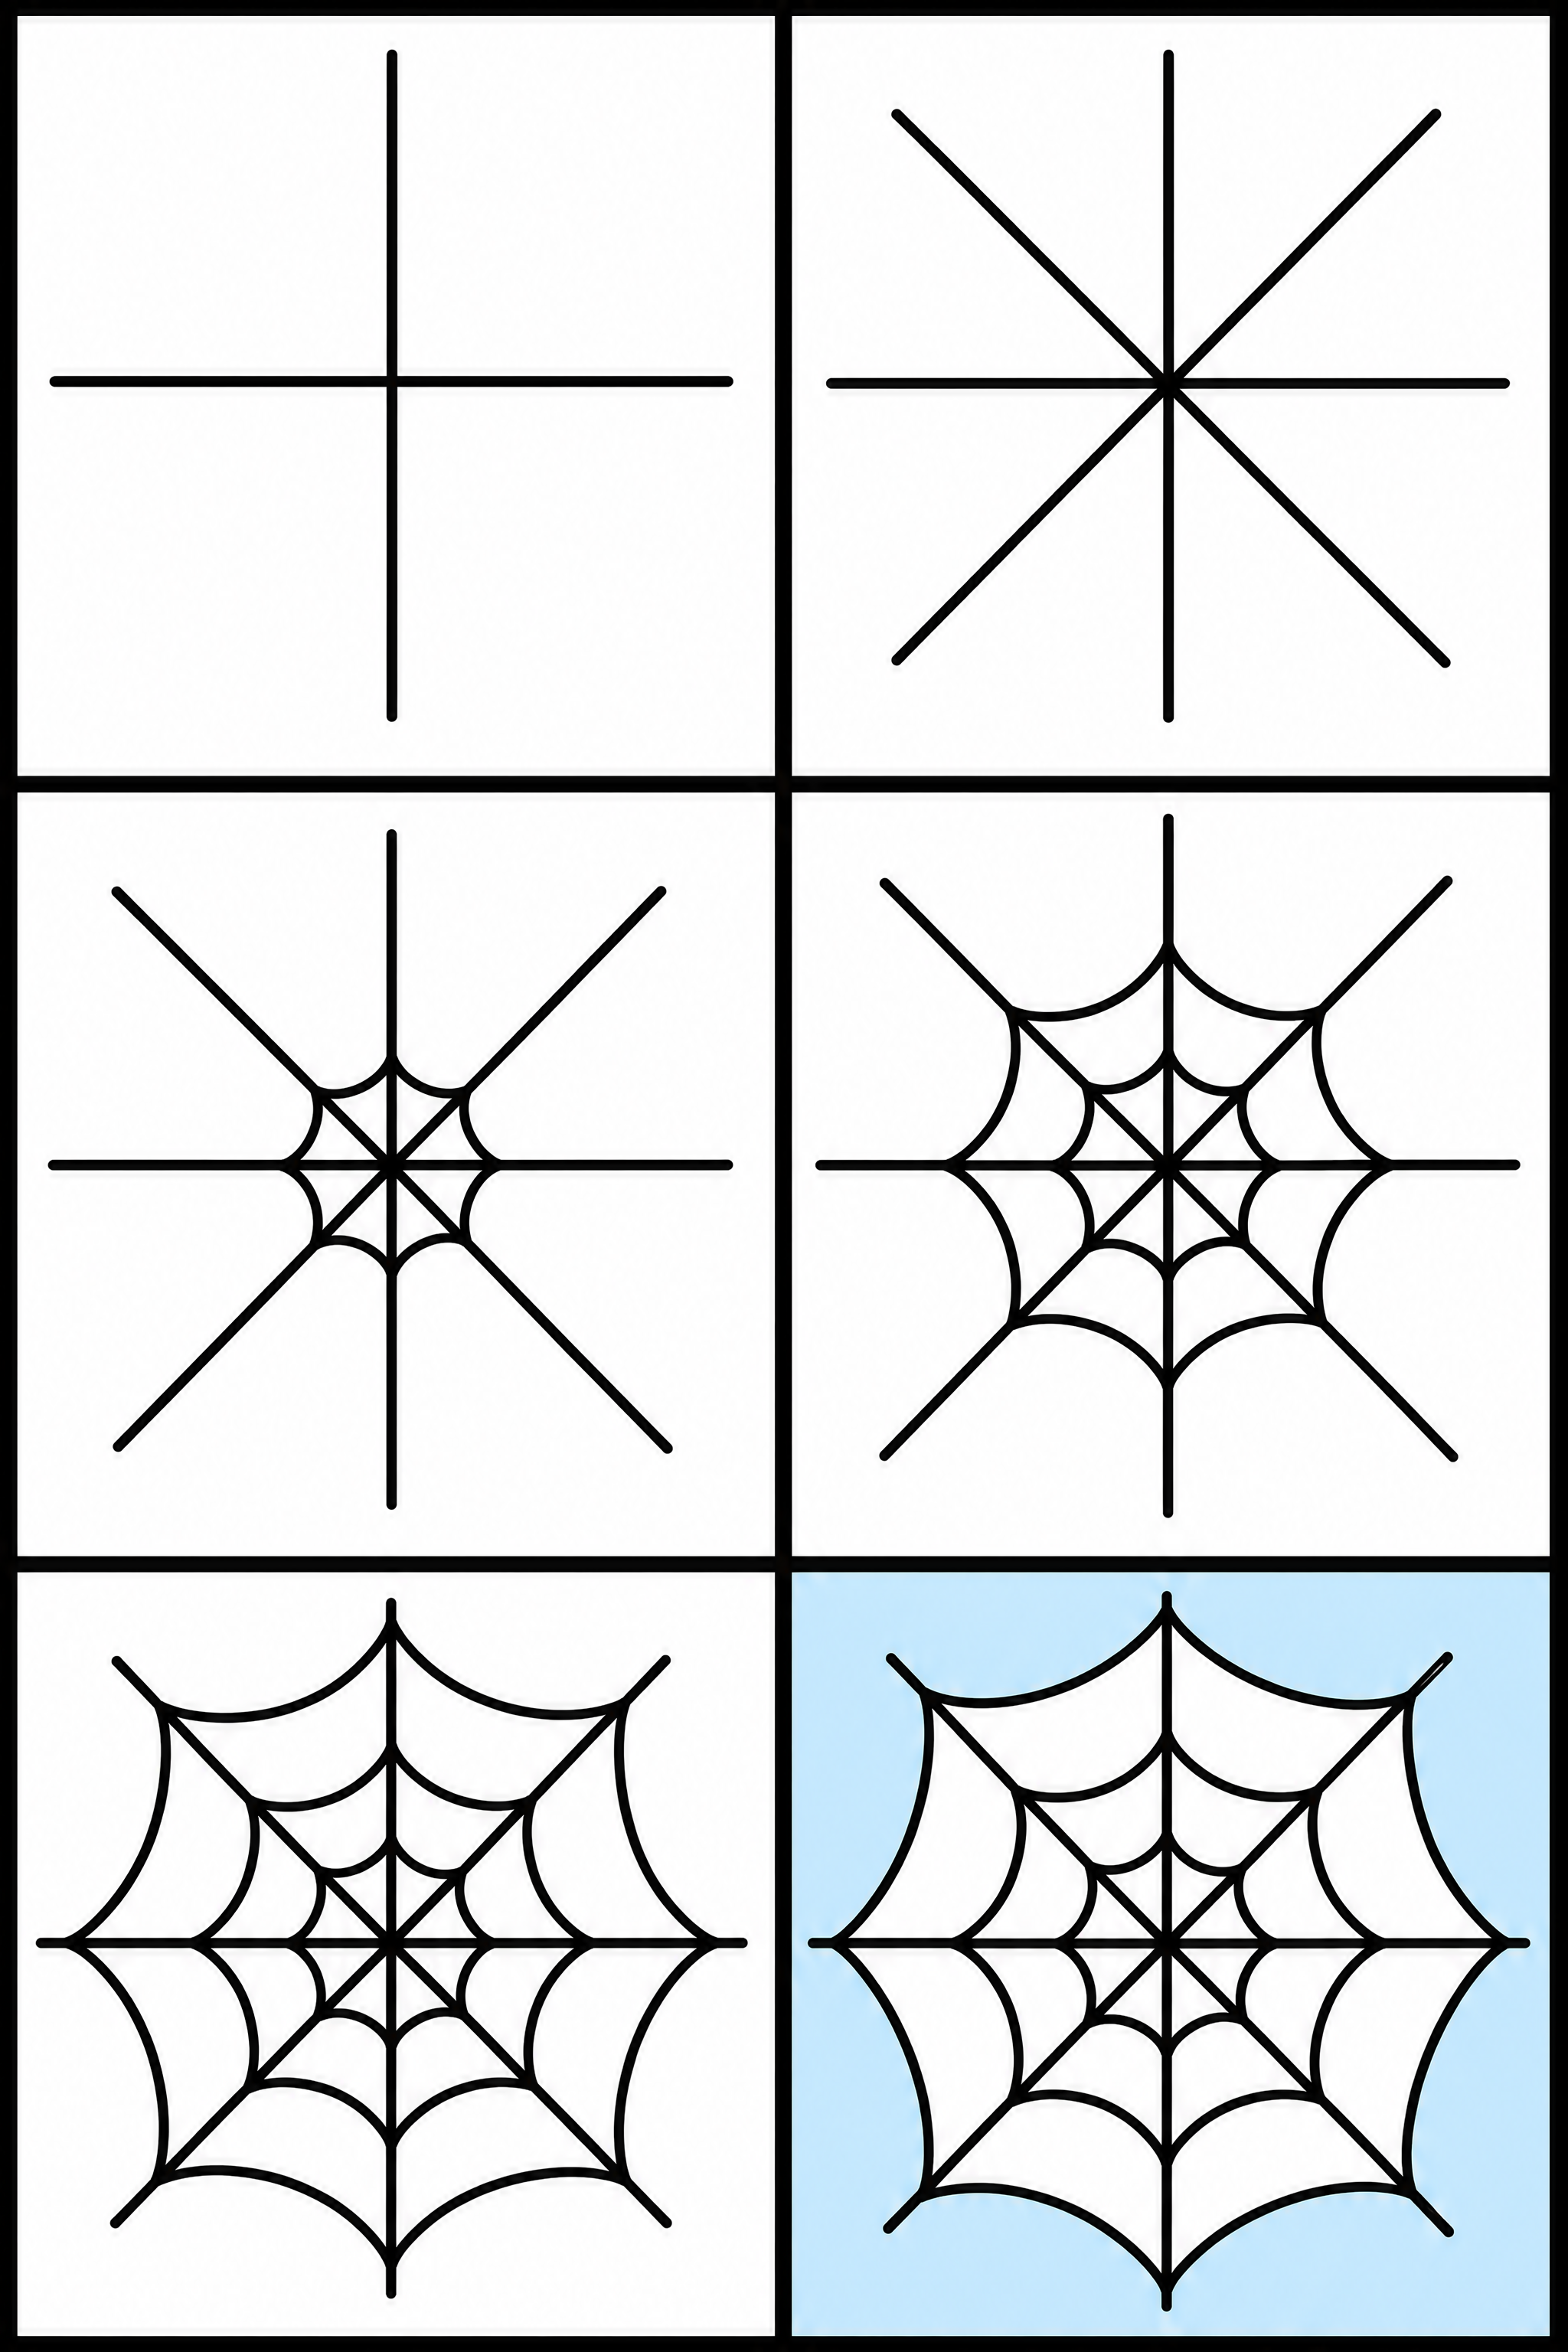
Draw the straight cross

Start by drawing a long vertical line right down the middle of your paper. Then, draw a long horizontal line across the middle, creating a large plus sign. Make sure both lines cross exactly in the center to form the main threads.
Tip: Keep your lines as straight as you can.
- 2Step 2 of 6
Add the diagonal spokes

Next, draw a diagonal line going from the top-left to the bottom-right. Add another diagonal line crossing from the top-right down to the bottom-left. Now your frame looks like a big star with eight pointing pieces. This creates the strong base for your simple design.
Tip: Make sure all diagonal lines meet perfectly in the center cross.
- 3Step 3 of 6
Draw the center ring
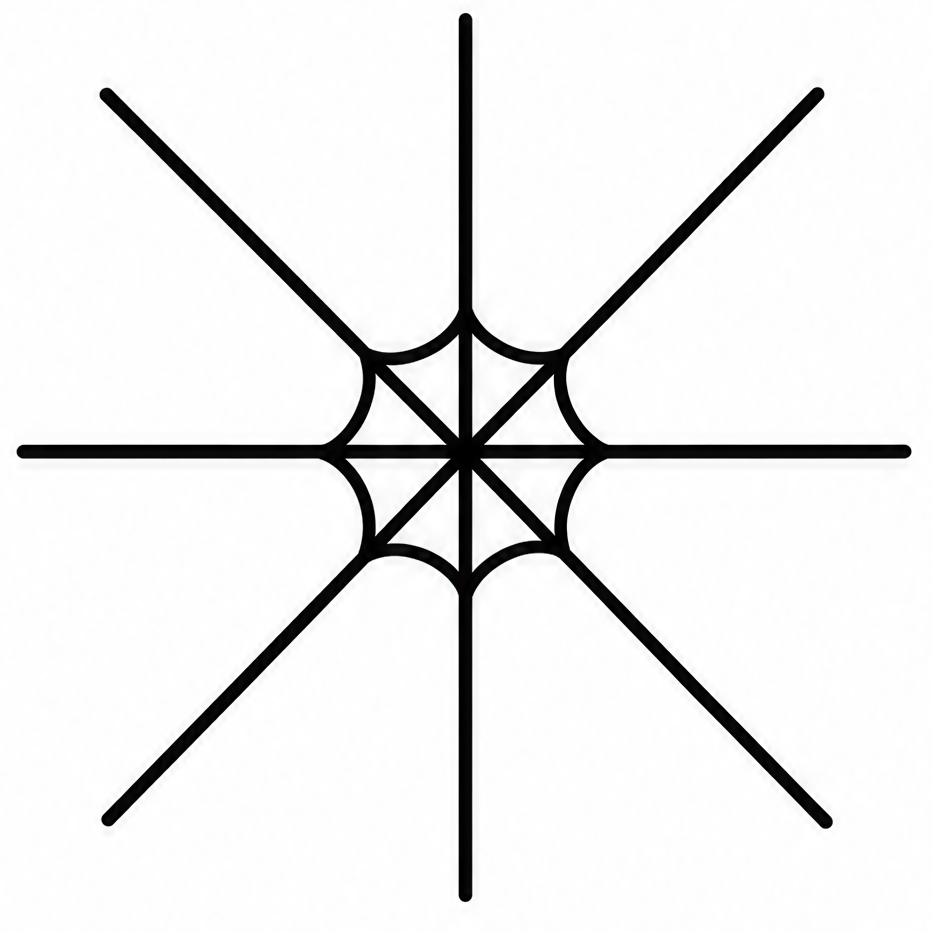
Now that the frame is ready, learning how to draw a spider web becomes super fun. Starting very close to the center point, connect each straight spoke to the next one using a small, downward curved line. Go all the way around to finish the first little circle.
Tip: The curves should look like tiny smiles connecting the lines.
- 4Step 4 of 6
Add the middle ring
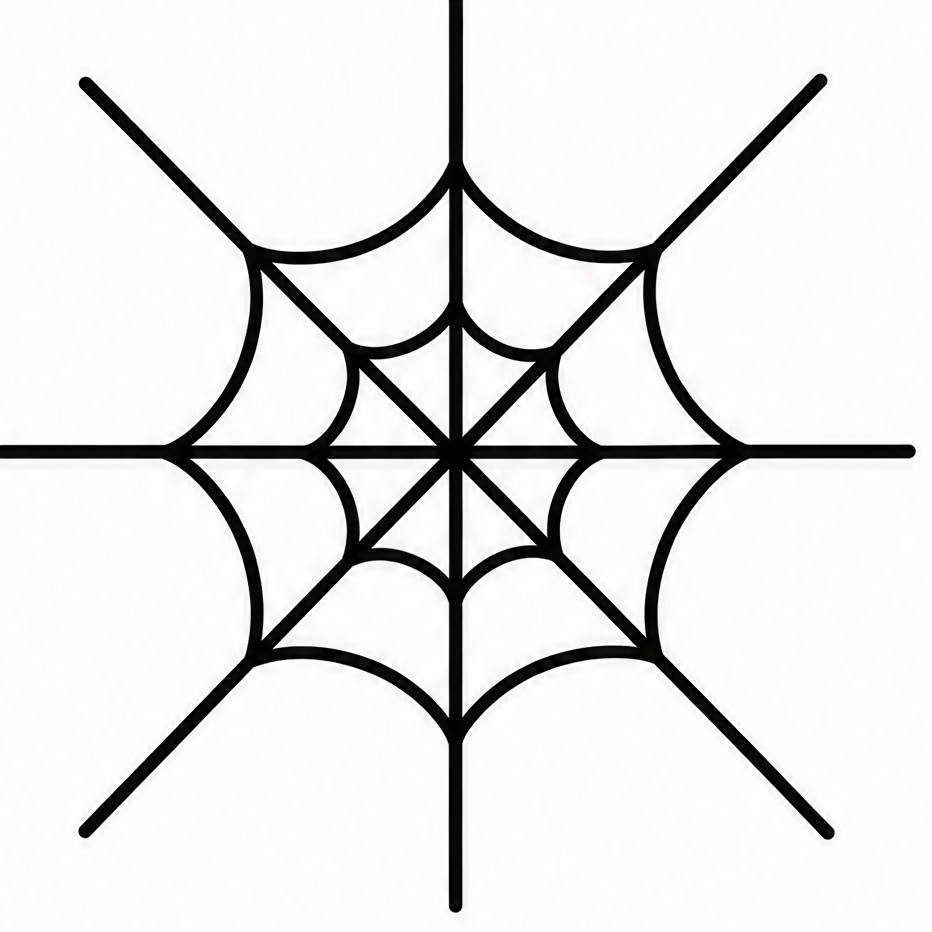
Move a little further out from the center ring to create your second circle. Draw another set of drooping, curved lines connecting each straight spoke all the way around. Take your time to match the dips on every side to keep the pattern neat.
Tip: Try to keep the space between your first and second rings even.
- 5Step 5 of 6
Draw the outer ring
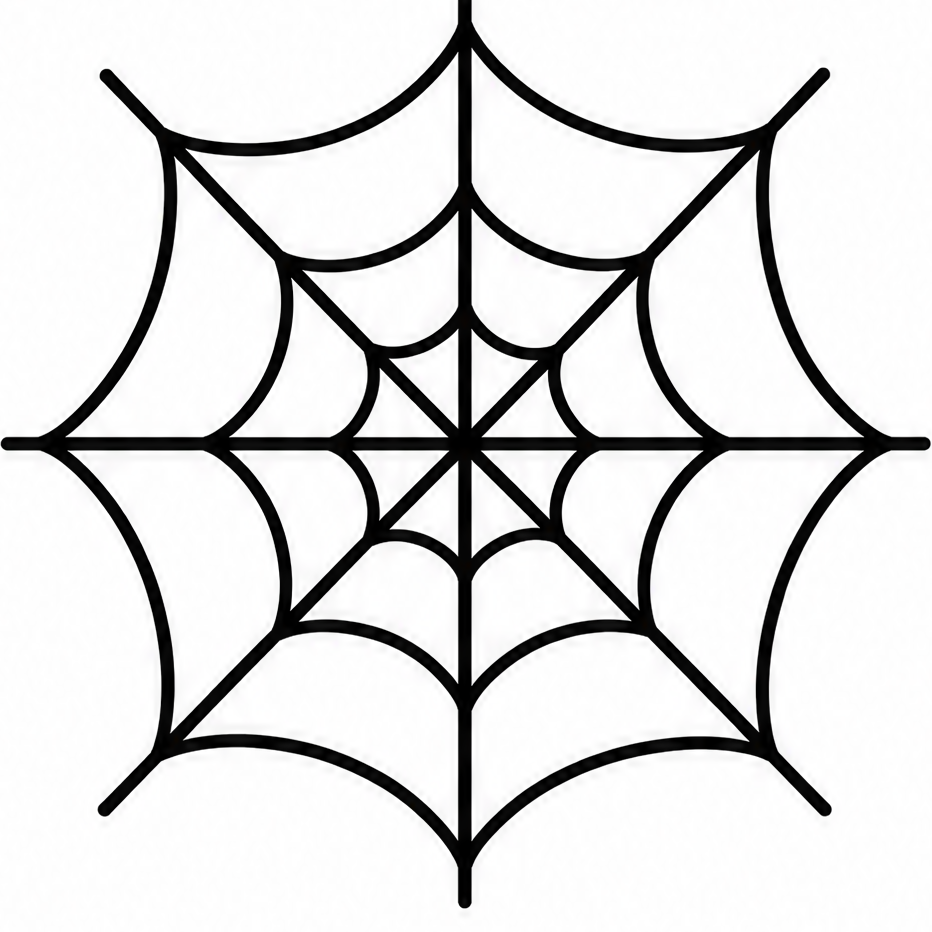
Move near the ends of your straight lines to draw the final, largest ring. Just like before, dip your pencil down in a curved shape from one spoke to the next until the circle is totally complete. You have built a great pattern!
Tip: Leave a little bit of the straight spokes sticking out past this outer ring.
- 6Finished drawing
Add simple color / finish
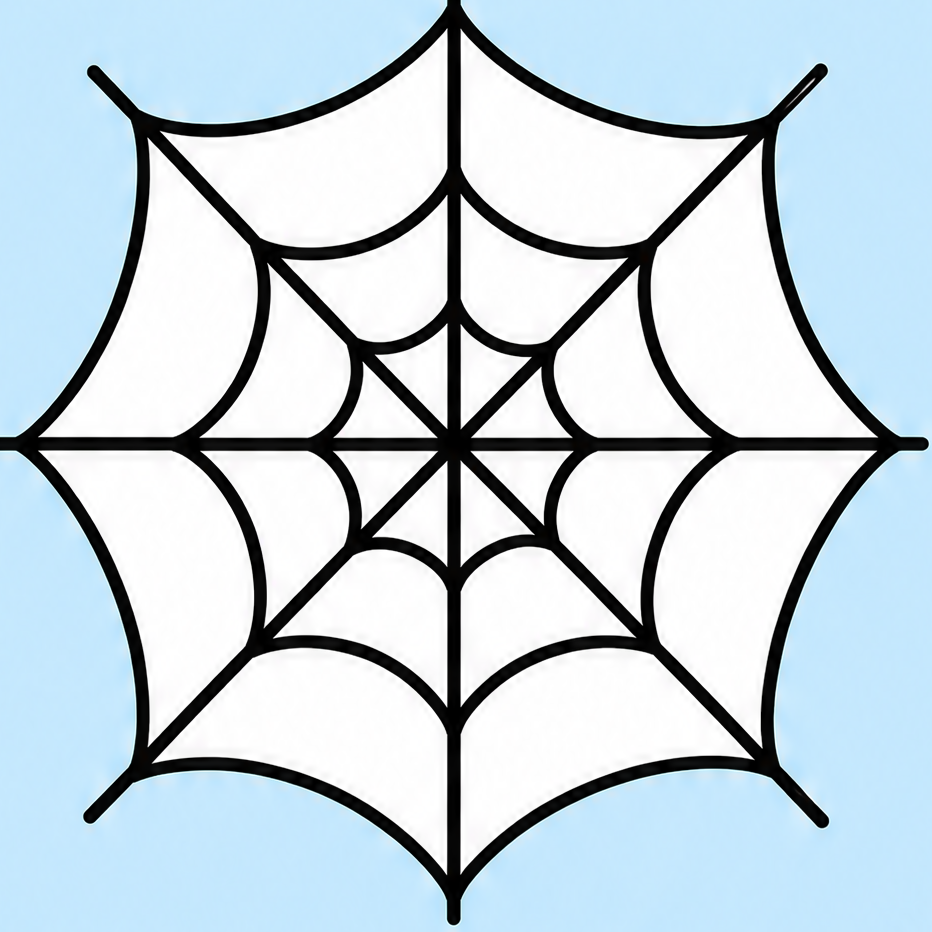
Great job drawing your spider web! Trace over your pencil lines with a dark marker to make them stand out. Finally, add simple color to the background, like a cool blue or bright purple, to make the lines pop. Your amazing art is now completely finished!
Tip: Use light strokes if you decide to color around the inside areas.
Draw Spider Web in 6 Easy Steps
Anyone can learn how to draw a spider web — no drawing experience needed.
6
Simple steps
10 Minutes
Start to finish
Ages 4+
Great for
Creative Ideas for Your Drawing
Once you master the basic shape, try changing up how your art looks! You can easily experiment with different line types and sizes to make it unique.
Super Thick Lines
Use a chunky, broad-tip marker for very bold lines that pop right off the page.
Broken Threads
Leave out one or two of the curved lines on purpose to make the design look old and spooky.
Giant Size
Draw the spokes so long that they stretch all the way off the edges of your paper!
Common Mistakes When Learning How to Draw a Spider Web
Straight Connections
Drawing straight lines between the spokes makes it look like a wheel. Make sure each connecting line dips down like a gentle smile.
Off-Center Frame
Making one side huge and the other side tiny. Try to keep the main intersection point right in the middle of your paper.
Wobbly Spokes
Freehanding straight lines that end up curving accidentally. Use a ruler or the straight edge of a book to guide your pencil for the main frame.
How to Draw Spider Web: All 6 Steps at a Glance
Here is the whole spider web drawing, step by step, in one picture — save it or print it to follow along.