How to Draw a Pumpkin
Welcome to this fun guide on how to draw a pumpkin! If you are a total beginner or a parent looking for a simple art project for your kids, you are in the right place. We will break down every shape so that anyone can follow along and feel proud of their artwork. Grab your favorite pencil, and let's get started on our fun new drawing!
- Easy
- 15 minutes
- Ages 5+
- Pumpkin
- Vegetables
- Autumn
- Nature Drawing
Why This Drawing Method Works
We start with a basic oval in the center and build outwards, making it simple to keep your drawing completely balanced. By the end of this lesson on how to draw a pumpkin, you will fully understand how to use curved lines to create round, plump shapes easily.

How to Draw a Pumpkin Step by Step
- 1Step 1 of 9
Draw the center oval
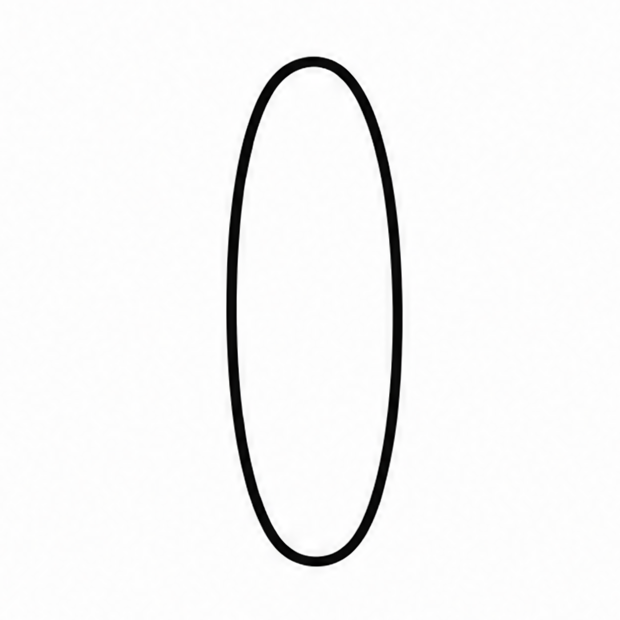
Start learning how to draw a pumpkin by making a tall, skinny oval right in the middle of your paper. This will be the center segment. Make sure to leave plenty of room on the sides, top, and bottom for the rest of the shape.
Tip: Draw lightly so you can erase mistakes easily.
- 2Step 2 of 9
Add a curve on the right
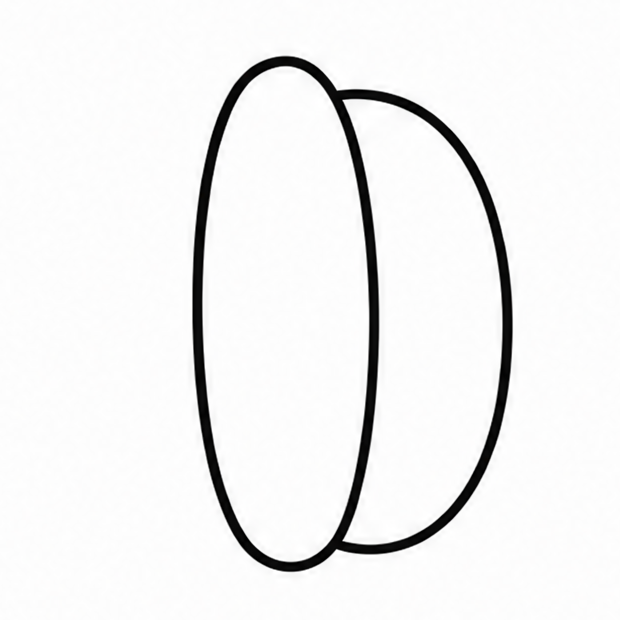
Starting from the top tip of your first oval, draw a curved line that bows out to the right. Bring this line back in so it connects neatly to the very bottom of your center oval. This creates the next round bump.
Tip: Keep the curve smooth like a backward letter C.
- 3Step 3 of 9
Add a curve on the left
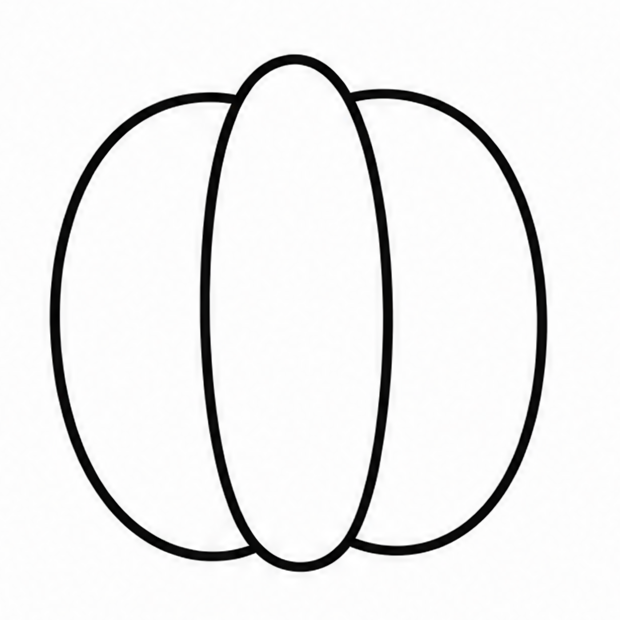
Now, do the exact same thing on the left side. Draw a curved line from the top tip of the center oval down to the bottom tip, bowing it out to the left. Your shape should now look nicely balanced on both sides.
Tip: Try to make it match the right side as best as you can.
- 4Step 4 of 9
Draw the right outer edge
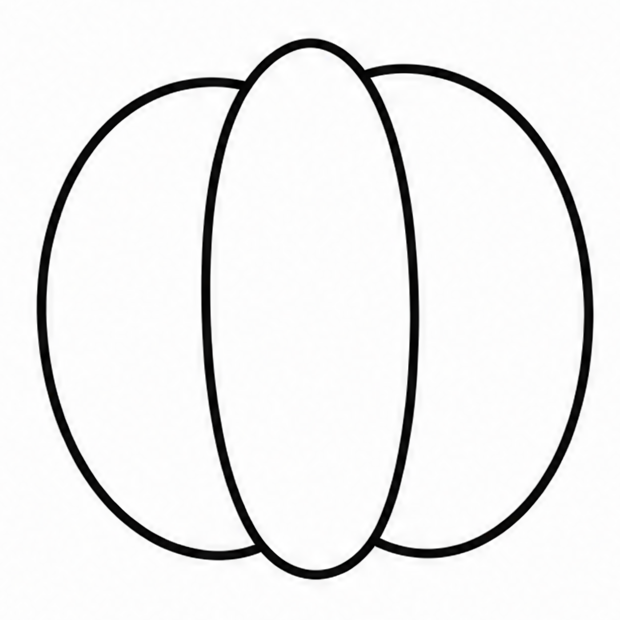
Next, draw an even wider curve on the far right side. Start just a little bit below the top point of your middle oval, bow it out widely, and connect it back near the bottom point. This makes your drawing look nice and plump.
Tip: Make this curve much wider than the last one.
- 5Step 5 of 9
Draw the left outer edge
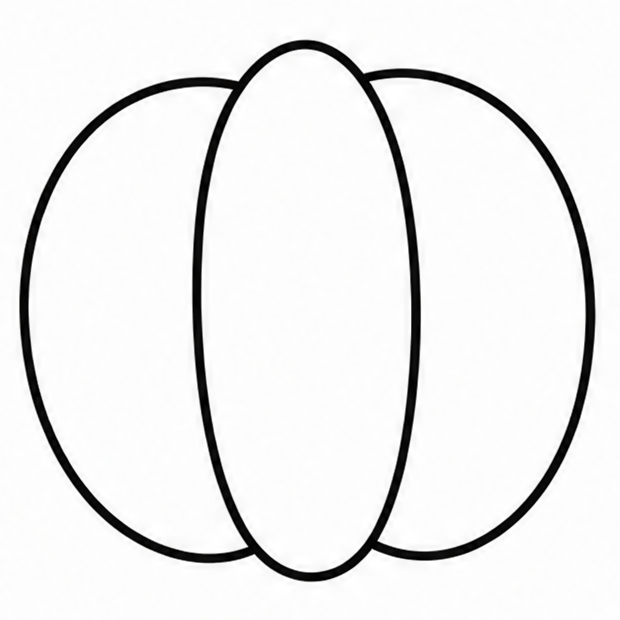
Repeat that previous step on the left side. Start near the top point, make a big wide curve stretching out to the left, and bring it back down to the bottom point. Now you have the main body complete!
Tip: Do not worry if it is slightly uneven; nature is rarely perfect.
- 6Step 6 of 9
Draw the bottom of the stem
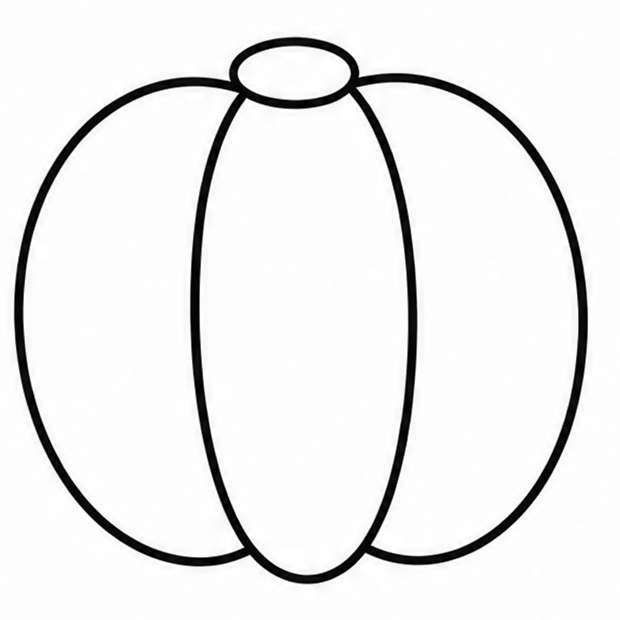
At the very top center where all your curved lines meet, draw a small horizontal oval. This small shape will be the flat bottom part of the stem where it connects to the plant. Place it right over the overlapping points.
Tip: Make the small oval slightly tilted if you want a leaning stem.
- 7Step 7 of 9
Draw the top of the stem
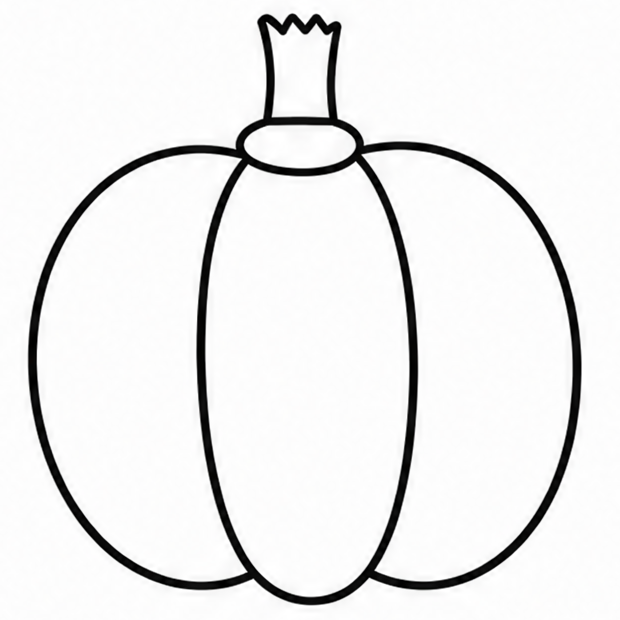
From the small oval you just made, draw two short lines going straight up. Then, connect those two lines at the top with a slightly bumpy horizontal line. This finishes the thick, tough stem sitting on top of the shape.
Tip: Stems are bumpy and uneven, so wavy lines are perfect here.
- 8Step 8 of 9
Add a curly vine
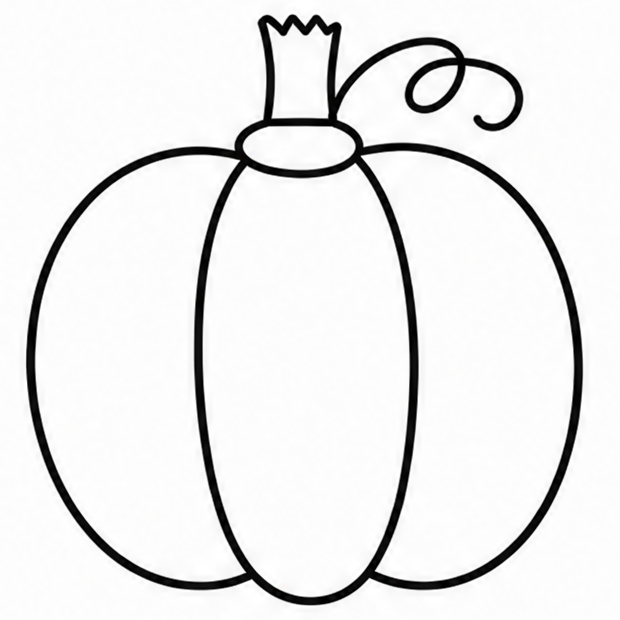
Give your drawing some extra fun character by adding a curly vine near the stem. Draw a spiral line that loops around once or twice, extending out from the base of the stem. It adds a wonderful natural detail!
Tip: Think of drawing a curly piece of hair or a bouncy spring.
- 9Finished drawing
Color your final drawing
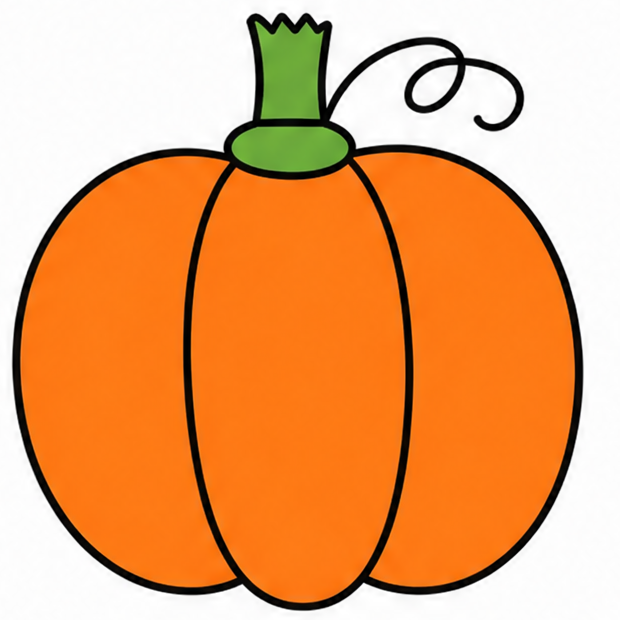
It is time to bring your picture to life! Use a bright orange for the main body and color the stem green or brown. You have just learned exactly how to draw a pumpkin! Enjoy your lovely new artwork.
Tip: Try mixing dark orange and light orange for extra fun.
Draw Pumpkin in 9 Easy Steps
Anyone can learn how to draw a pumpkin — no drawing experience needed.
9
Simple steps
15 minutes
Start to finish
Ages 5+
Great for
Fun Ways to Change Up Your Drawing
Once you know how to draw pumpkins, it is super easy to change their look! Try these fun ideas to make your art completely unique.
Tall and Skinny
Make all your center ovals much longer to create a stretched-out shape.
Short and Squat
Draw the curves very wide and close to the ground for a heavy, flat look.
Adding Leaves
Draw a big, star-shaped leaf attached to the curly vine next to the stem.
Common Mistakes When You Draw a Pumpkin
Making it perfectly round
Nature is full of lovely lumps and bumps. Do not worry if your curves are slightly uneven; it actually makes your drawing look much better!
Lines not meeting at the top
Make sure all your vertical curved lines touch at the very top and bottom points so the segments look firmly connected.
Drawing the stem too tiny
They have thick, strong stems to hold up their heavy weight. Make the stem chunky and wide so it looks strong.
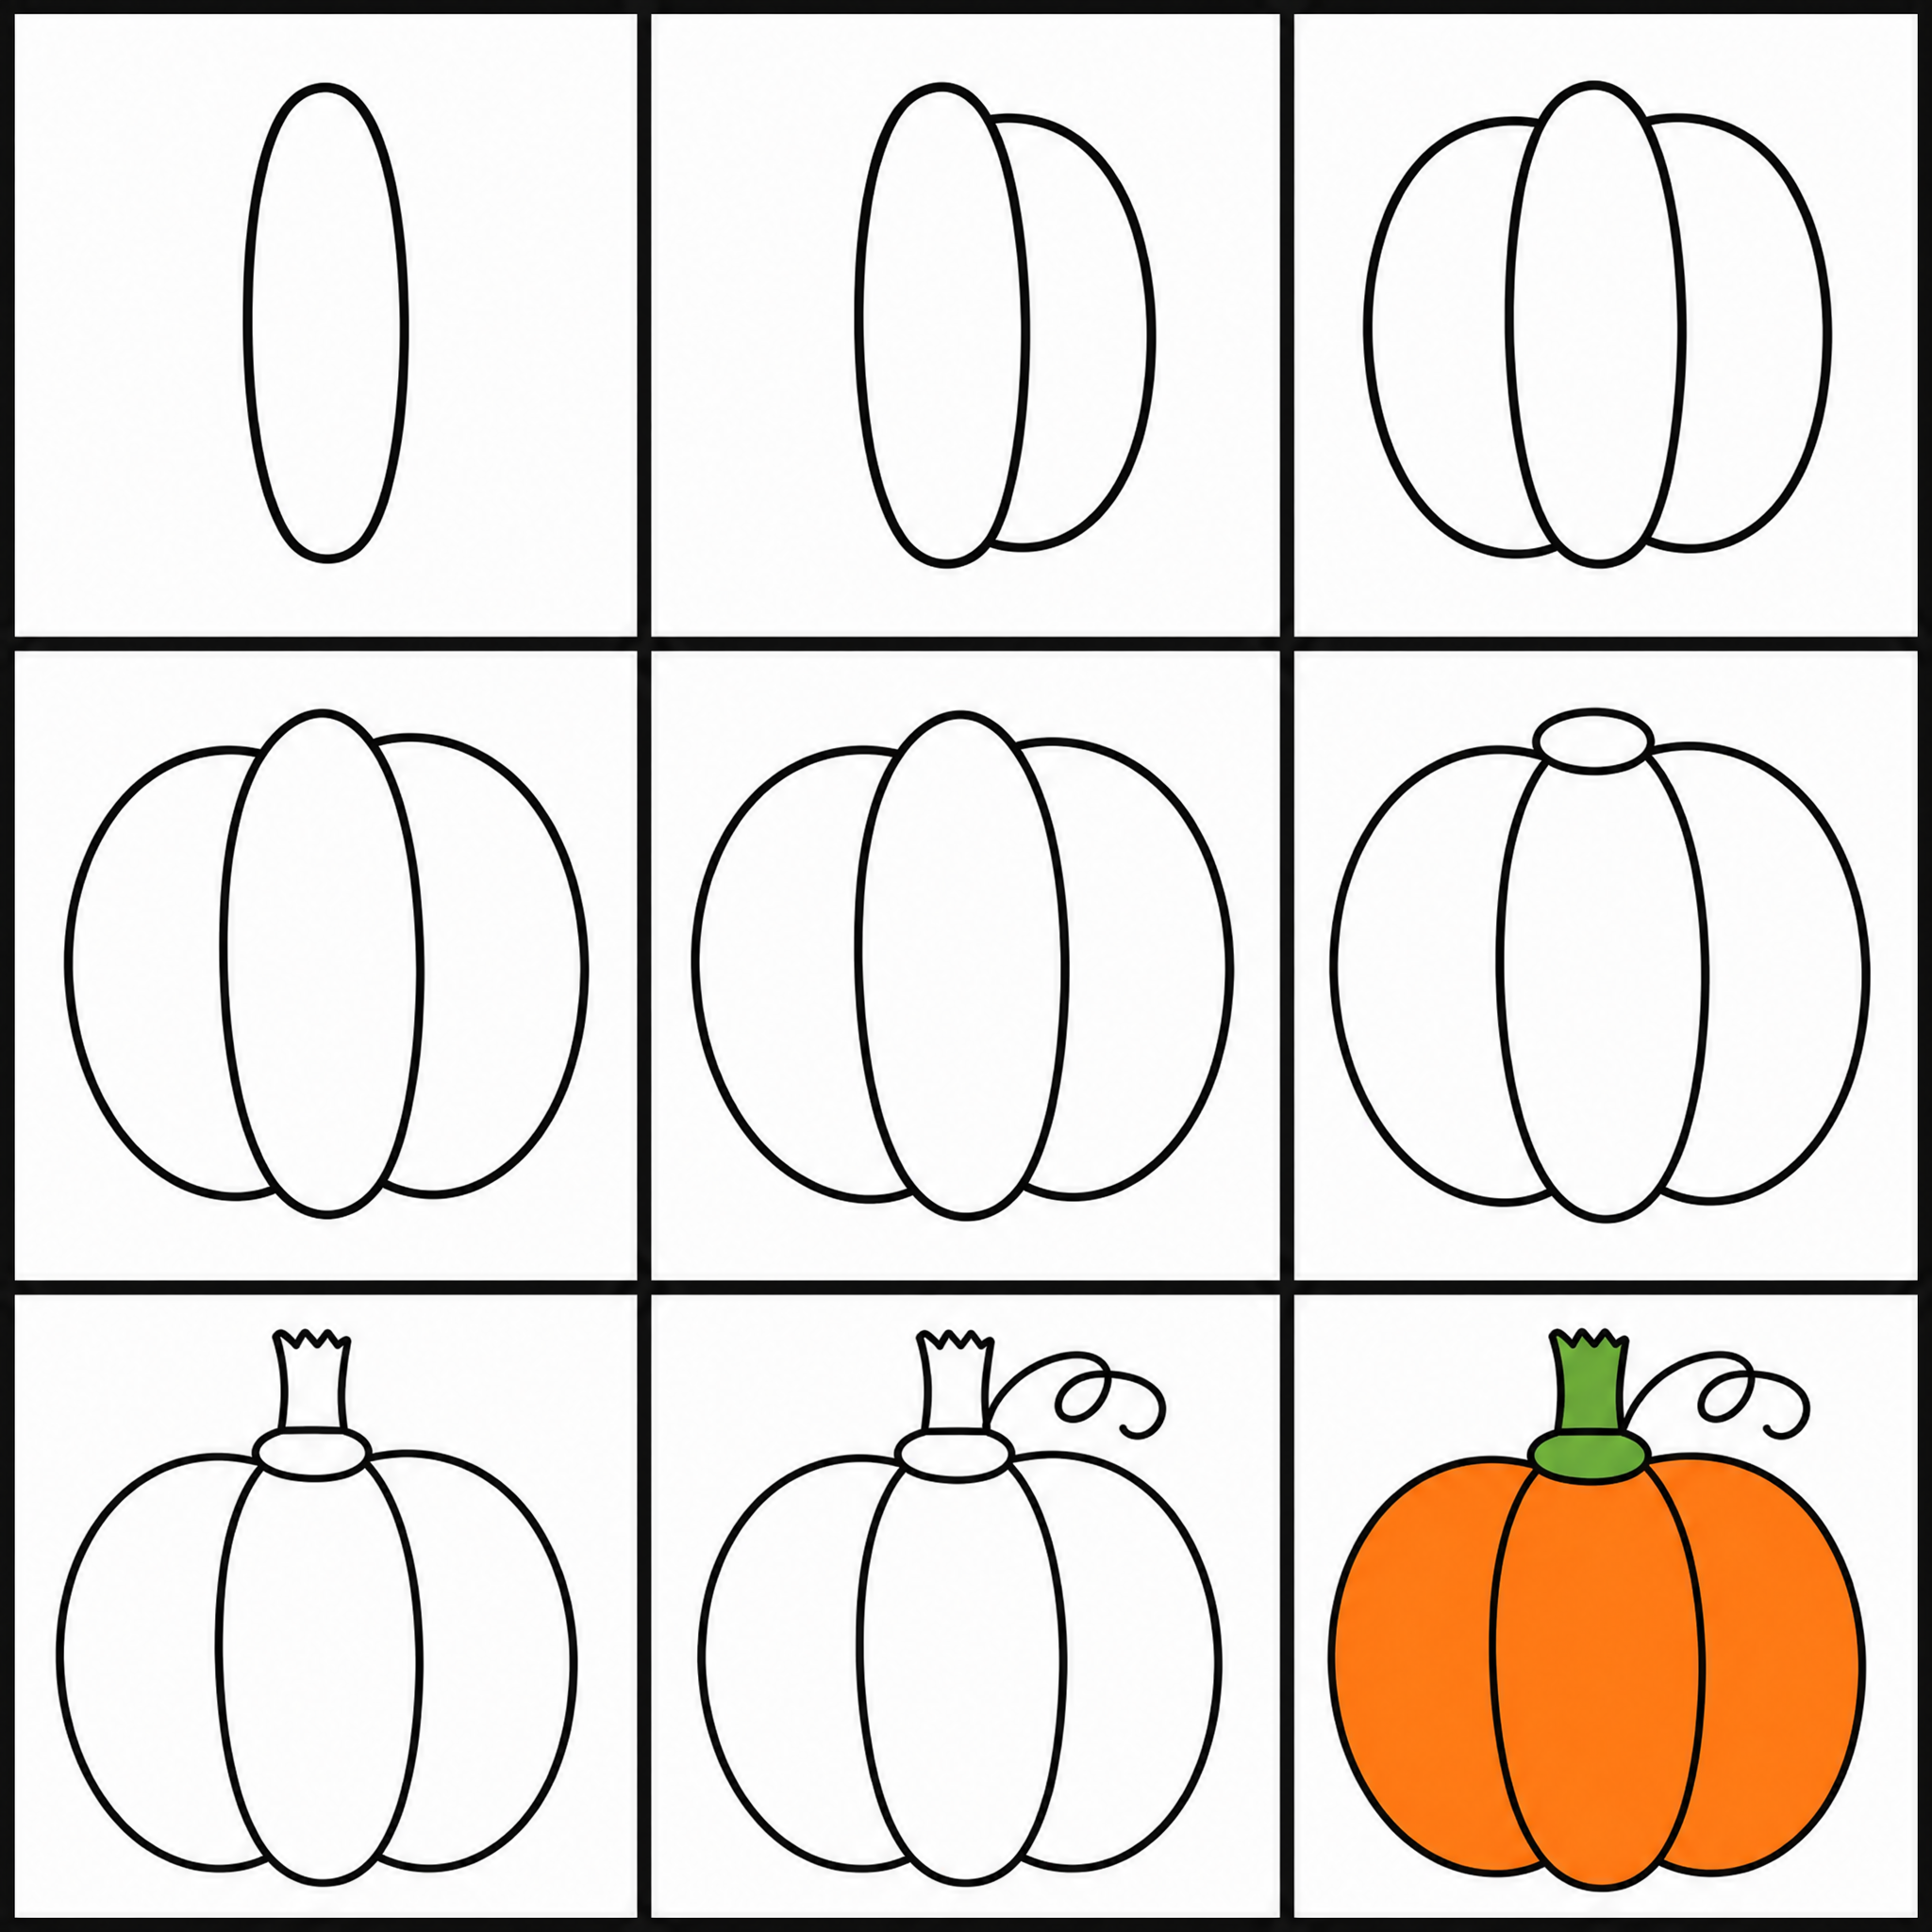
How to Draw Pumpkin: All 9 Steps at a Glance
Here is the whole pumpkin drawing, step by step, in one picture — save it or print it to follow along.
Frequently Asked Questions
General

Ready to Draw Pumpkin?
Grab a pencil and follow the 9 easy steps — you can finish your pumpkin drawing in minutes.