How to Draw Mountains
Welcome to this fun and simple guide on how to draw mountains. Drawing can seem tricky, but our easy method breaks it down perfectly for beginners and kids. By the end of this page, you will have created your very own gorgeous nature picture!
- Easy
- 15 Minutes
- Ages 5+
- Nature
- Drawing
Simple Shapes Make It Easy
If you have ever wondered how to draw mountains, you are in the right place! We use basic triangles and zigzag lines so anyone can follow along. Building your picture one shape at a time takes the pressure off, making art enjoyable for kids and parents alike.

How to Draw Mountains Step by Step
- 1Step 1 of 9
Draw the first peak
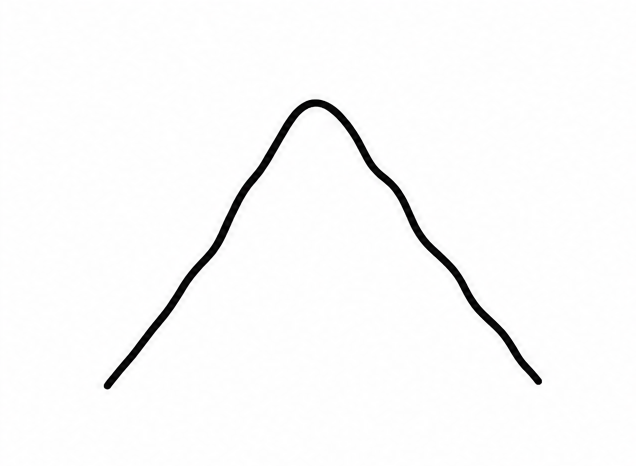
Start near the middle of your paper and draw a large shape that looks like an upside-down 'V'. This will be the tallest peak in the center. Make the lines a little bumpy instead of perfectly straight for a natural look.
Tip: Draw nice and light so you can erase later if needed.
- 2Step 2 of 9
Add a peak on the left
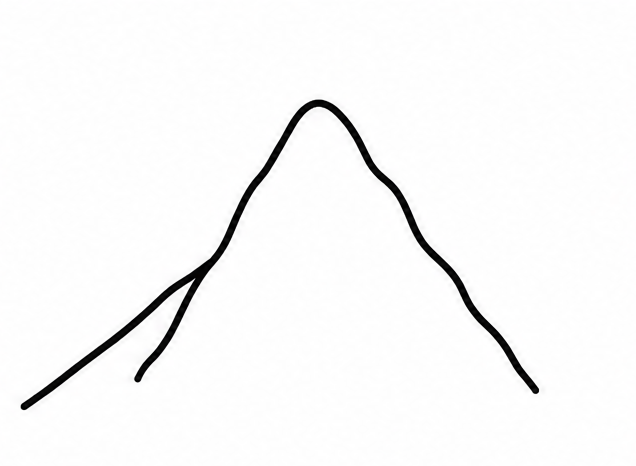
From the middle of the left side of your first peak, draw another line slanting down toward the bottom left of your paper. This creates a second, slightly shorter peak hiding behind the first one.
Tip: It is okay if this shape is smaller than your first one.
- 3Step 3 of 9
Draw a peak on the right
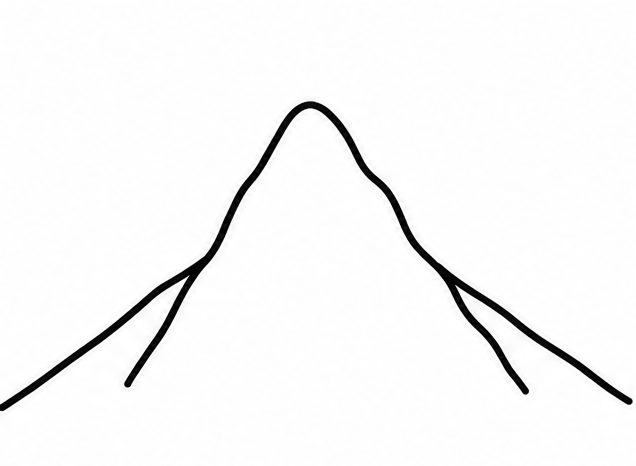
Now, let's do the same thing on the other side! From the right side of your main peak, draw a slanting line down toward the bottom right corner. You now have a simple three-peak grouping.
Tip: Make the bottom ends of all your lines roughly line up.
- 4Step 4 of 9
Make a snow cap
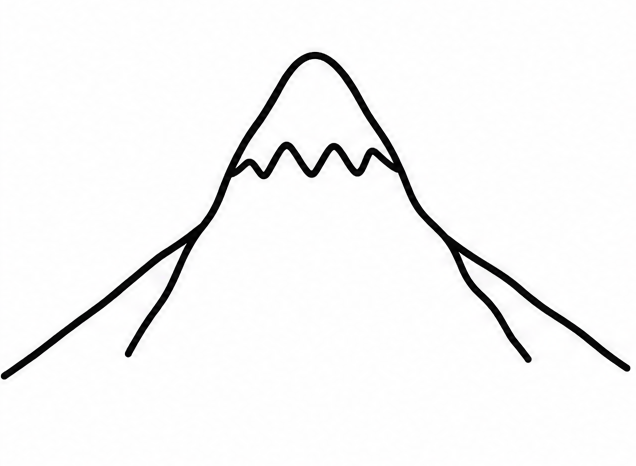
Near the top of your large center peak, draw a jagged, zigzag line going from one side to the other. This creates a cool snowy top for your highest peak! You can make the zigzags big or small.
Tip: Zigzags look just like dripping ice or snow.
- 5Step 5 of 9
Add more snowy tops
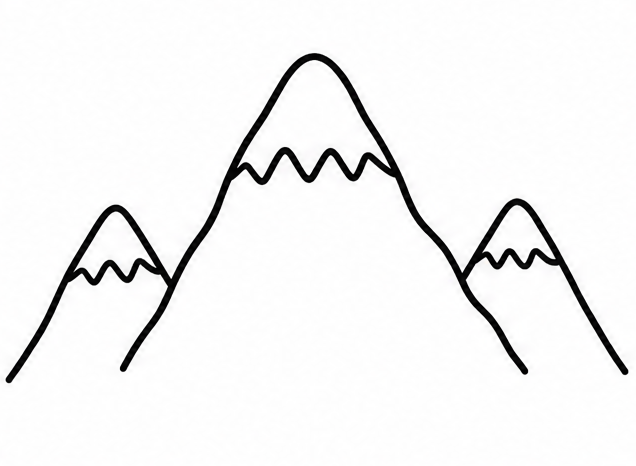
Give your two side peaks their own snowy tops as well. Draw a shorter zigzag line across the top point of the left peak, and another zigzag line across the top of the right peak.
Tip: Vary the size of the zigzags to make it interesting.
- 6Step 6 of 9
Add center ridge lines
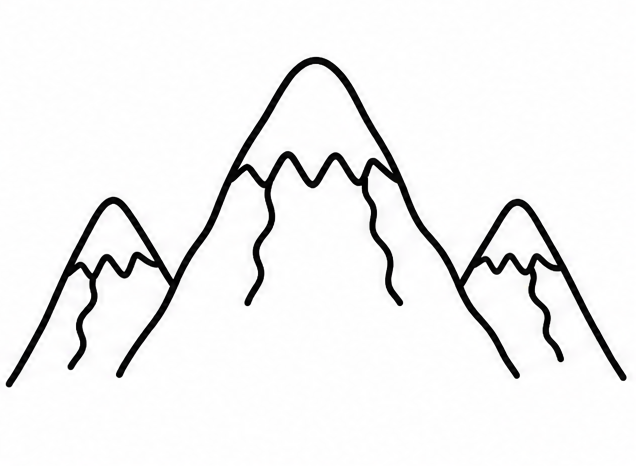
To make your peaks look solid, draw a wiggly line coming straight down from the tip of the center peak. Let the line stop before it hits the bottom. Do the same for your side peaks!
Tip: This line splits the bright side from the shady side.
- 7Step 7 of 9
Draw the ground
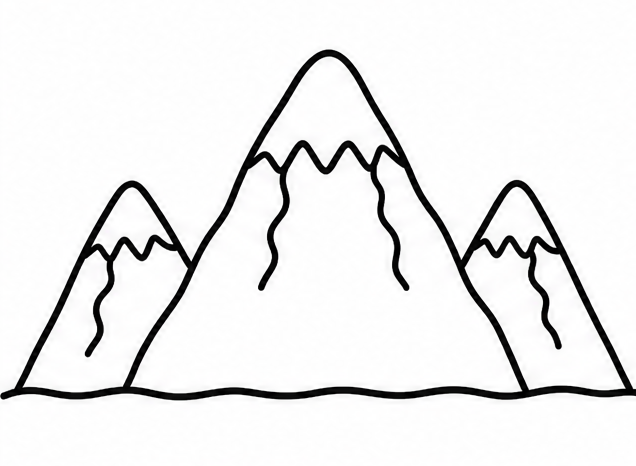
Draw a slightly bumpy horizontal line that connects the bottom of all your peaks from the left side of the paper all the way to the right side. This gives your picture a solid ground to stand on.
Tip: A bumpy line makes the ground look rough and natural.
- 8Step 8 of 9
Put a sun in the sky
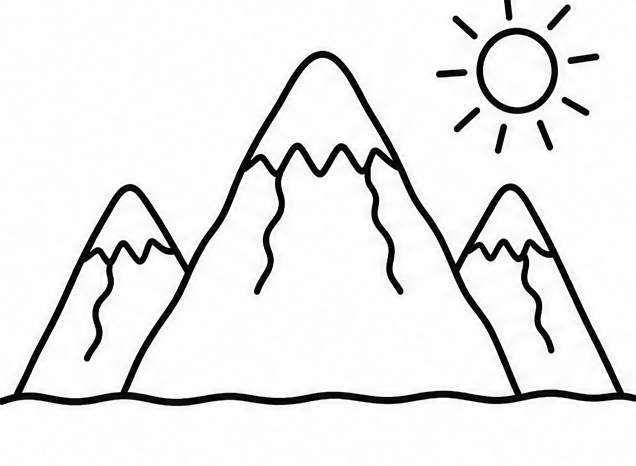
In the sky above your peaks, draw a bright, round circle for the sun. You can place it right behind the tallest point or off to the side. Add a few short lines around the circle for shining rays.
Tip: The sun makes your drawing feel warm and happy.
- 9Finished drawing
Color your mountains
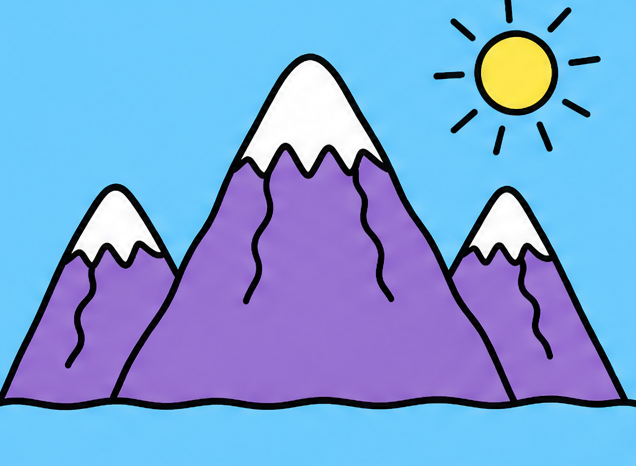
Now that you know how to draw mountains, you can color your picture! Leave the snowy tops white, and color the lower parts gray, purple, or blue. Make the sun bright yellow and the sky light blue.
Tip: Use flat, simple colors for a clean look.
Draw Mountains in 9 Easy Steps
Anyone can learn how to draw mountains — no drawing experience needed.
Simple steps
Start to finish
Great for
Fun Ideas for Your Drawing
Once you master the basic steps, try changing up your picture with these easy ideas.
Taller Peaks
Make the main upside-down 'V' stretch all the way to the top edge of your paper for an extra huge peak.
A Night Time Scene
Swap the sun out for a crescent moon and add tiny stars in the sky. Color the sky dark blue.
Pine Trees at the Base
Draw simple, small green triangles along the bottom ground line to look like a tiny forest.
Common Mistakes When Learning How to Draw Mountains
Using perfectly straight lines
If you use a ruler, the shape might look like a simple math triangle. Draw freehand so the lines have a natural, rocky bumpiness.
Making zigzags too even
Snow caps look best when the zigzags are a little random. Make some drops longer and some shorter!
Forgetting the ground line
Without a ground line at the bottom, the shapes might look like they are floating. Always anchor them with a bumpy bottom line.
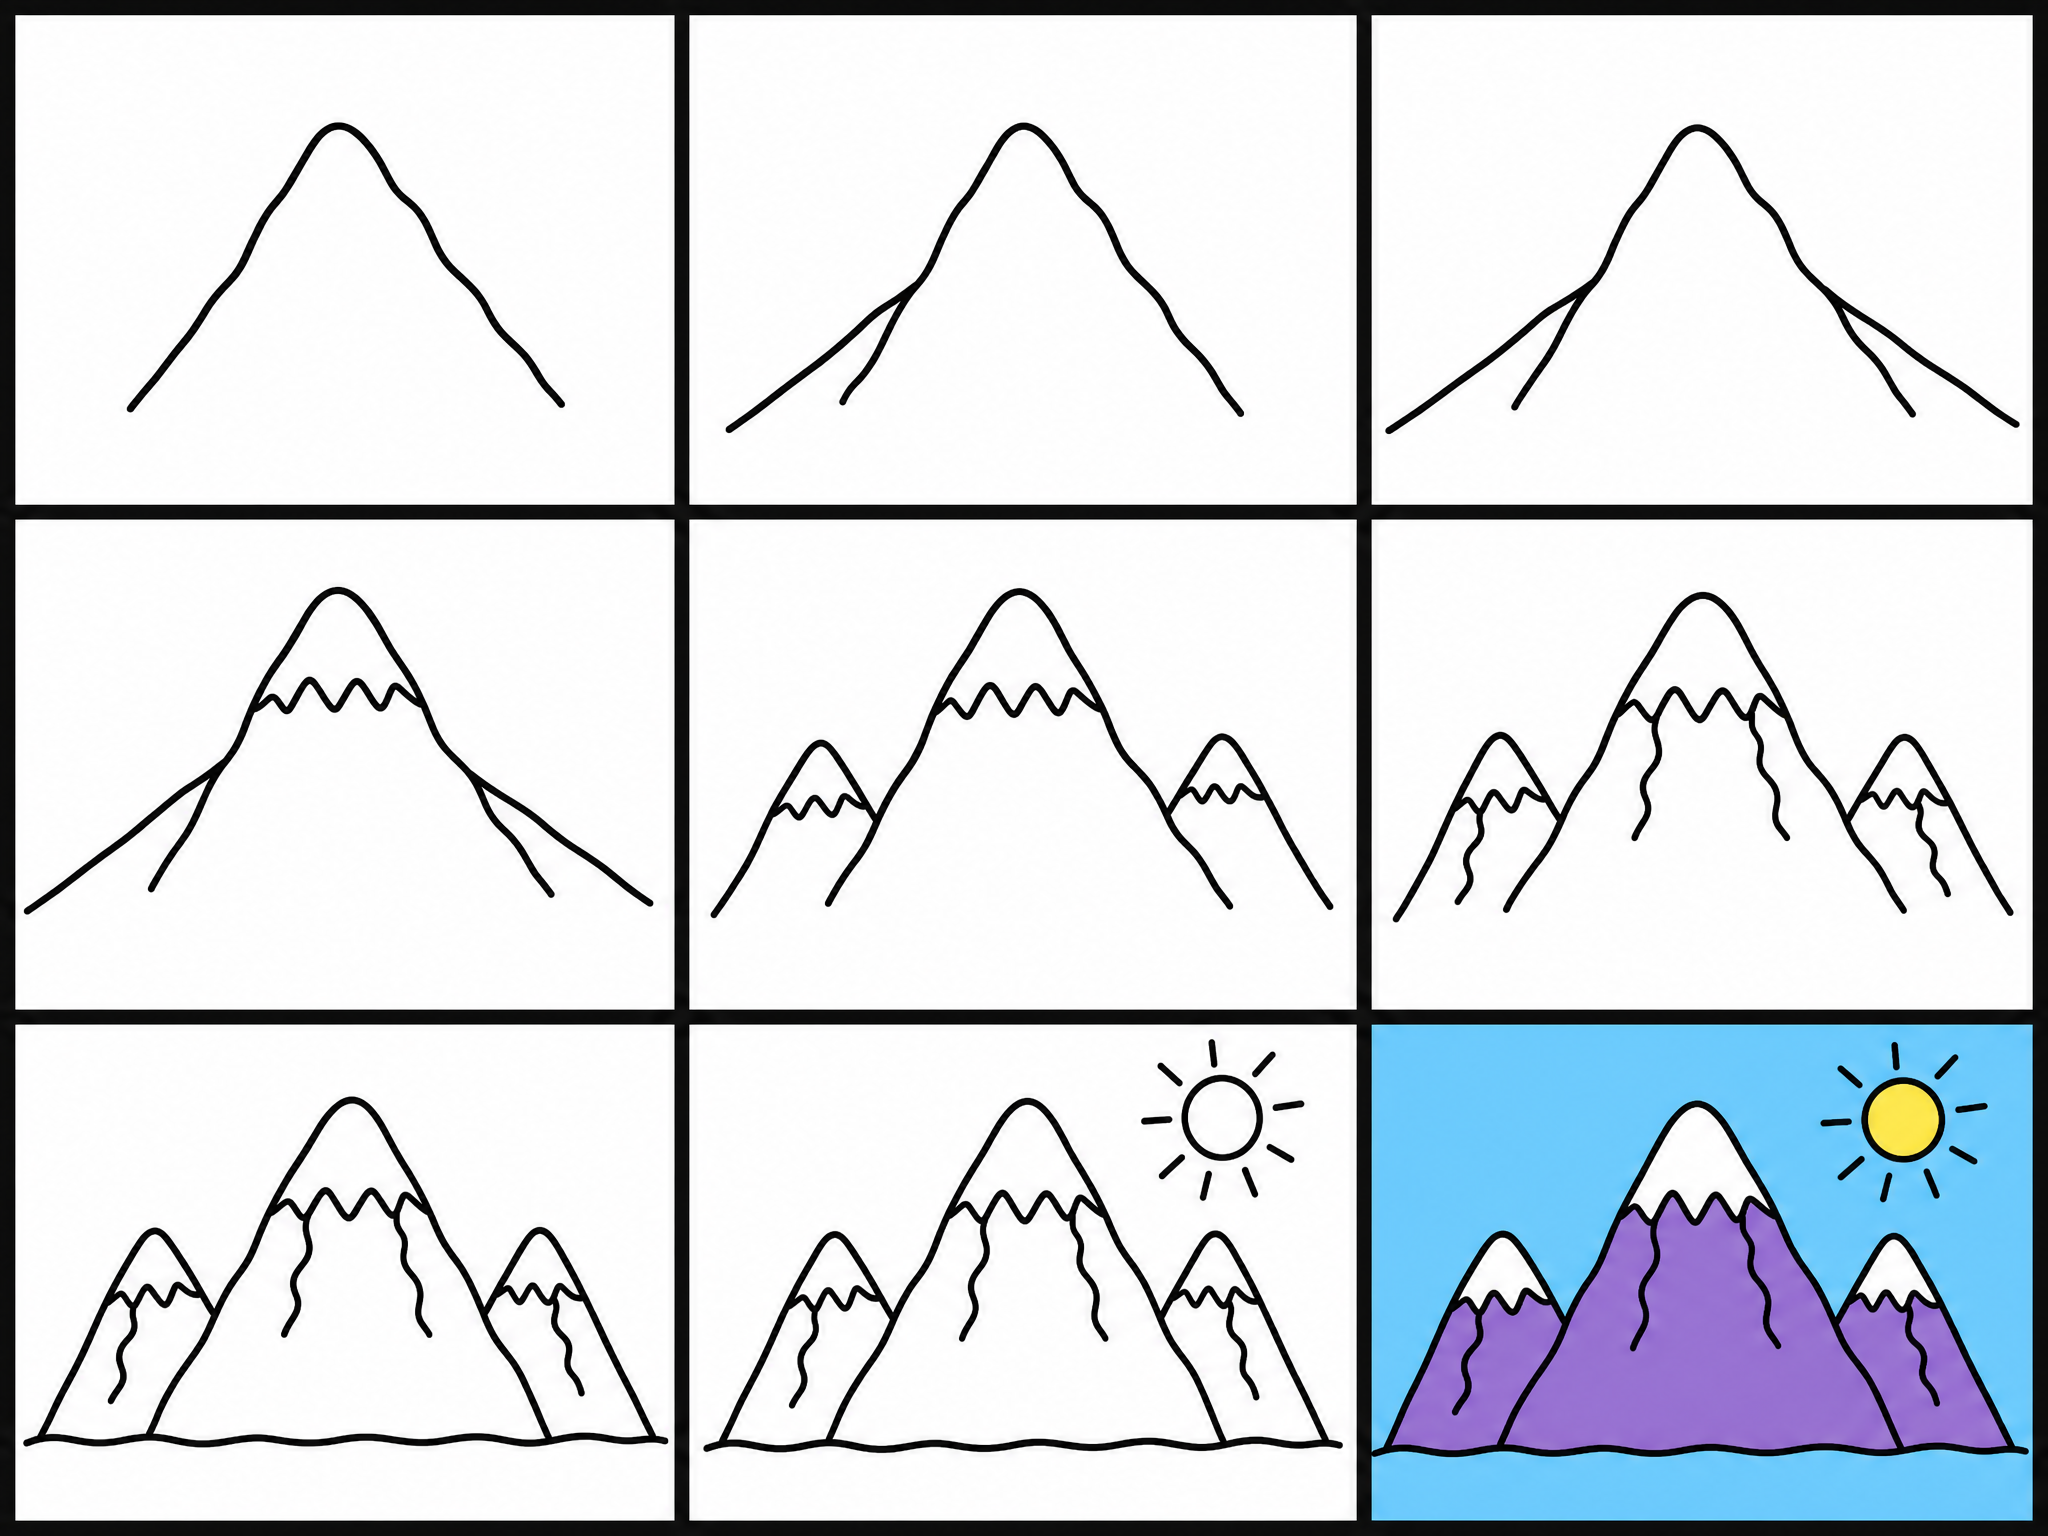
How to Draw Mountains: All 9 Steps at a Glance
Here is the whole mountains drawing, step by step, in one picture — save it or print it to follow along.
Frequently Asked Questions



Ready to Draw Mountains?
Grab a pencil and follow the 9 easy steps — you can finish your mountains drawing in minutes.