How to Draw Fire
Are you ready to learn how to draw fire? This simple guide will show you exactly how to make a warm, glowing campfire using easy lines and shapes. We will build the shape from the bottom up, so you never feel lost. Grab your pencil and let's get started on your drawing!
- Easy
- 15 Minutes
- Ages 4+
- Nature
- Camping
Tips for How to Draw Fire
When you break it down into simple wavy lines and ovals, making your fire is incredibly fun. You will learn to build the drawing in layers, starting from the wood logs and moving up to the glowing tips. This makes the whole process very easy for kids to follow.

How to Draw Fire Step by Step
- 1Step 1 of 9
Draw the left log

Start by drawing a long oval shape near the bottom of your page, tilting slightly to the left. This will be the first piece of wood for your campfire. Make the edges nice and rounded so it looks like a real log.
Tip: Draw lightly so you can easily erase later.
- 2Step 2 of 9
Draw the right log
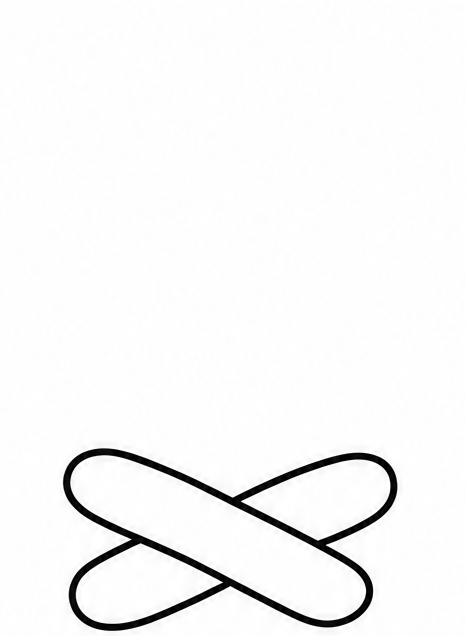
Now, draw a second oval overlapping the first one, but tilt this one slightly to the right. It should look like an X shape made out of basic logs. This creates a strong base for your fire to sit on.
Tip: Do not worry if the ovals are not perfectly even.
- 3Step 3 of 9
Add the central fire shape
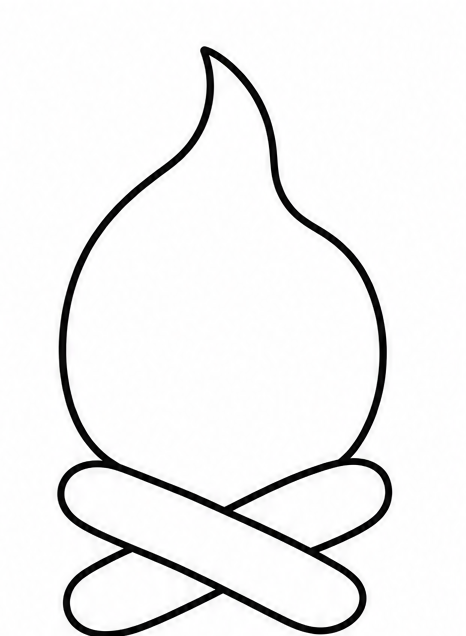
Right above where the two logs cross, draw a tall, curvy line that goes up to a soft point, then comes back down to the logs. Think of it like drawing a large water drop that waves back and forth in the wind.
Tip: Keep your hand relaxed to make curvy lines.
- 4Step 4 of 9
Draw the left fire point
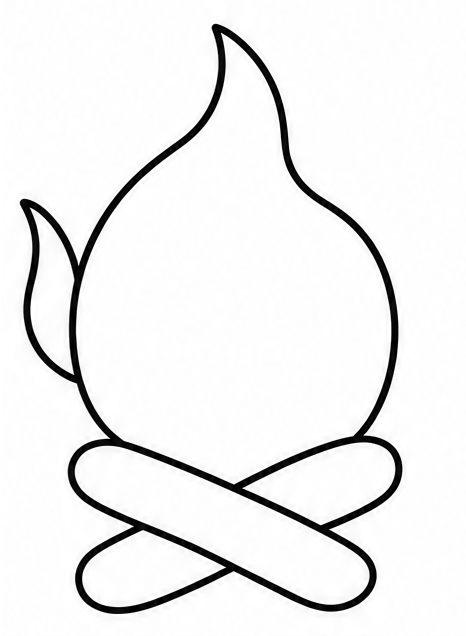
On the left side of your main shape, add a smaller curved line that branches out and points upward. This creates another bright tip dancing in the air. Connect it smoothly back to the side of your first big shape.
Tip: Make the top points soft, not too sharp.
- 5Step 5 of 9
Draw the right fire point
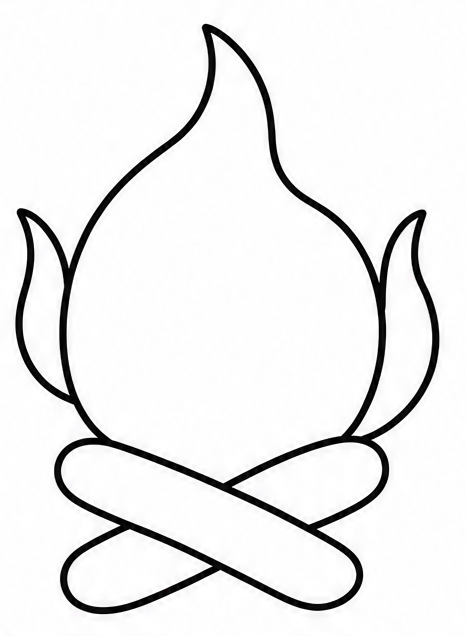
Let us balance the drawing by adding another curved shape on the right side. Draw a simple line extending outward from the main body, pointing up to a gentle tip, and then curving back down to touch the wood logs.
Tip: As you learn how to draw fire, remember no two sides match.
- 6Step 6 of 9
Add the inner fire
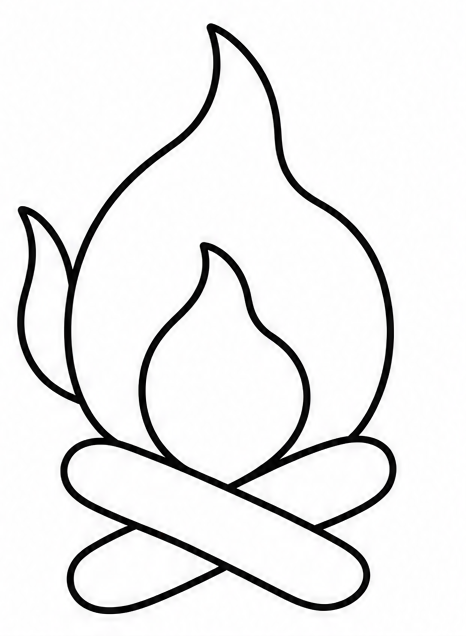
Inside the large outer shape you just made, draw a smaller version of it. Make the lines follow the exact same wavy path but keep them smaller. This inner layer will give your fire a super bright and glowing center.
Tip: Leave plenty of space between the outer and inner lines.
- 7Step 7 of 9
Draw the smallest center
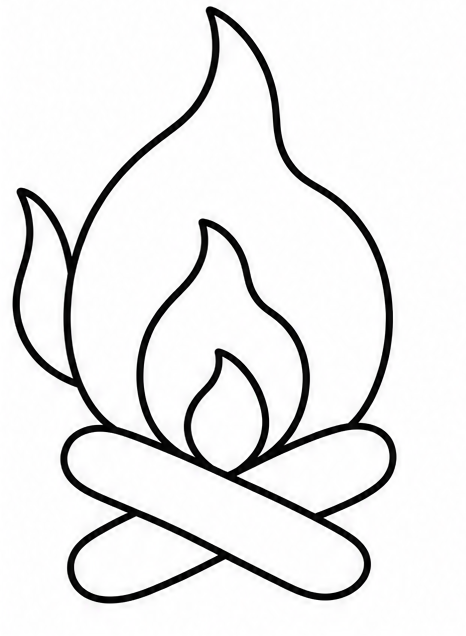
Now, draw one more tiny wavy shape right at the bottom center, resting just above the logs. This is the hottest part of your fire! Adding these fun layers is the absolute best trick to making a simple fire look great.
Tip: This smallest shape should be very simple and low.
- 8Step 8 of 9
Add sparks and log details
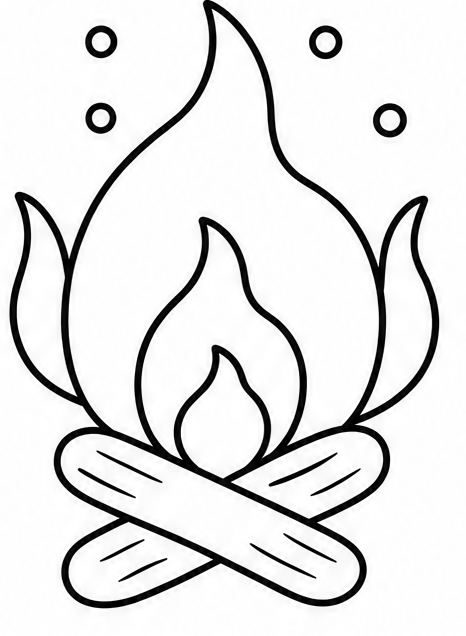
Draw a few tiny circles floating in the air above the pointed tips to look like glowing sparks. Then, add a few short, straight lines inside your crossed ovals to give the logs a rough, bumpy, and natural woody texture.
Tip: Just three or four floating sparks are plenty!
- 9Finished drawing
Add simple color
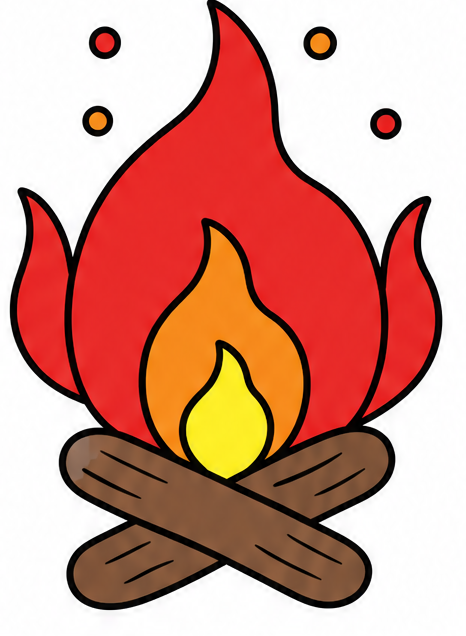
It is time to color! Color the outer layer red, the middle layer orange, and the tiny center yellow. Color the logs a nice earthy brown. You have successfully finished learning how to draw fire! Display your amazing art proudly.
Tip: Use bright, bold crayons or markers for the best glow.
Draw Fire in 9 Easy Steps
Anyone can learn how to draw fire — no drawing experience needed.
9
Simple steps
15 Minutes
Start to finish
Ages 4+
Great for
Fun Ways to Change Your Fire
Once you know the basics, you can change your drawing to make it unique. Try these fun ideas!
Tall Fire
Make the middle wavy line stretch super high into the sky for a huge bonfire.
Tiny Campfire
Draw very small shapes to make a cute, little warming fire.
Windy Fire
Tilt all your top points to one side to show a strong breeze blowing.
Common Beginner Mistakes
Making sharp points
Instead of drawing straight, sharp triangles, use soft, wavy lines for a natural look.
Forgetting the logs
Fire needs wood to burn! Always start with the simple crossed ovals at the bottom.
Coloring too dark
Use bright yellow in the center and red on the outside so it looks brightly lit.
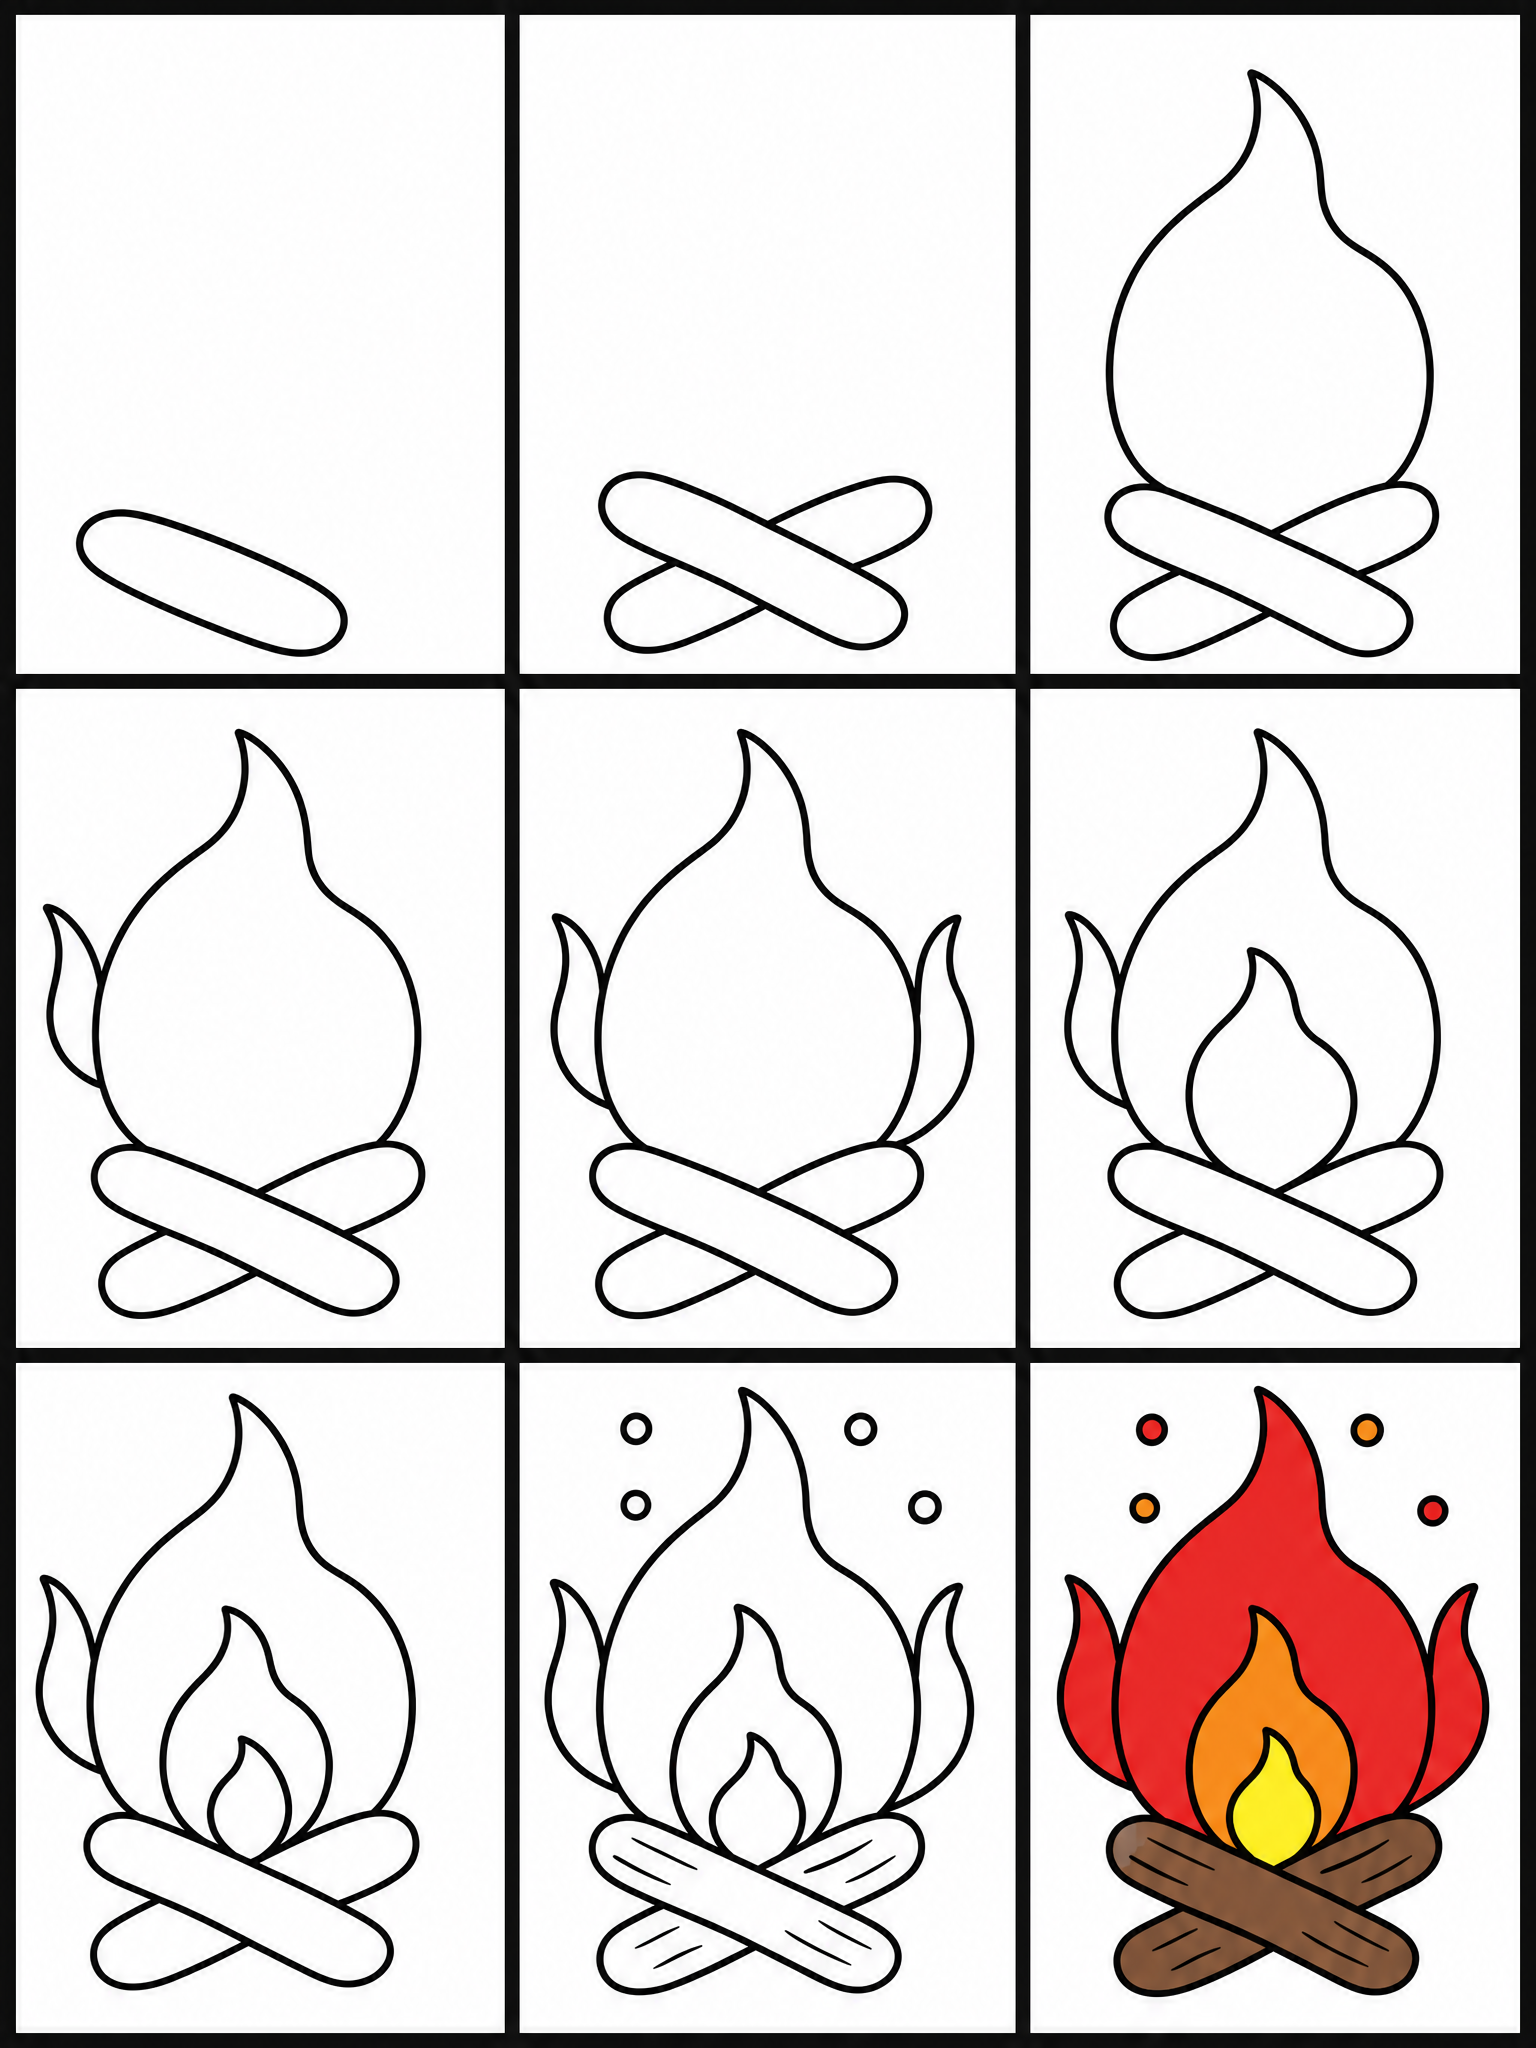
How to Draw Fire: All 9 Steps at a Glance
Here is the whole fire drawing, step by step, in one picture — save it or print it to follow along.
Frequently Asked Questions
General



Ready to Draw Fire?
Grab a pencil and follow the 9 easy steps — you can finish your fire drawing in minutes.