How to Draw Clouds
Welcome to our super fun drawing adventure! If you want to learn how to draw clouds, you are in the perfect place. These soft, puffy shapes are wonderful for beginners because there are no strict rules or perfect straight lines to worry about. Practicing how to draw clouds is a relaxing activity that anyone can master in just a few minutes.
- Easy
- 10 Minutes
- Ages 4+
- Nature
- Outdoors
- Weather
- Simple Shapes
About Learning How to Draw Clouds
In this lesson, you will discover that drawing fluffy shapes is just a matter of connecting simple curves. We will break down the process into very small pieces so you never feel overwhelmed. Once you know the secret, you can fill your whole page with wonderful puffy shapes!

How to Draw Clouds Step by Step
- 1Step 1 of 6
Draw the flat bottom
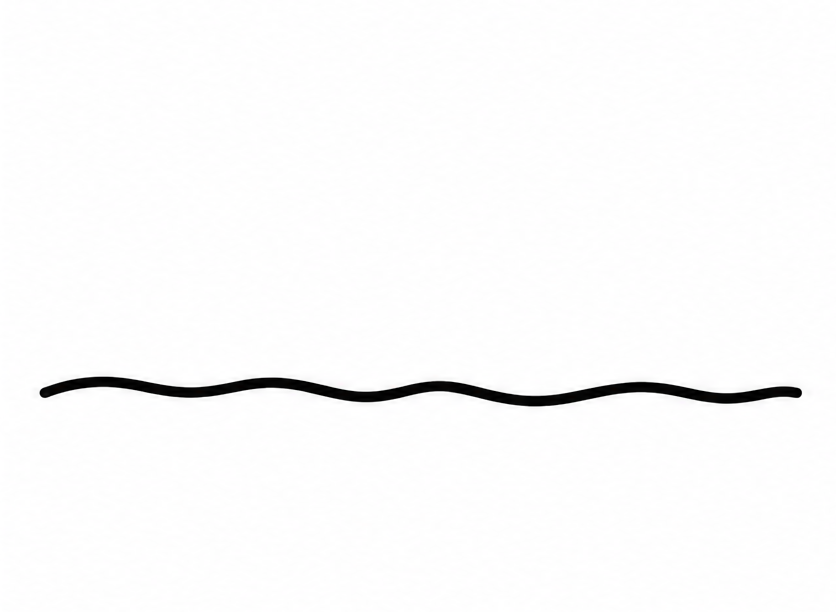
Start your drawing by making a long, slightly wavy horizontal line near the middle of your paper. This will be the bottom of your first big shape. It does not need to be perfectly straight, because nature is never perfectly straight!
Tip: Keep your pencil grip relaxed to make smooth, loose lines.
- 2Step 2 of 6
Add the first fluffy bumps
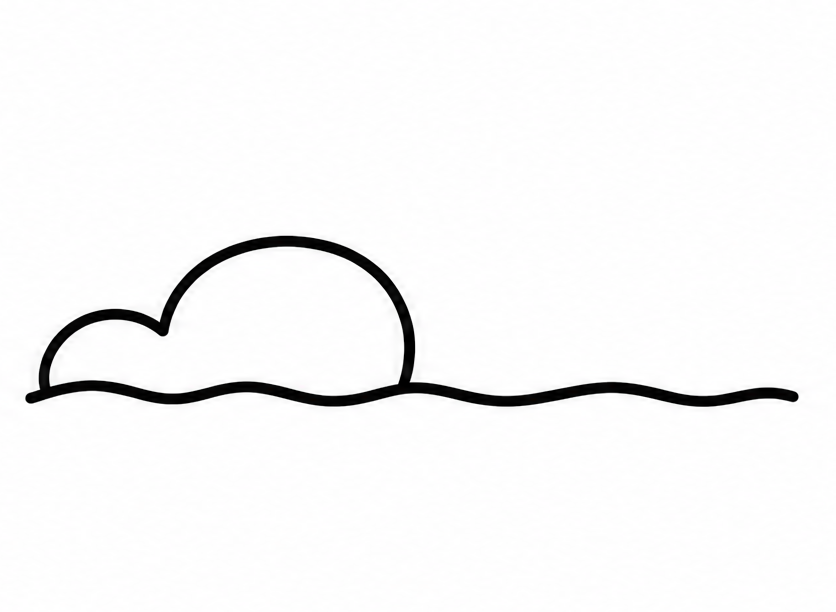
Starting from the left side of your base line, draw a small curve going up. Then, draw a much bigger, taller curve right next to it. Think of them like drawing soft, connected rainbows reaching up high to form the fluffy top.
Tip: Mixing big and small curves makes it look super fluffy.
- 3Step 3 of 6
Finish the big shape
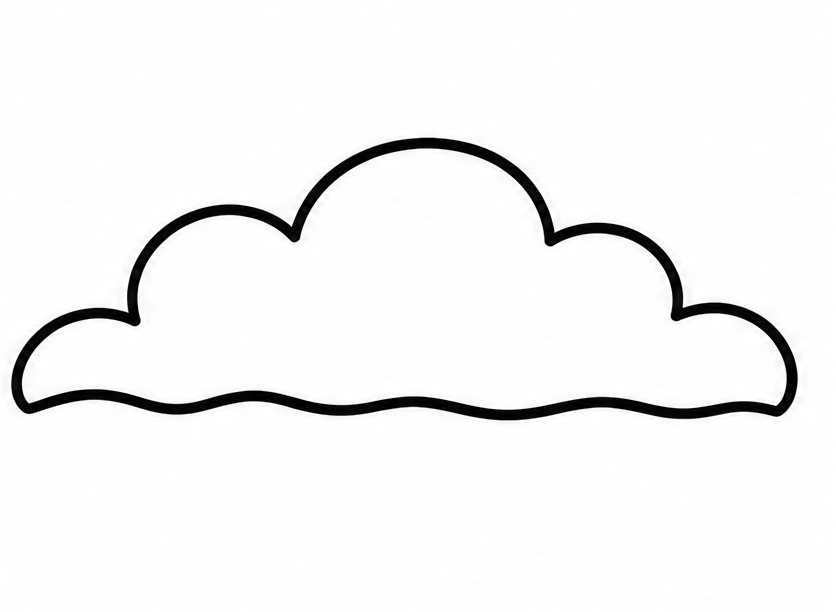
Draw a few more bumps moving down the right side until you connect back to the end of your flat bottom line. Make sure the lines touch to close the shape completely. Now you have one big, wonderful fluff ready to go!
Tip: Count your bumps as you draw them for extra fun!
- 4Step 4 of 6
Start a smaller buddy
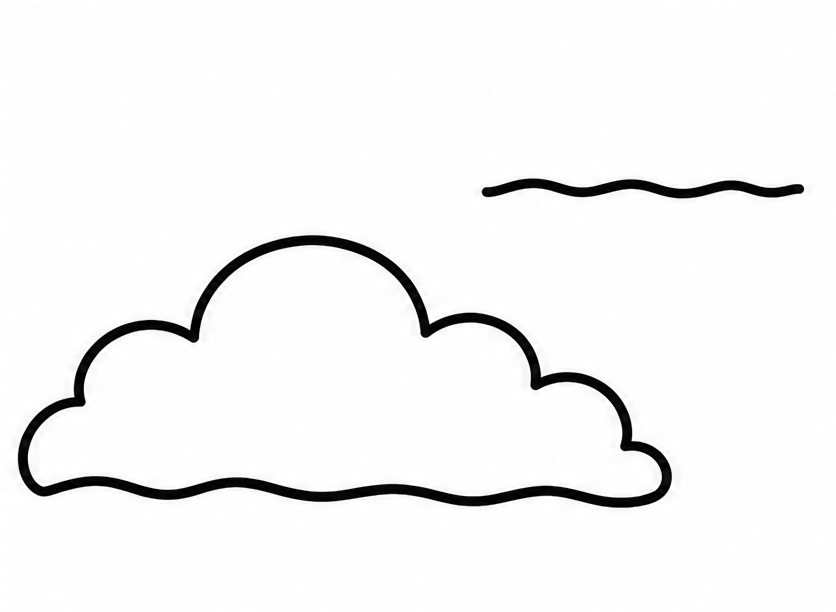
Let's make another one right next to it! Learning how to draw clouds is fun when you make a whole family. Draw a shorter, slightly bumpy line floating up higher on the right side of your paper to start the next one.
Tip: This one can overlap or float completely separate.
- 5Step 5 of 6
Complete the second outline
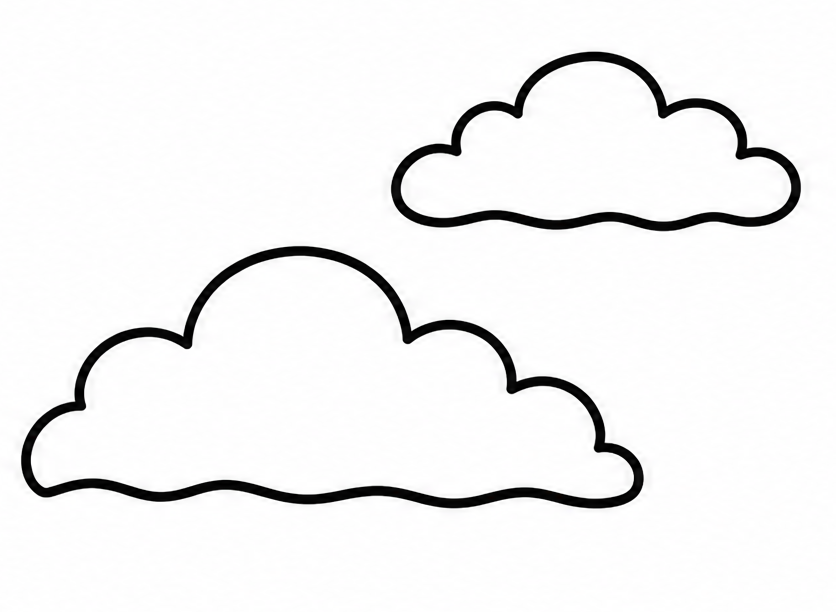
Just like before, add a series of connected rounded bumps all along the top of your new short line. Close the shape by bringing the last little curve down to meet the bottom line. Now you have two wonderful puffy friends!
Tip: Make this one rounder and smaller than the first.
- 6Finished drawing
Add simple color
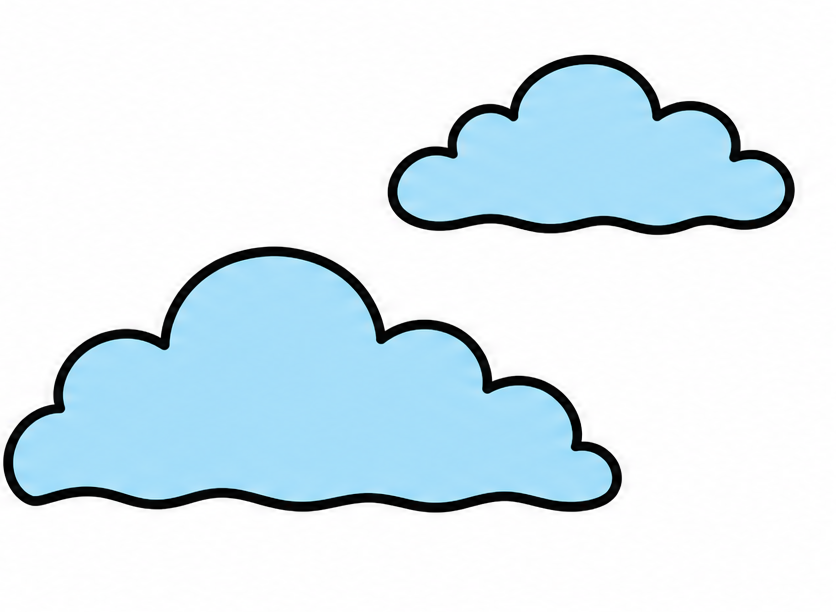
You are at the final step! To finish up, use a light blue crayon or marker to color them in. You can color the whole thing, or just shade around the inside edges to leave the middle looking white and puffy.
Tip: Outline your pencil lines with a dark marker to make them pop!
Draw Clouds in 6 Easy Steps
Anyone can learn how to draw clouds — no drawing experience needed.
Simple steps
Start to finish
Great for
Fun Ways to Change Your Drawing
Once you finish your first drawing, you can try changing the shapes to make them totally unique.
Long and thin
Stretch the bottom line across the whole paper and make the top bumps very small and short.
Overlapping family
Draw three or four puffy shapes layered right on top of each other to make a huge cluster.
Tiny floaters
Draw lots of very tiny, round puffs floating all around the edges of your paper.
Common Beginner Mistakes
Bumps that are too pointy
If your curves look like triangles, try slowing down and keeping your pencil movements round and soft.
Making every bump the exact same size
Nature loves variety! Try mixing really big curves with tiny little ones so it looks natural.
Drawing the bottom too straight
If you use a ruler, it might look a little stiff. Just use your hand to make a gentle, wavy line instead.
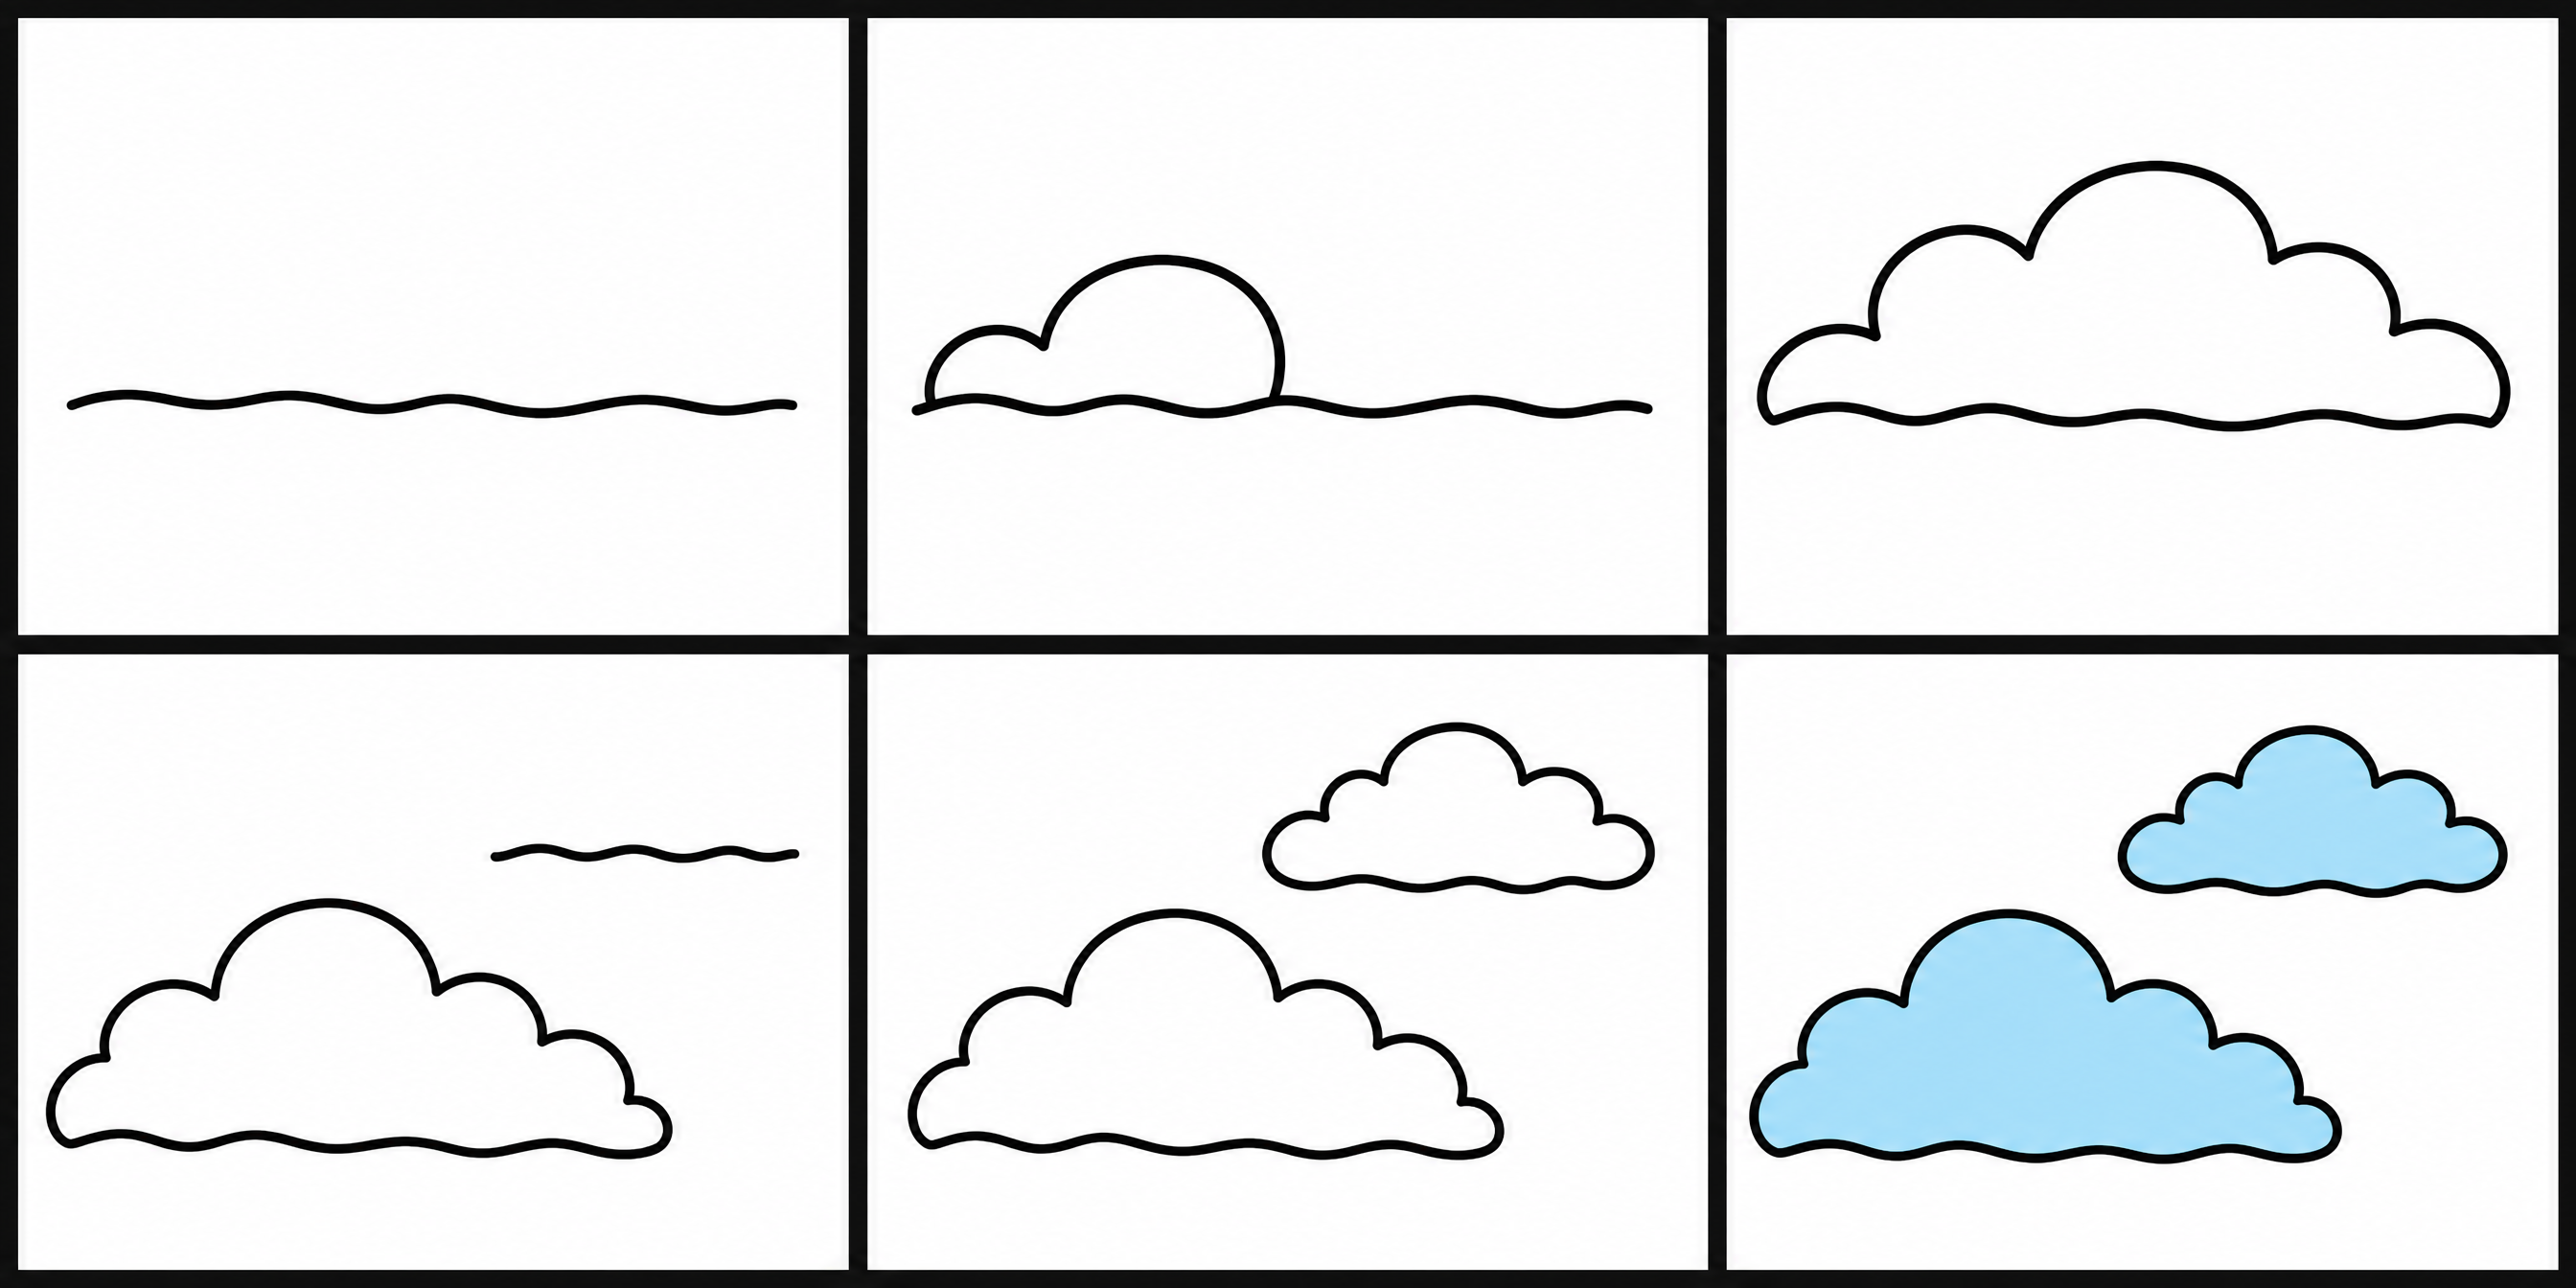
How to Draw Clouds: All 6 Steps at a Glance
Here is the whole clouds drawing, step by step, in one picture — save it or print it to follow along.
Frequently Asked Questions


Ready to Draw Clouds?
Grab a pencil and follow the 6 easy steps — you can finish your clouds drawing in minutes.