How to Draw Bubble Letters
If you want to learn how to draw bubble letters, you are in the perfect place! We will show you exactly how to turn a normal shape into a fun, puffy design. It is super easy, making it a great drawing activity for kids and total beginners.
- Easy
- 15 minutes
- Ages 5+
- Drawing
- Kids
- Art
- Beginner
About This Easy Guide
Have you ever wanted to make your drawings look extra fun? This guide shows you how to draw bubble letters by starting with simple lines and turning them into thick, puffy shapes. It is an amazing way for kids to practice art while making something totally unique.

How to Draw Bubble Letters Step by Step
- 1Step 1 of 6
Draw a simple stick shape
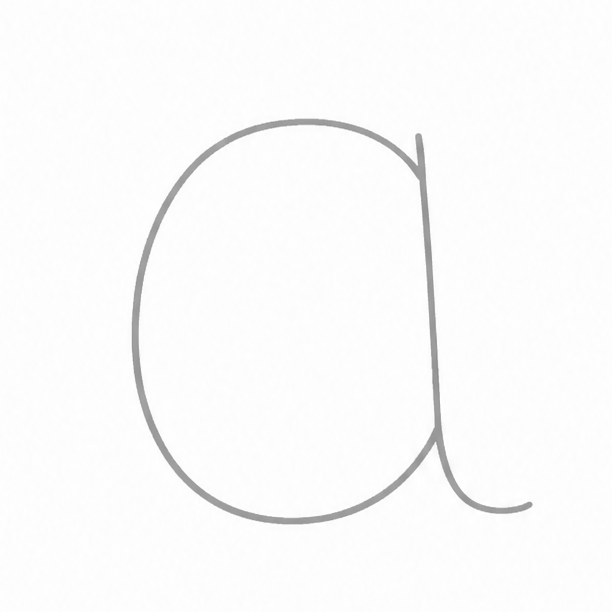
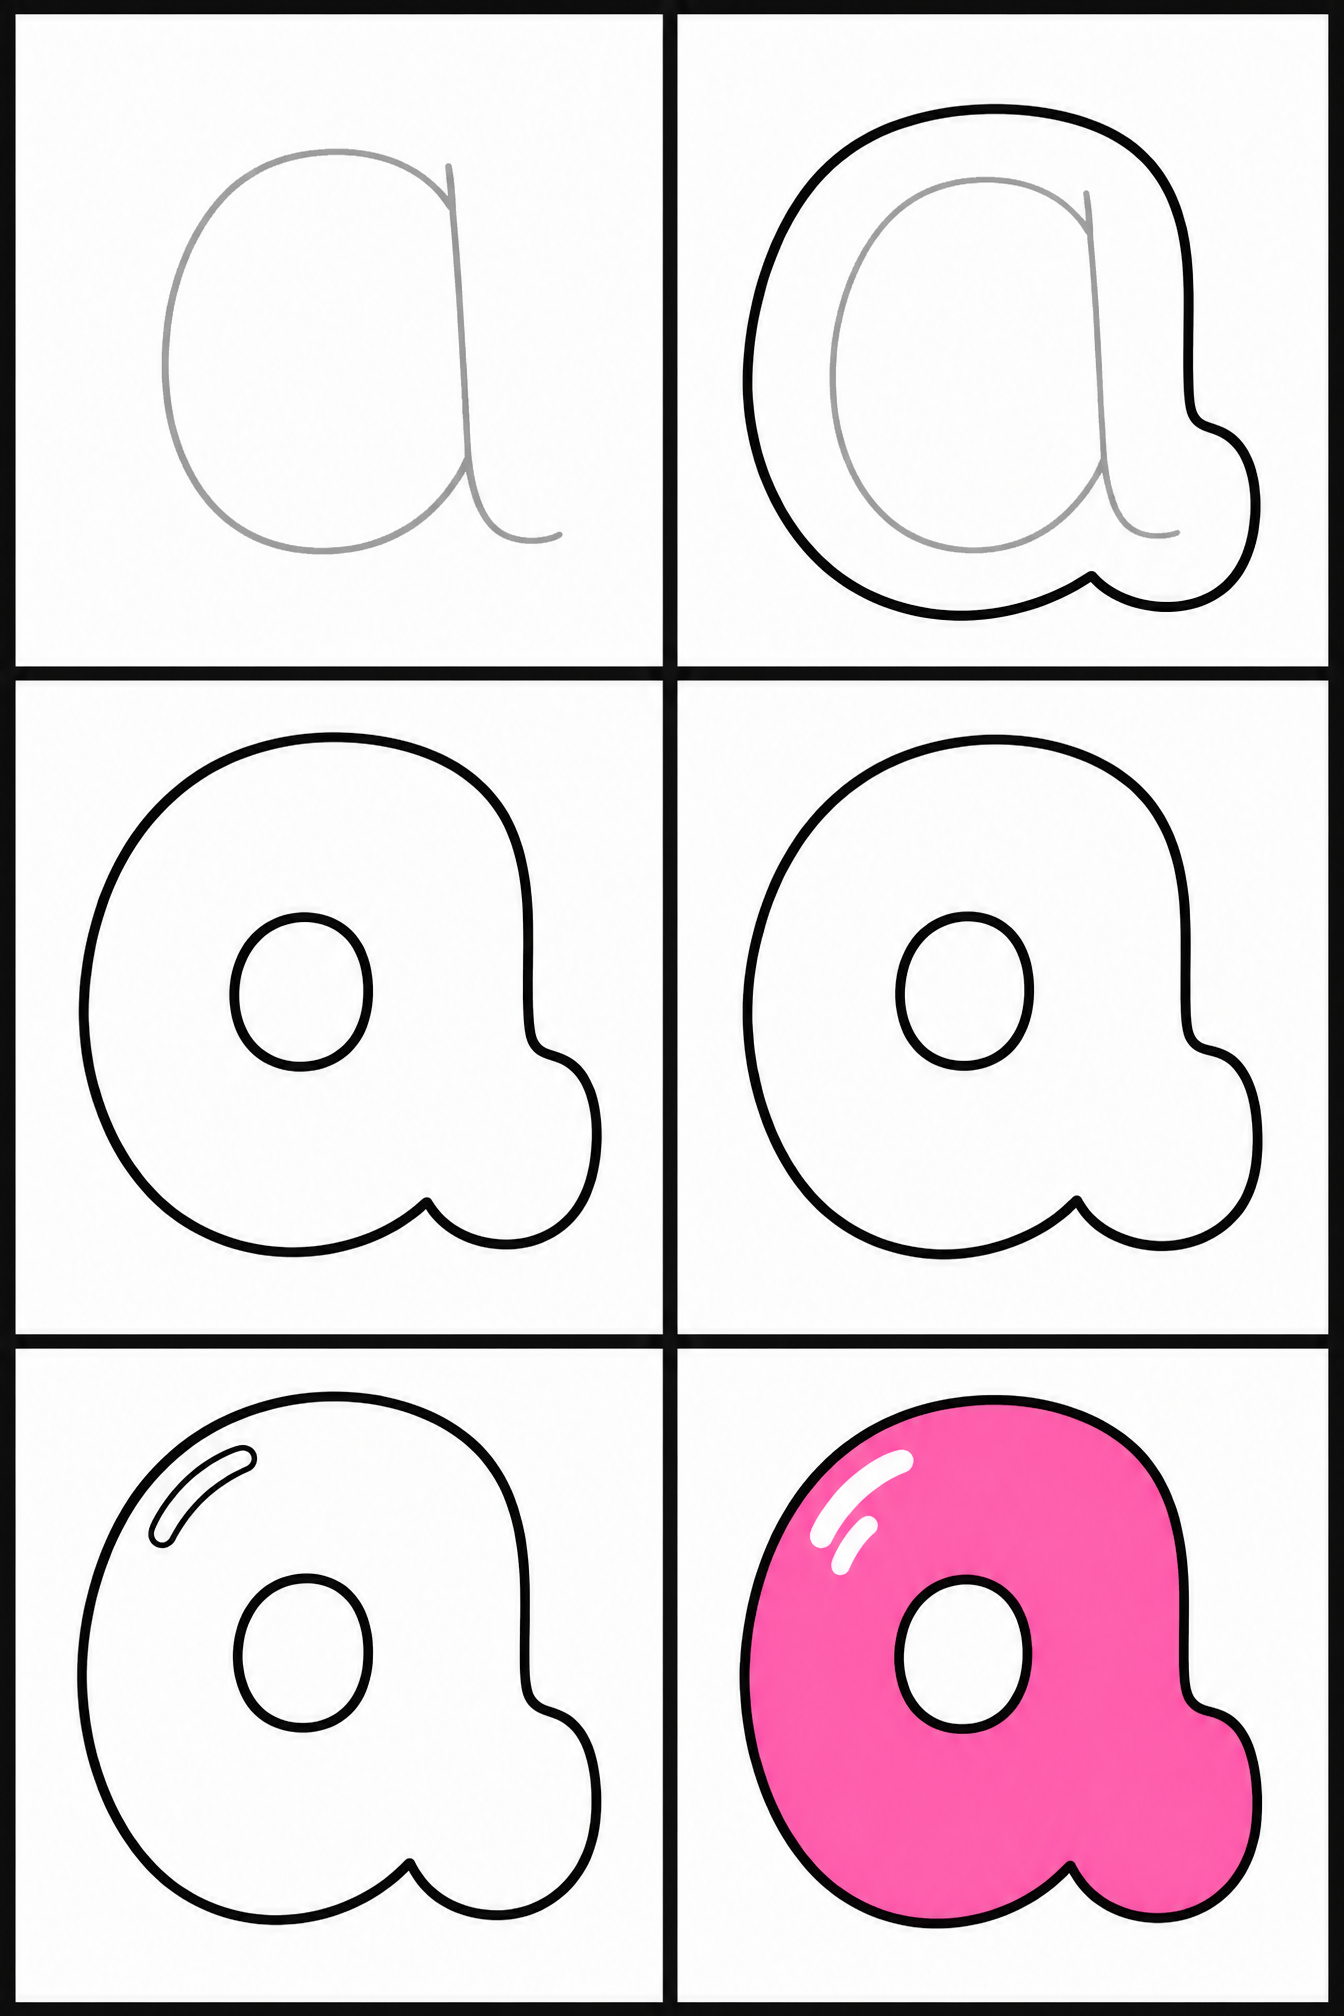
When learning how to draw bubble letters, we always start with a basic foundation. Use your pencil to draw a large, simple lowercase 'a' right in the middle of your paper. Make sure to press very lightly so you can erase it later!
Tip: Keep your lines very light so you can erase them easily.
- 2Step 2 of 6
Outline the outer shape
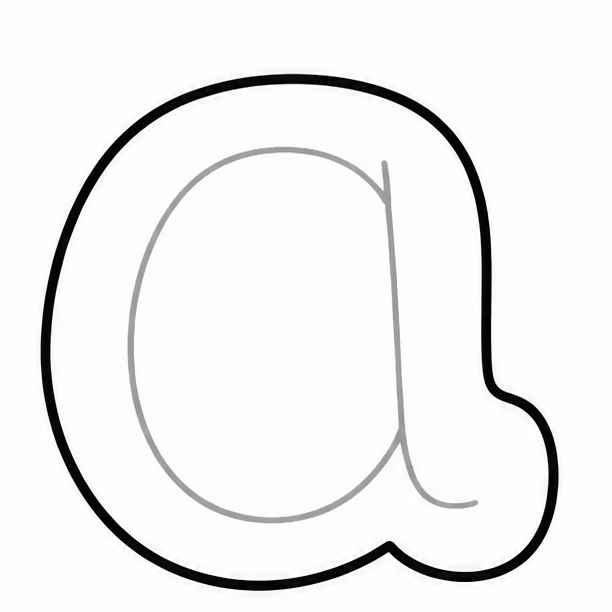
Now we will make it thick and puffy. Draw a smooth, curved line all the way around the outside of your shape. Make sure to leave a nice, wide space between your first lines and this new bumpy outline.
Tip: Imagine you are drawing a fluffy cloud around your shape.
- 3Step 3 of 6
Draw the inside circle
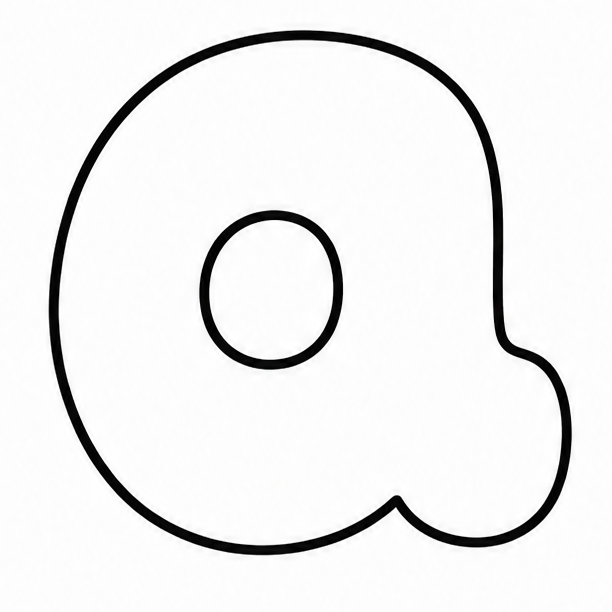
For this step, we need to outline the little hole inside the shape. Draw a small circle or oval on the inside, keeping it smooth and round. This is the secret to knowing how to draw a in bubble letters perfectly!
Tip: Keep the inner circle small so the shape stays puffy.
- 4Step 4 of 6
Erase the stick lines
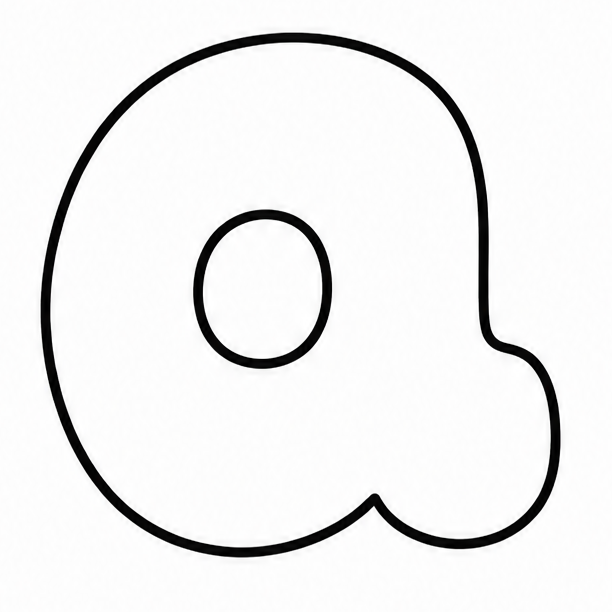
Take your eraser and carefully rub away the very first thin lines you drew in step one. Once you erase those inside lines, you will clearly see your thick, puffy shape. This is how to draw cute bubble letters easily!
Tip: Hold your paper still with your other hand while erasing.
- 5Step 5 of 6
Add shiny highlights
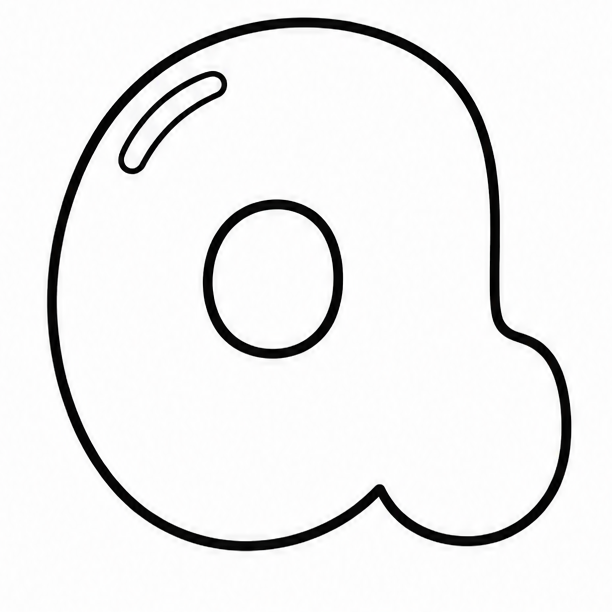
To make your drawing look round and popped out, let us add some shine! Draw two tiny curved lines near the top edges of your shape. These little marks look like a reflection and make drawing bubble letters look totally amazing.
Tip: Place both highlight marks on the same side of the shape.
- 6Finished drawing
Color your bubble letter
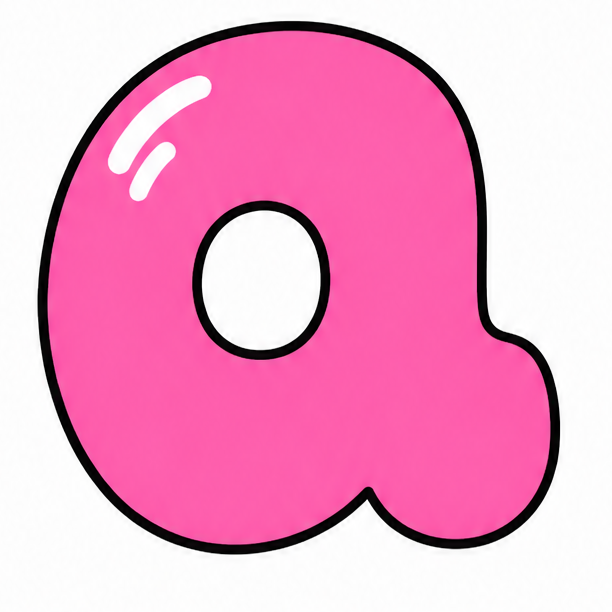
Your guide on how to draw bubble letters is almost complete! Now, grab your favorite bright crayons or markers and fill in your beautiful design. Leave the little highlight marks white so it stays looking shiny and perfectly round. Great job!
Tip: Use a bright, cheerful color to make it really pop out.
Draw Bubble Letters in 6 Easy Steps
Anyone can learn how to draw bubble letters — no drawing experience needed.
6
Simple steps
15 minutes
Start to finish
Ages 5+
Great for
Fun Ways to Decorate
Once you master your shapes, you can try adding fun details to your drawings to make them totally unique!
Add Drop Shadows
Draw a slightly darker edge on one side to make it look like it is floating off the page.
Polka Dot Patterns
Fill the inside of your shapes with colorful dots instead of just one solid color.
Dripping Slime
Draw little wavy, dripping lines at the bottom of the shape to give it a spooky, slimy look.
Common Beginner Mistakes
Pressing too hard
If you push your pencil too hard on the first step, you will not be able to erase the inside lines. Keep your first marks whisper-light!
Drawing sharp corners
Puffy shapes should be totally round. If your edges look too sharp, erase the corner and draw a gentle curve instead.
Making the outline too tight
If your outline hugs the inside lines too closely, the final result will look thin. Leave plenty of space for a truly fluffy look.
How to Draw Bubble Letters: All 6 Steps at a Glance
Here is the whole bubble letters drawing, step by step, in one picture — save it or print it to follow along.