How to Draw a Book
If you want to learn how to draw a book, you are in the perfect place! This easy tutorial is made especially for total beginners and kids. Just grab your favorite pencil, and let's start creating a fun, open storybook together.
- Easy
- 15 Minutes
- Ages 4+
- School
- Objects
Why You Will Love Drawing Books
Mastering how to draw a book is a wonderful way to practice making simple straight and curved lines. Once you know how to build the basic pages and cover, you can fill your drawing book with your own magical stories and pictures.

How to Draw a Book Step by Step
- 1Step 1 of 6
Draw the center line

Let's start figuring out how to draw a book by making the center crease where the pages meet. Draw a simple, straight vertical line right in the middle of your paper. This line will act as the spine for your open pages.
Tip: Leave some empty space at the top and bottom of your paper.
- 2Step 2 of 6
Outline the left page
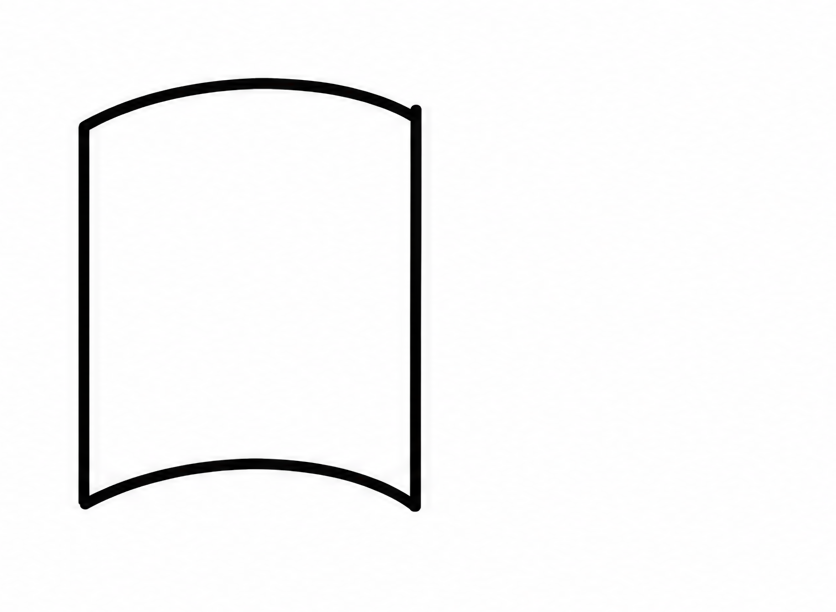
Next, draw a curved line starting from the top of your center line, arching up and out to the left. Then, draw a matching curved line at the bottom. Connect these two curves with a straight vertical line to form the left page.
Tip: Make the curves gentle, like a small hill.
- 3Step 3 of 6
Outline the right page
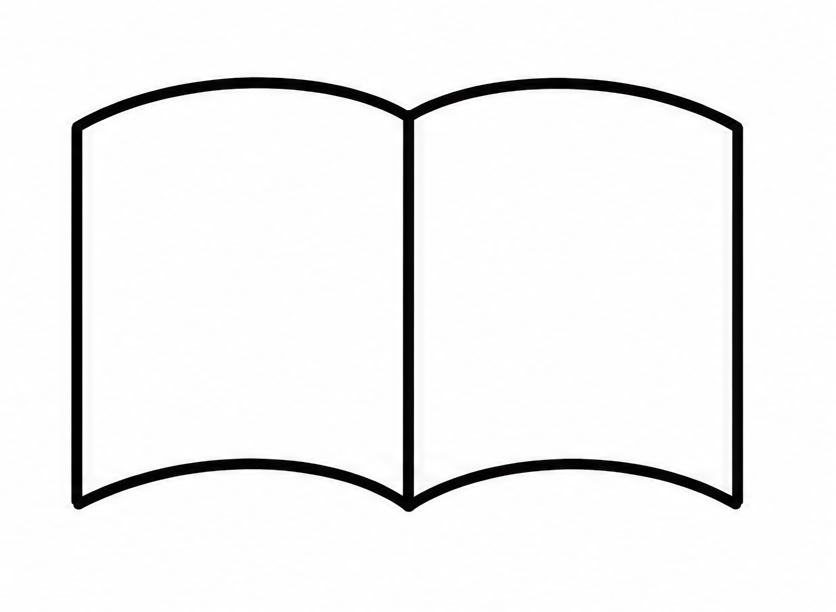
Now we will do the exact same thing on the other side. Draw a curved line from the top of the center line reaching out to the right. Add a matching curve at the bottom, and connect them with a straight vertical line.
Tip: Try to make both pages roughly the same size.
- 4Step 4 of 6
Draw the page thickness
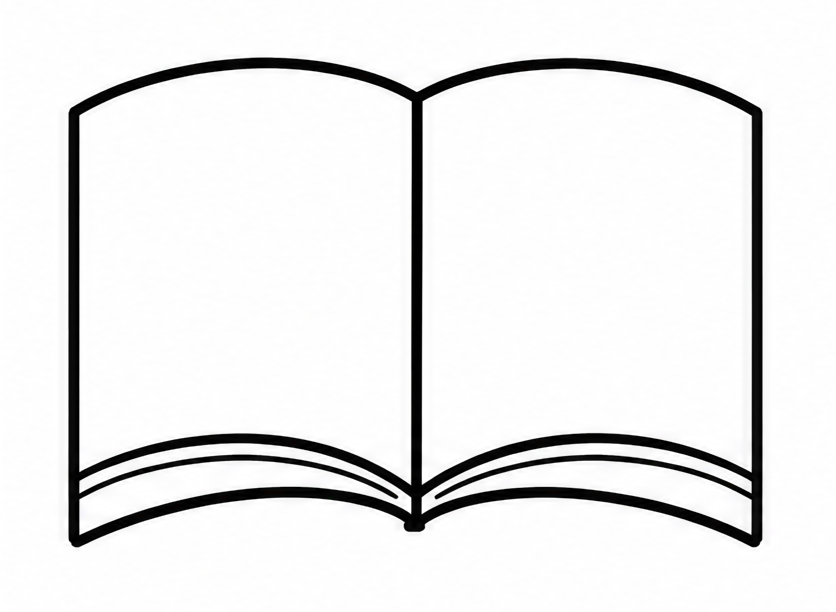
To make your book look like it has lots of pages, draw a short line dropping down from the bottom corners of both pages. Connect these short lines back to the bottom of the center spine using a gentle curve.
Tip: These bottom lines show the thick stack of paper inside.
- 5Step 5 of 6
Add the book cover
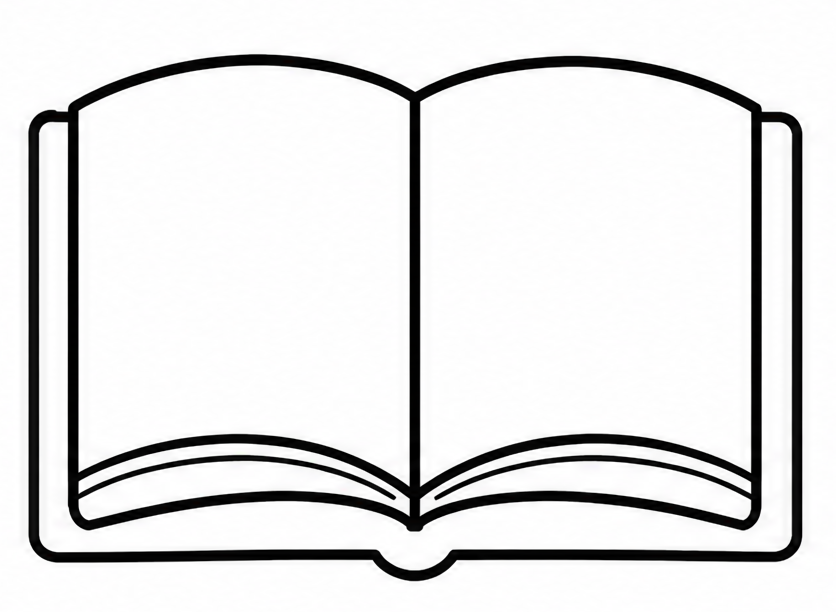
A good story needs a strong cover! Draw a slightly larger outline just outside the bottom and sides of your page thickness lines. This shows the hard cover resting flat on the table, keeping your drawing book safe.
Tip: Keep the cover lines parallel to your page lines.
- 6Finished drawing
Add simple color to finish
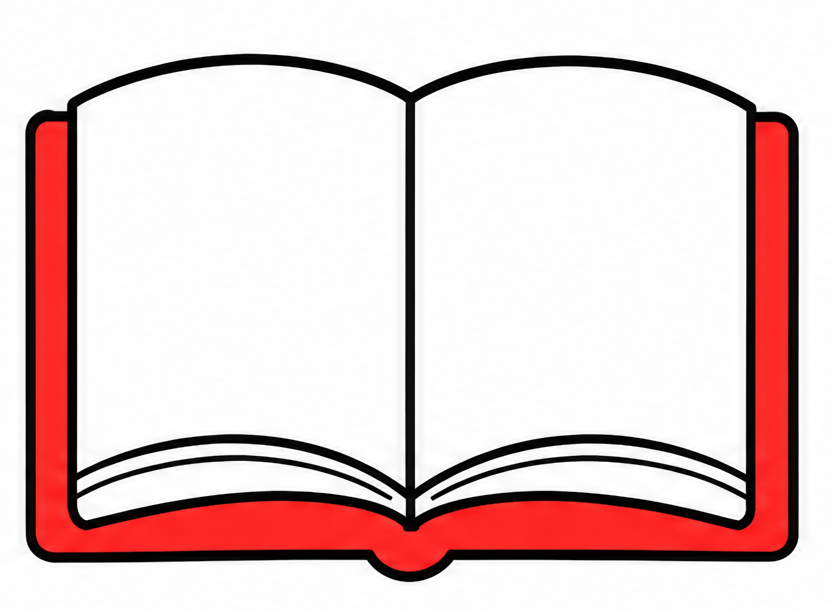
You have finished learning how to draw a book! Now it is time to grab your crayons and add some simple colors. You can color the outer cover blue, red, or your favorite shade, and leave the inside pages white or cream.
Tip: You can even draw little squiggly lines inside for text!
Draw Book in 6 Easy Steps
Anyone can learn how to draw a book — no drawing experience needed.
Simple steps
Start to finish
Great for
Fun Ways to Change Your Book
Once you know the basics, you can add fun details to make your book unique. Try these easy ideas for your next drawing project.
Add a Bookmark
Draw a simple ribbon hanging down from the center pages.
Draw Text and Pictures
Put tiny shapes or wavy lines on the pages to look like a real story.
Stack of Books
Draw multiple closed books resting on top of each other.
Common Beginner Mistakes
Making Pages Too Flat
When learning how to draw a book, drawing the top and bottom lines completely straight makes it look stiff. Use gentle curves so it looks like an open story.
Forgetting the Cover
If you only draw the pages, it might look like a single sheet of paper. Always add that extra little border at the bottom for the hard cover.
Pressing Too Hard
It is easy to draw dark lines right away. Sketch lightly at first so you can erase and fix your page shapes easily.
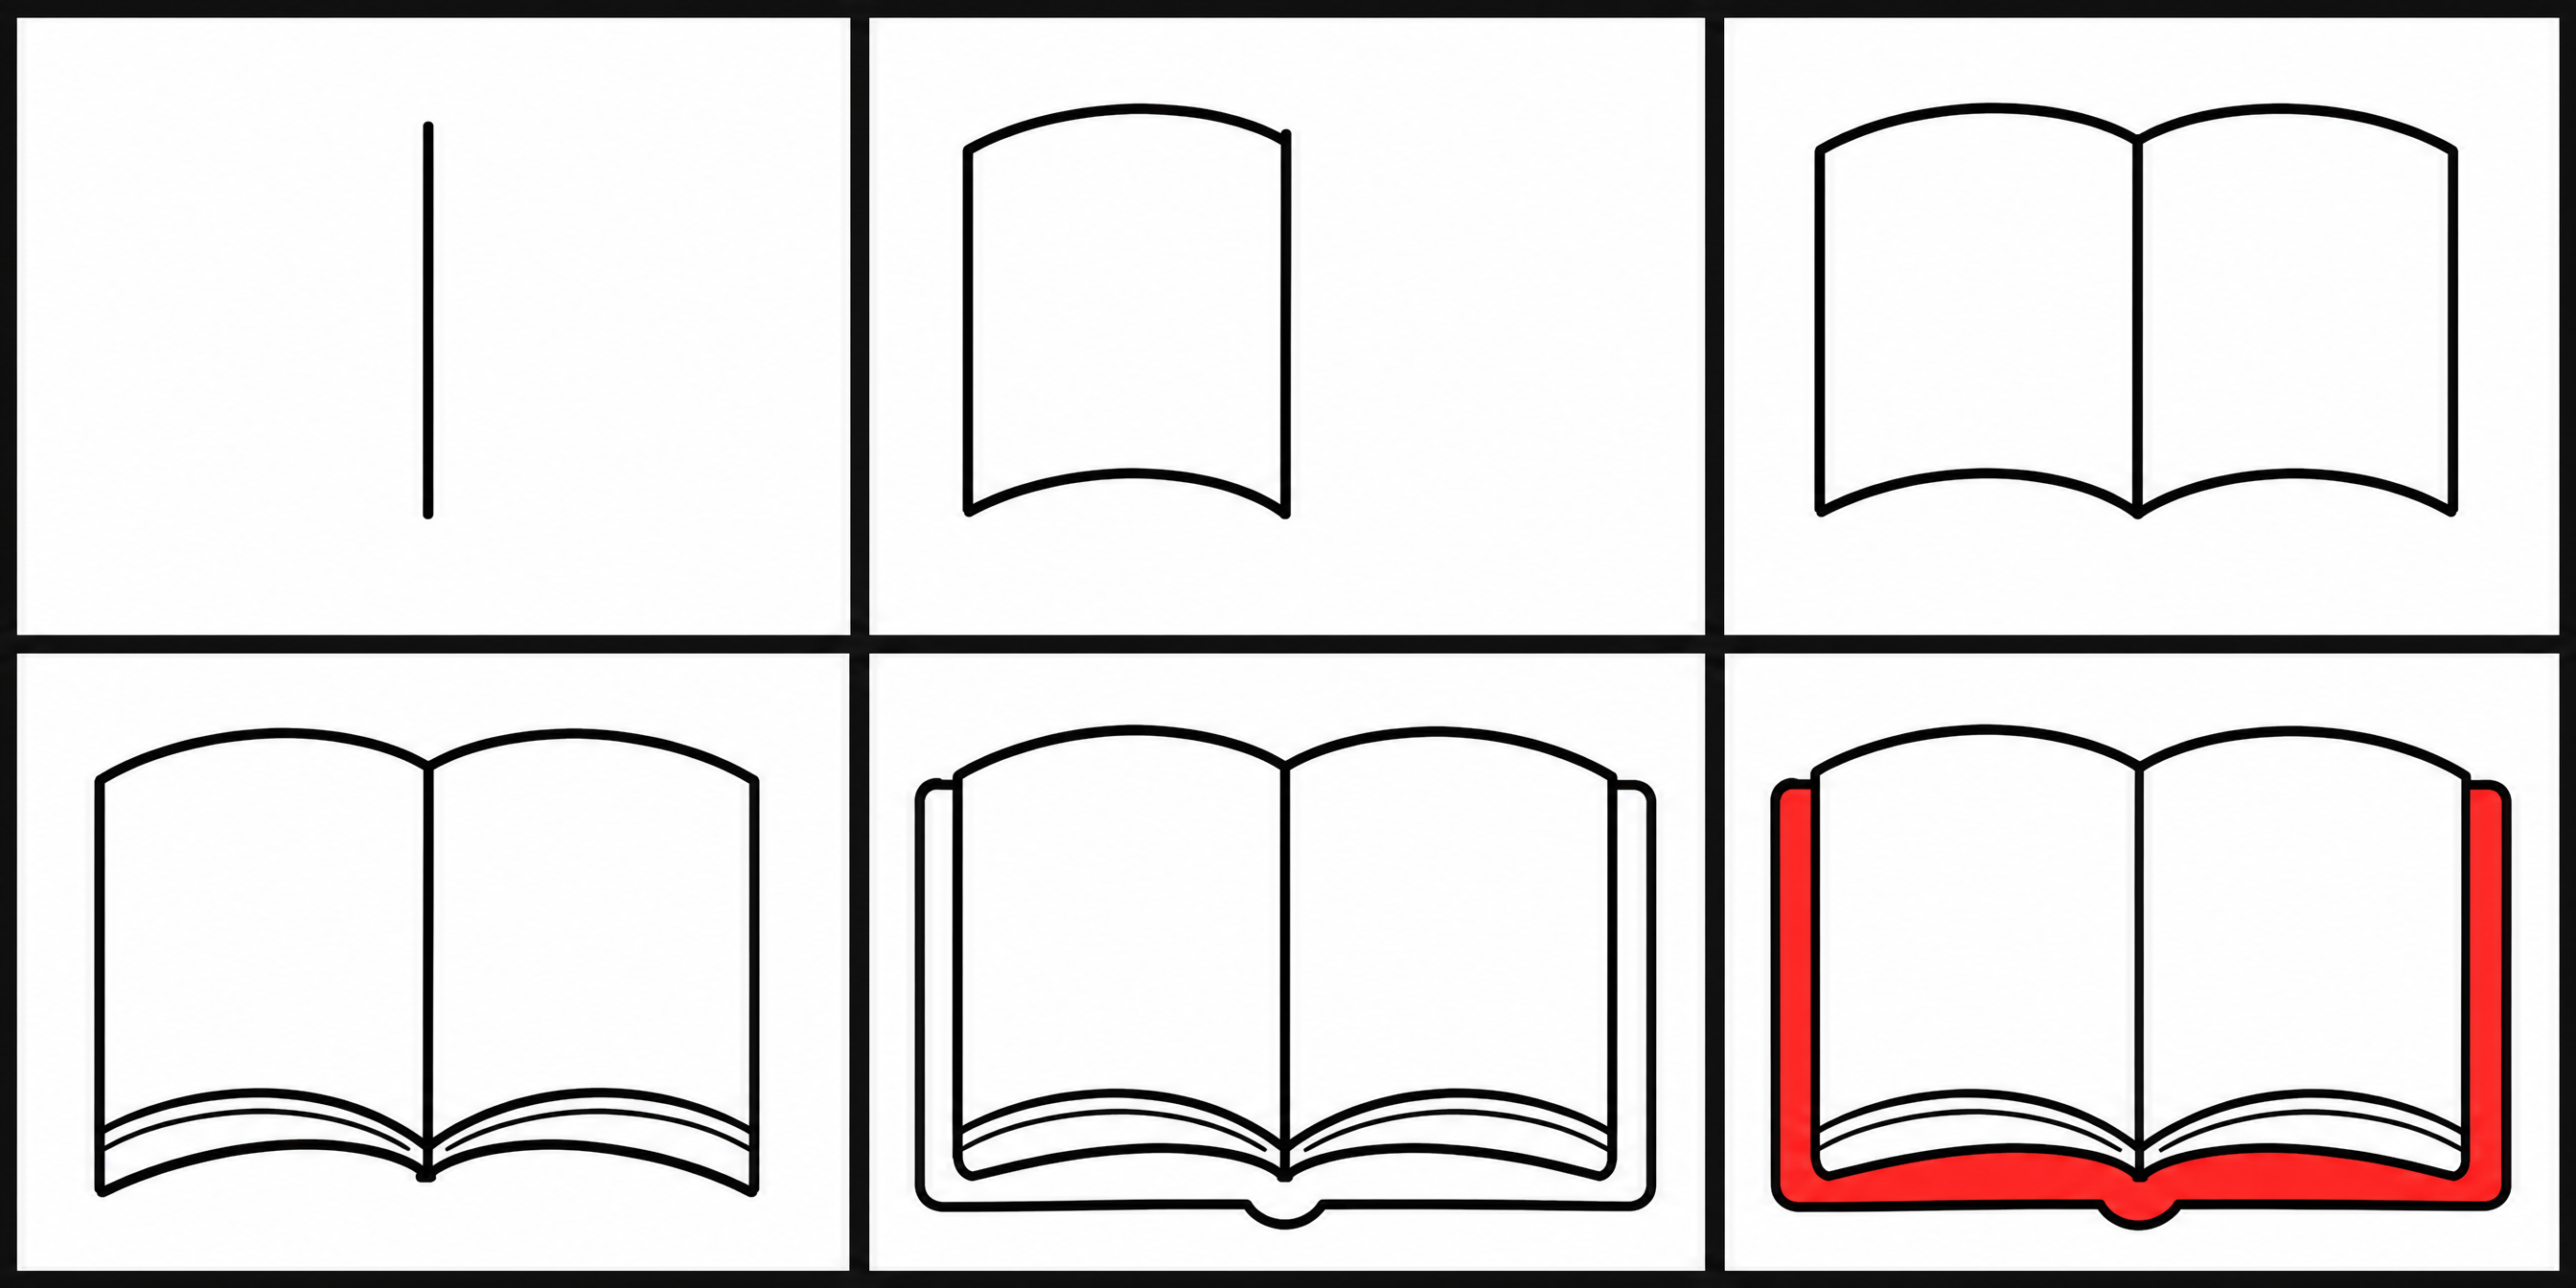
How to Draw Book: All 6 Steps at a Glance
Here is the whole book drawing, step by step, in one picture — save it or print it to follow along.
Frequently Asked Questions


Ready to Draw Book?
Grab a pencil and follow the 6 easy steps — you can finish your book drawing in minutes.