How to Draw a Penguin
If you want to learn how to draw a penguin, you are in the perfect place! This fun and simple tutorial will guide you through every single line. Do not worry if you have never drawn much before, because we make it incredibly easy. Grab your favorite drawing tools and let's get started on your adorable new friend!
- Easy
- 15 Minutes
- Ages 4+
- Animals
- Birds
- Winter
Simple Shapes Make It Easy
This step-by-step guide on how to draw a penguin uses basic shapes like circles and triangles. By breaking the bird down into small, bite-sized steps, anyone can follow along. It is designed especially for kids and complete beginners to build drawing confidence quickly.

How to Draw a Penguin Step by Step
- 1Step 1 of 9
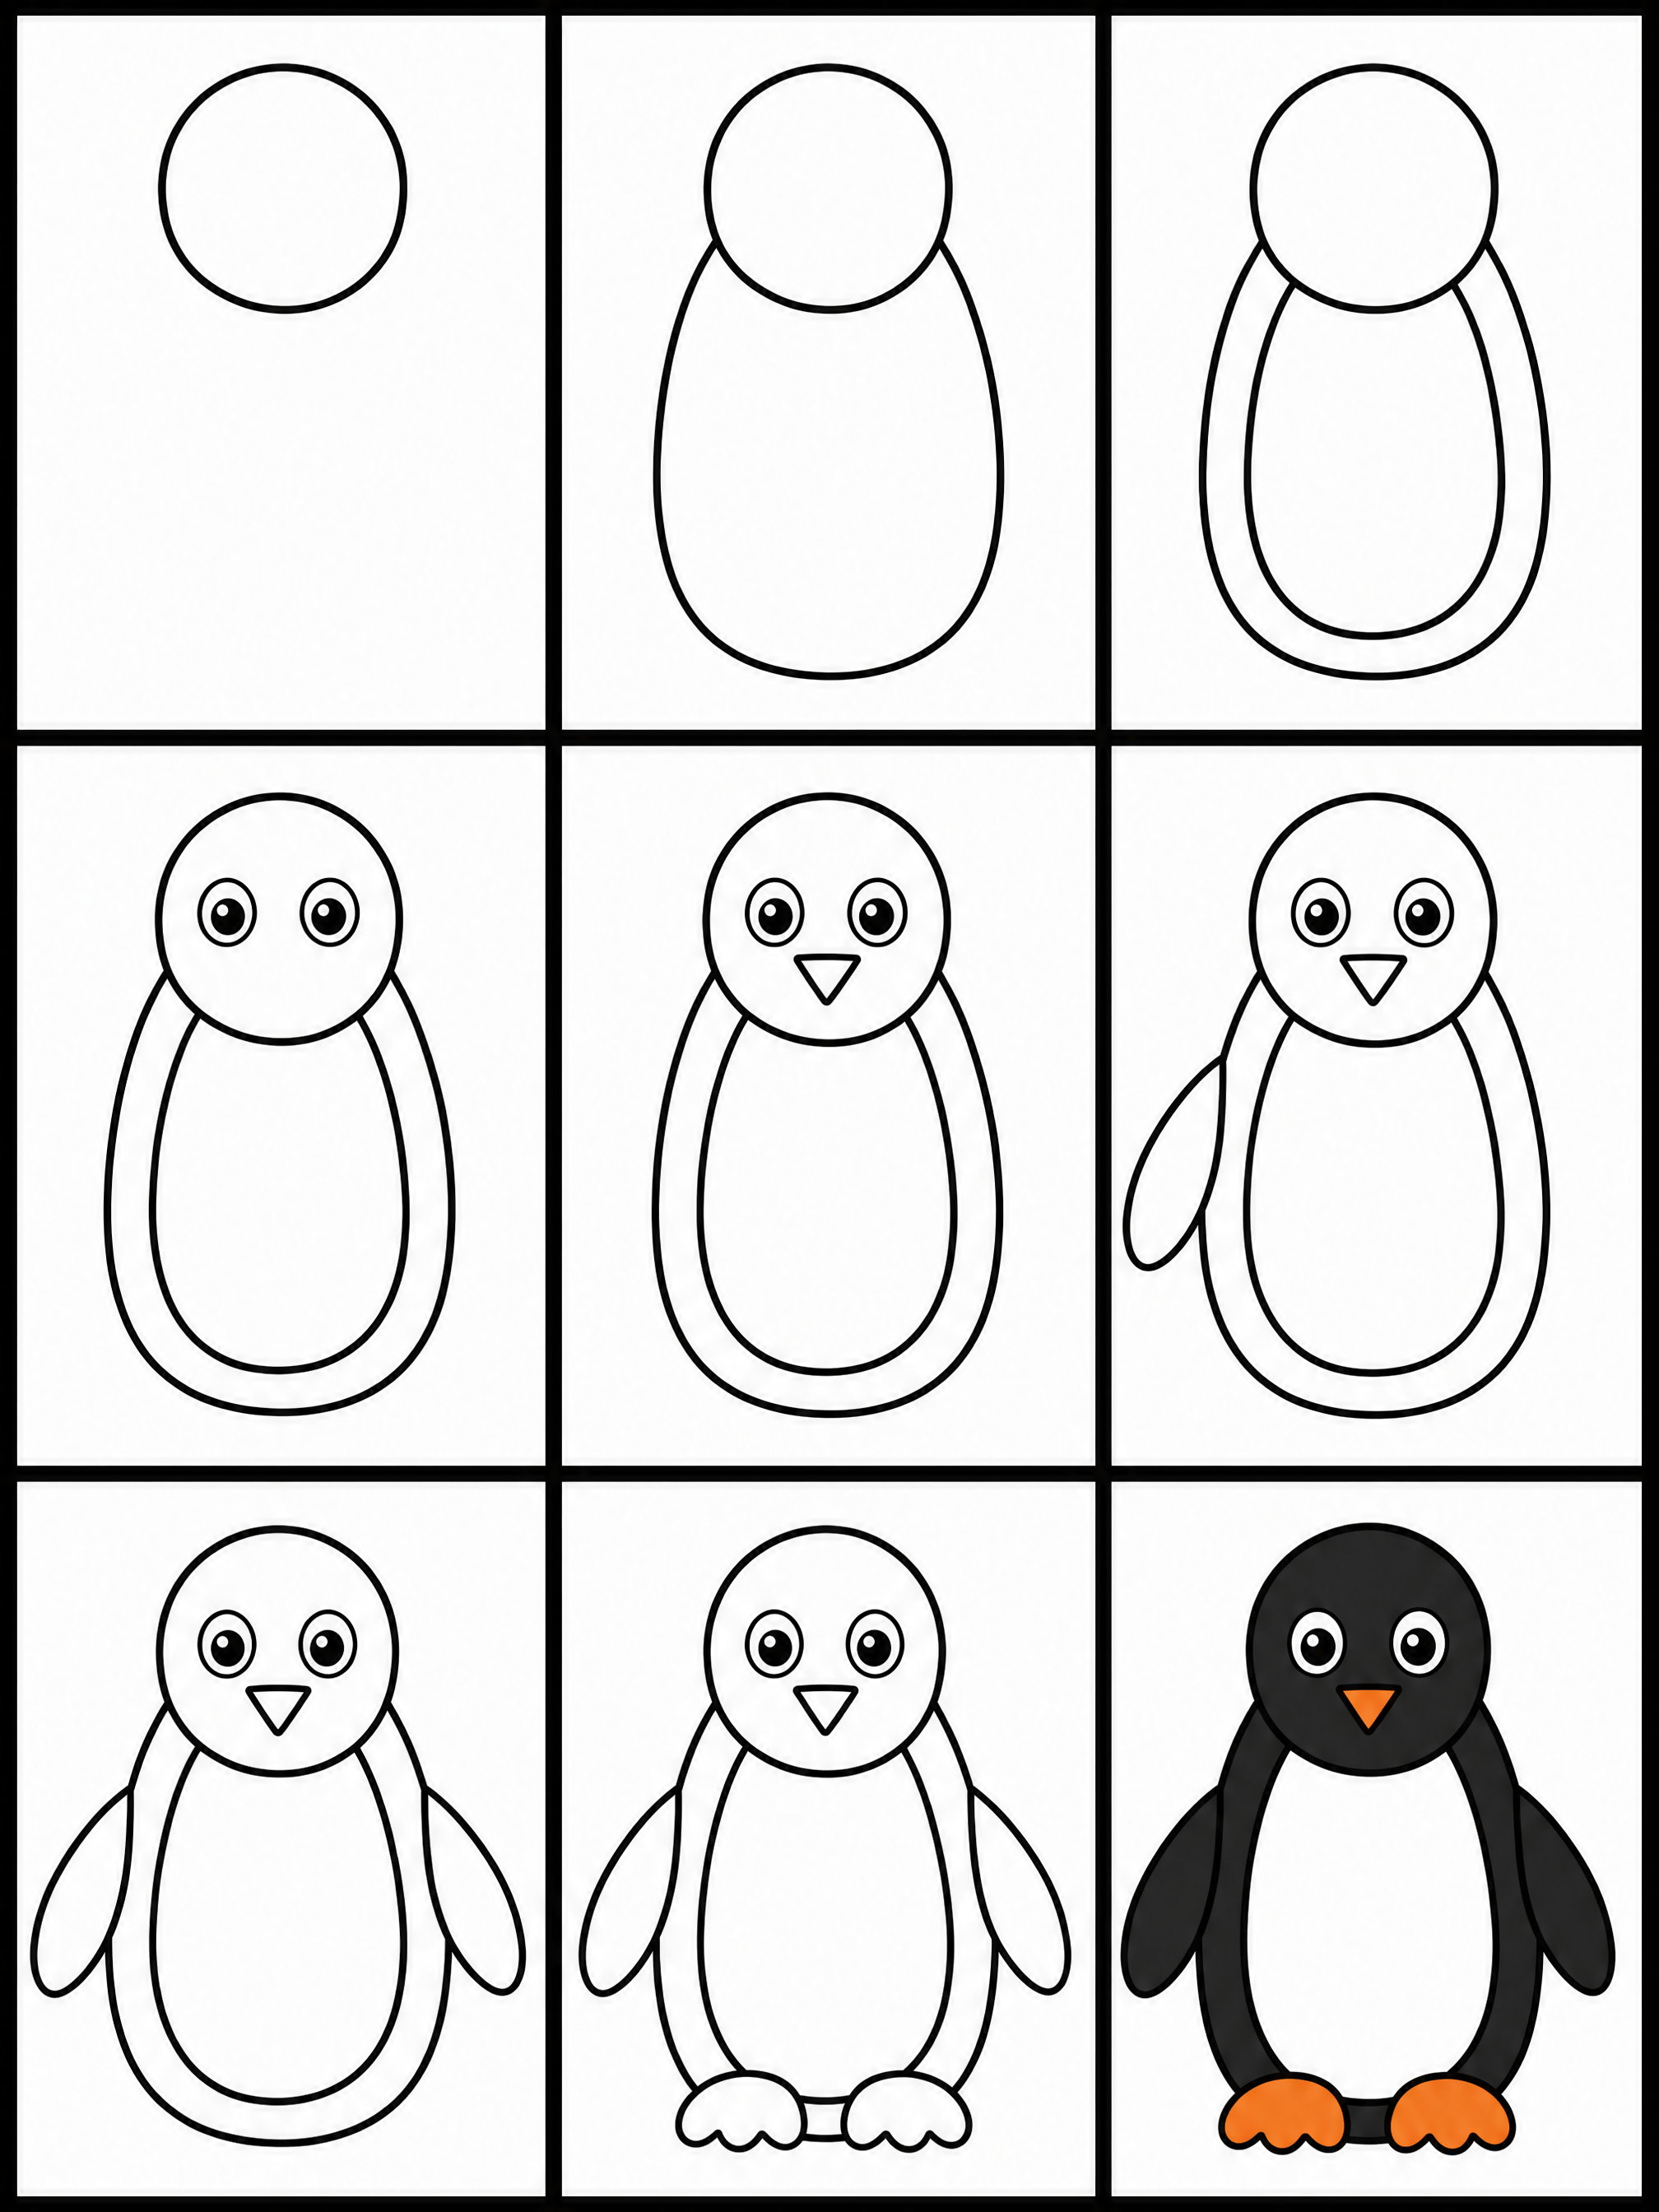
Draw the round head
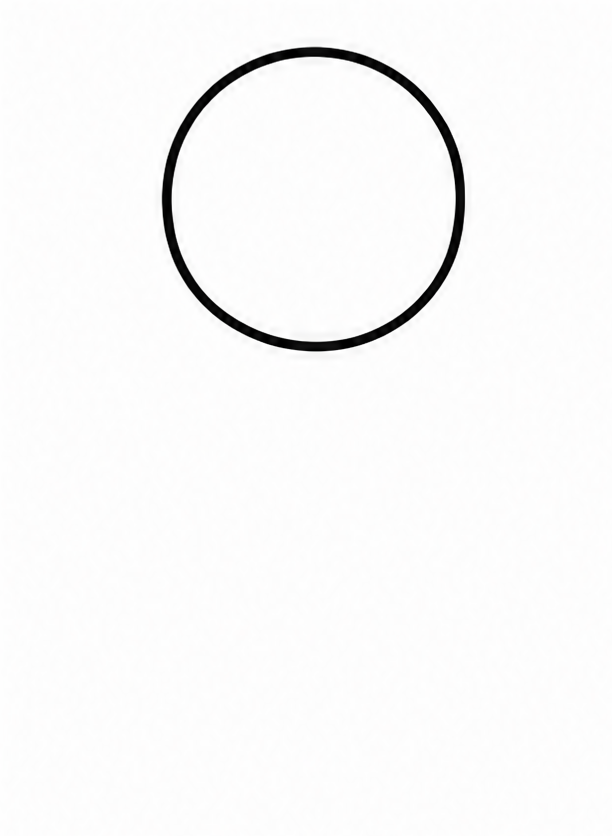
When learning how to draw a penguin, starting with a simple head is the best first step. Start near the top of your paper and draw a smooth, round circle. Make sure to leave plenty of room below it for the rest of the body!
Tip: Keep your pencil lines nice and light to start so you can erase easily later.
- 2Step 2 of 9
Draw the main body
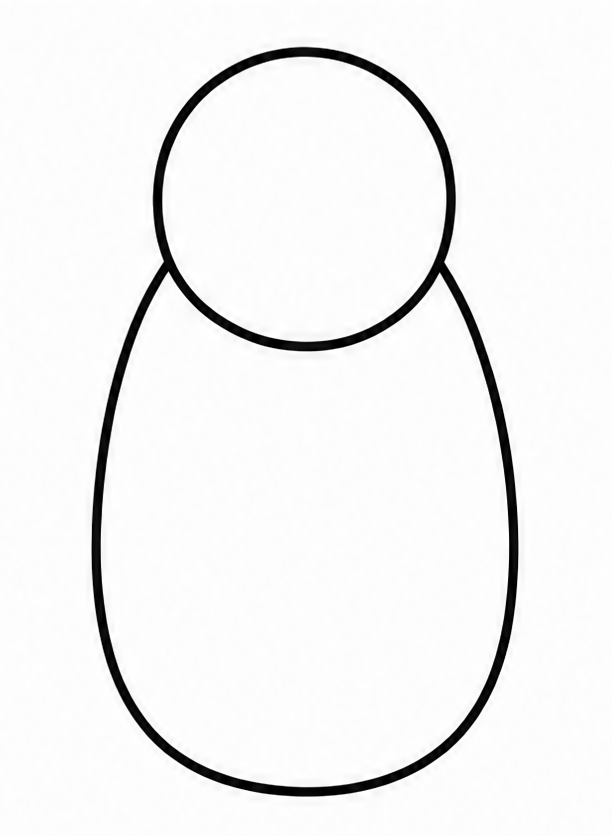
From the bottom of the head, draw a large, curved U-shape that connects back to the other side. This creates the long, oval body of your bird. It should look a little bit like the shape of a bowling pin.
Tip: Draw slowly so your big curve stays smooth, even, and neat all the way around.
- 3Step 3 of 9
Add the tummy patch
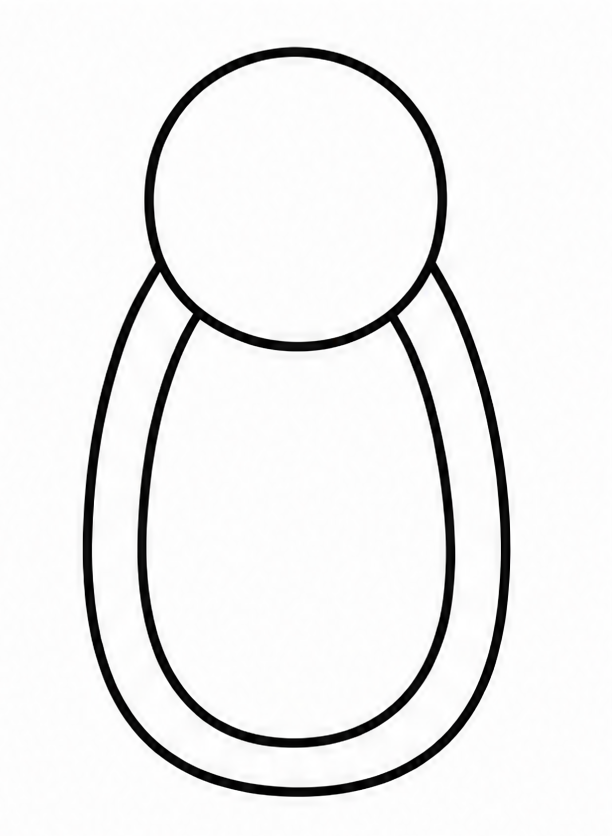
Inside the body you just drew, trace a slightly smaller U-shape. Start from the bottom of the head again and follow the curve of the body down and back up. This simple line gives your new friend its cute white belly.
Tip: Try to leave an even border around the inside of the dark body shape.
- 4Step 4 of 9
Draw the eyes
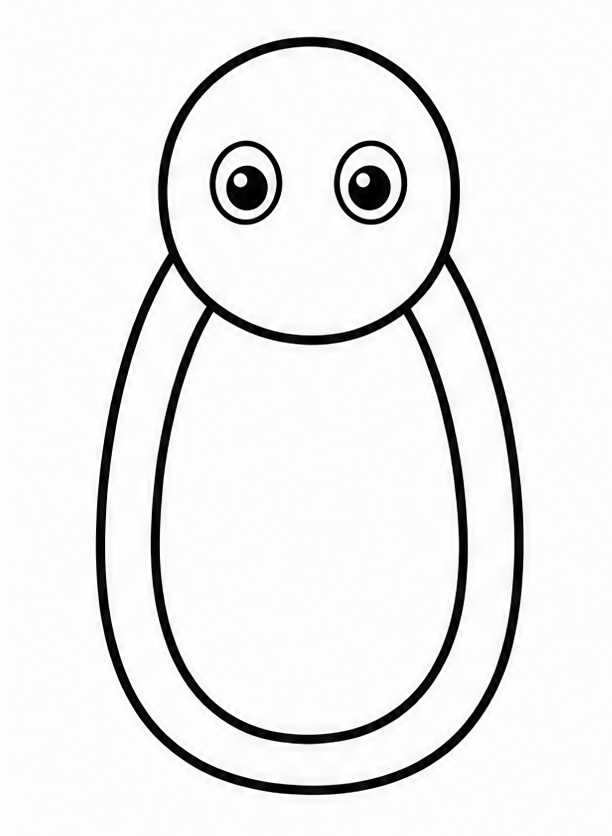
Move back up to the round head you drew first. Draw two small circles right in the middle of the face to make the eyes. Then, draw a tiny dot inside each circle for the pupils to give your bird a happy look.
Tip: You can leave a tiny white spot inside the dark pupils for a fun little sparkle!
- 5Step 5 of 9
Add the little beak
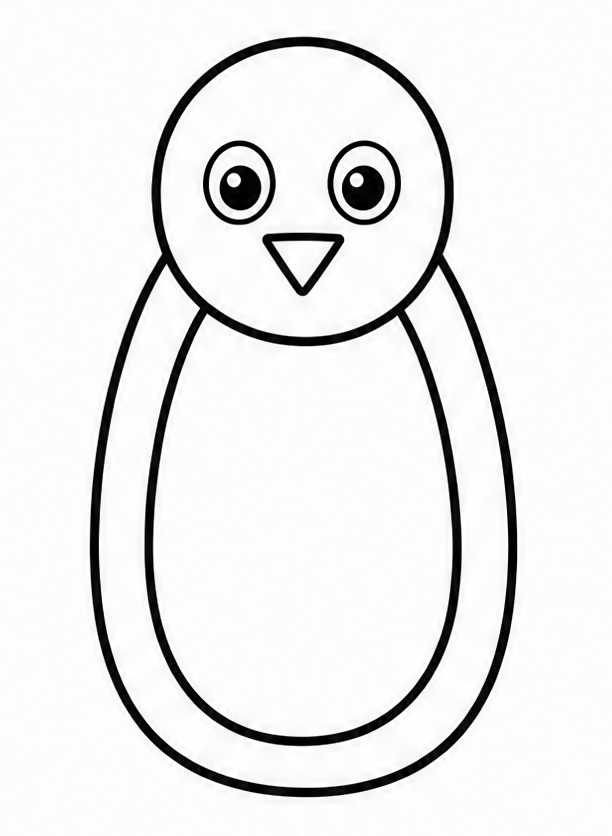
Right below the eyes, draw a small triangle pointing downwards. This forms the tiny beak. Place it right where the head meets the tummy line so your bird looks completely ready to catch some delicious fish in the ocean!
Tip: A triangle with slightly rounded corners looks very soft and friendly for your drawing.
- 6Step 6 of 9
Draw the left flipper
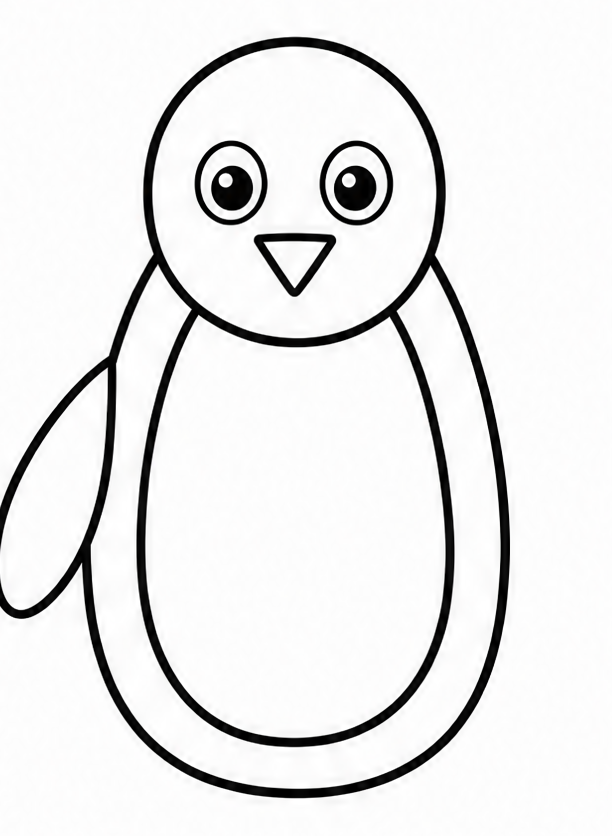
On the left side of the body, draw a long, curved shape pointing downwards. This is the first flipper! It should look a lot like a long leaf gently resting right against the side of the penguin's round body.
Tip: Make sure the flipper connects smoothly to the side of the main body.
- 7Step 7 of 9
Draw the right flipper
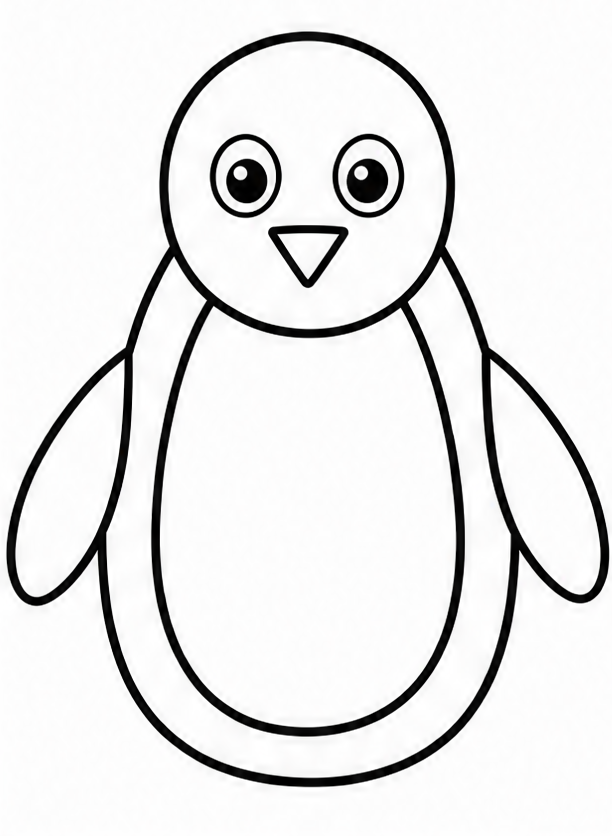
Now, draw a matching flipper on the right side of the body. Draw another long, curved leaf shape pointing downwards, just like you did on the left side. Your drawing is really coming together and starting to look great!
Tip: Try your best to make both flippers roughly the same size and length.
- 8Step 8 of 9
Draw both webbed feet
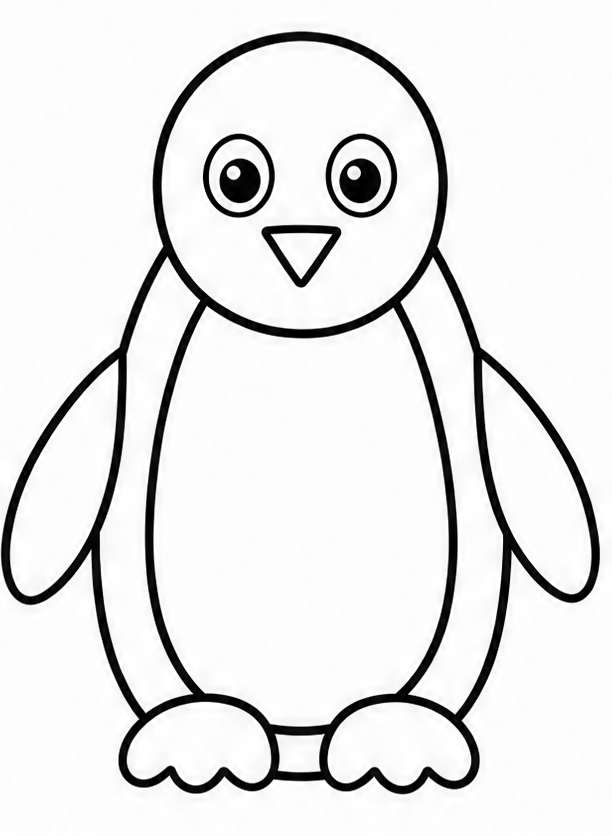
At the very bottom of the body, draw two small, flat shapes sticking out. Add two little bumps on the top edge of each shape to create simple webbed feet. These will help your bird stand up perfectly straight!
Tip: Draw the bottom of the feet totally flat so your drawing looks perfectly balanced.
- 9Finished drawing
Add simple color
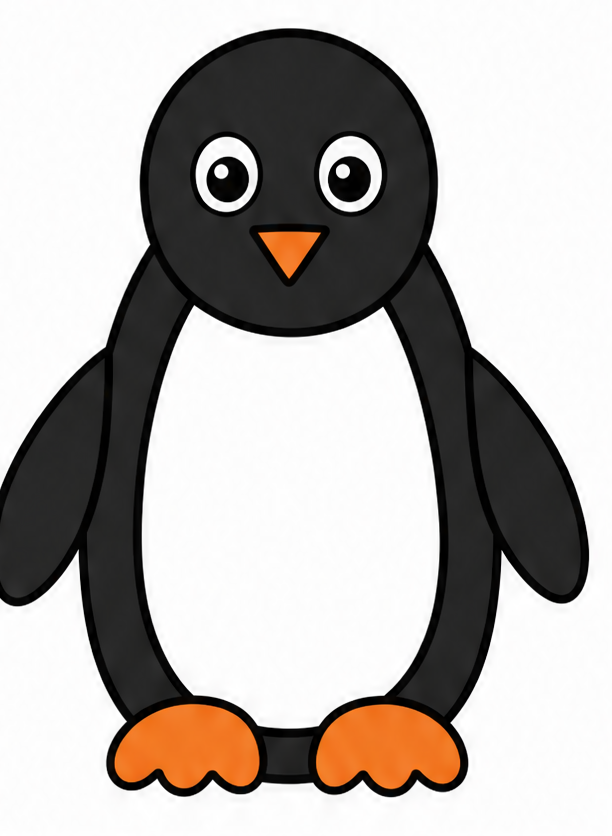
You have just learned how to draw a penguin, so it is time for the fun part: adding color! Color the outer body and flippers black, but leave the tummy white. Finally, make the beak and feet bright orange.
Tip: Outline your final pencil lines with a black marker before coloring inside.
Draw Penguin in 9 Easy Steps
Anyone can learn how to draw a penguin — no drawing experience needed.
9
Simple steps
15 Minutes
Start to finish
Ages 4+
Great for
Fun Ways to Change Your Penguin
Once you master the basic steps, try changing your drawing slightly to make it totally unique!
Waving Flipper
Draw one flipper pointing straight up instead of down so your bird looks like it is waving hello.
Winter Scarf
Add a cozy, striped scarf wrapped tightly around its neck to keep it warm in the snow.
Tiny Baby
Draw a much smaller version right next to the big one to make an adorable little family.
Common Beginner Mistakes
Making the body too short
These birds have long, oval bodies. If yours looks like a round ball, simply erase and stretch your big U-shape a little bit longer.
Flippers that are too skinny
Make the flippers wide and leafy so they look strong and ready to swim through the cold water.
Eyes placed too high
Keep the eyes near the middle of the head so there is plenty of room to draw the beak below them.
How to Draw Penguin: All 9 Steps at a Glance
Here is the whole penguin drawing, step by step, in one picture — save it or print it to follow along.