How to Draw a Butterfly
If you want to learn how to draw a butterfly, you are in the perfect place! This simple lesson is made just for total beginners and kids who want to make fun art without feeling frustrated. We will use very basic shapes to build your drawing step by step so you always know what to do next. Grab a pencil and a piece of paper, and let us get started on this easy project together.
- Easy
- 15 Minutes
- Ages 5+
- Drawing
- Beginners
- Kids
- Nature
Why This Drawing Is So Easy
We break down how to draw a butterfly into basic curves and soft loops. By working on one wing at a time, you can easily keep your drawing balanced and neat.

How to Draw a Butterfly Step by Step
- 1Step 1 of 9
Draw the main body parts
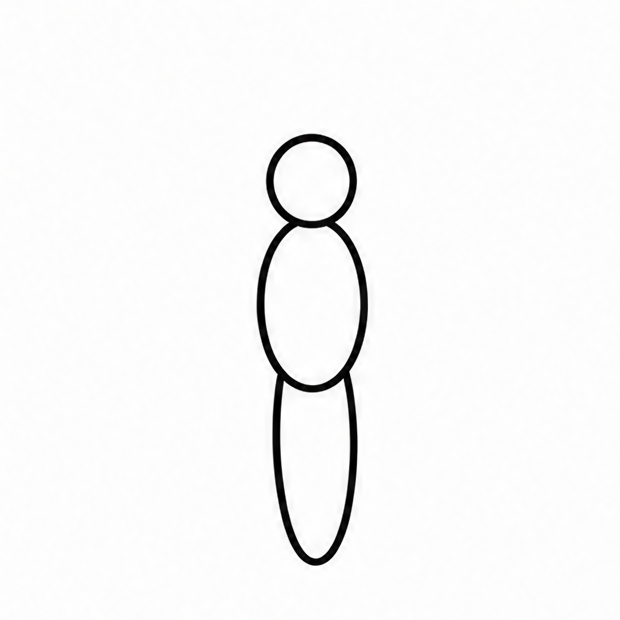
Let us start by making the center of your bug. Draw a small circle at the very top for the head. Right below that, draw a slightly longer oval shape. Finally, attach a longer, thinner oval at the very bottom.
Tip: Draw these shapes right in the middle of your paper.
- 2Step 2 of 9
Draw the upper left wing
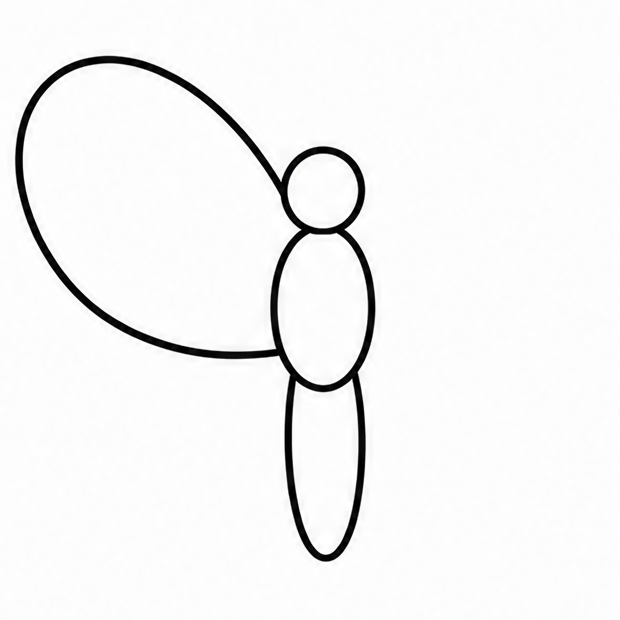
Now we will give our drawing its first big wing. Start at the top oval, right next to the head. Draw a large, curved line that goes up, outwards to the left, and then swoops back down to the middle section.
Tip: Imagine you are drawing a really big sideways letter U.
- 3Step 3 of 9
Draw the upper right wing
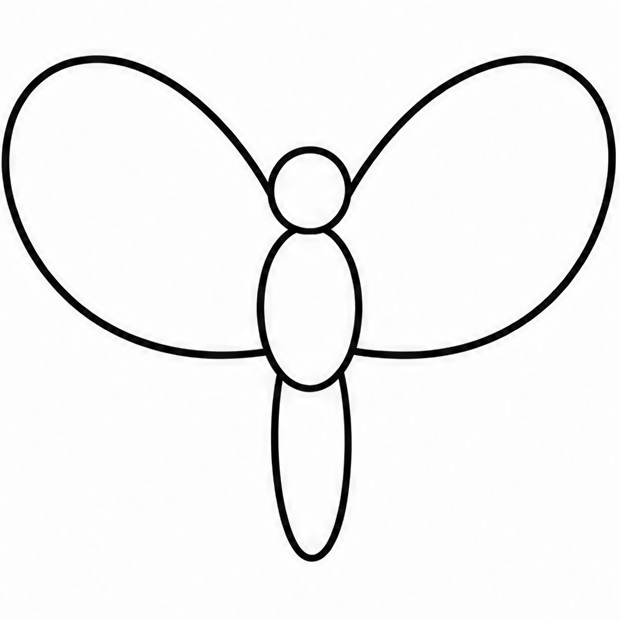
Let us do the exact same thing on the other side. Starting near the head on the right, draw another large curving line going up and outwards to the right. Bring the line smoothly back down to the middle body section.
Tip: Do not worry if the two sides are not perfectly equal!
- 4Step 4 of 9
Add the lower left wing
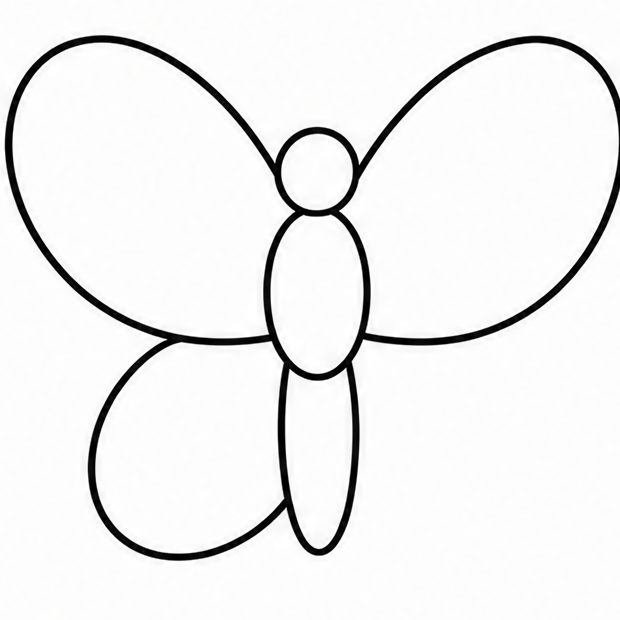
Next, we need the bottom wings. Start where the top left wing meets the middle body. Draw a rounded curve that swoops downward and connects back near the bottom of the long oval. Make it a bit smaller and rounder.
Tip: Keep your pencil lines soft and gentle as you curve.
- 5Step 5 of 9
Add the lower right wing
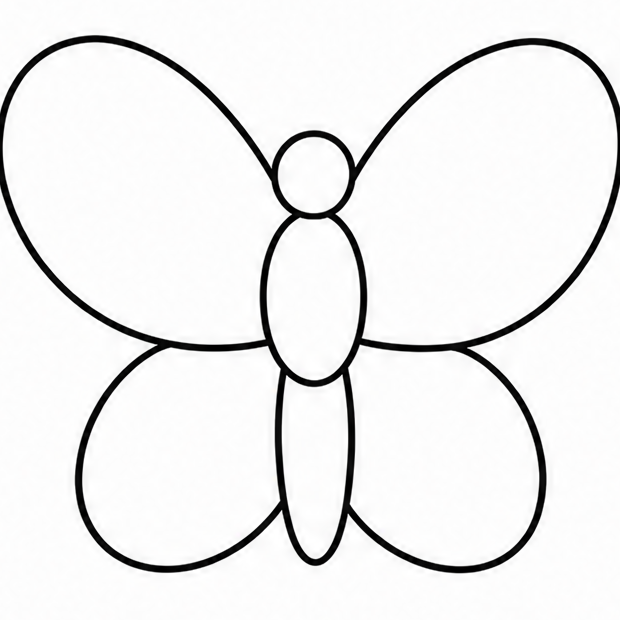
It is time to balance the bottom half. Start where the top right wing meets the middle body. Draw a soft curve downwards and bring it back to connect near the bottom of the long oval. Your basic outline is complete!
Tip: Take your time connecting the lines to the center body.
- 6Step 6 of 9
Draw the two antennae
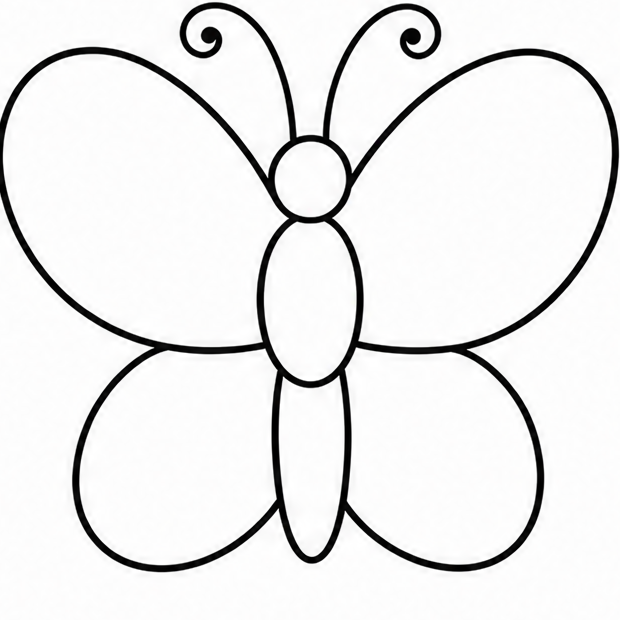
Go back up to the small circle you drew for the head in the very beginning. Draw two thin lines curving upward and outward from the top of the head. Add a tiny solid circle at the end of each line.
Tip: You can make the antennae as long or short as you like.
- 7Step 7 of 9
Draw inside wing borders
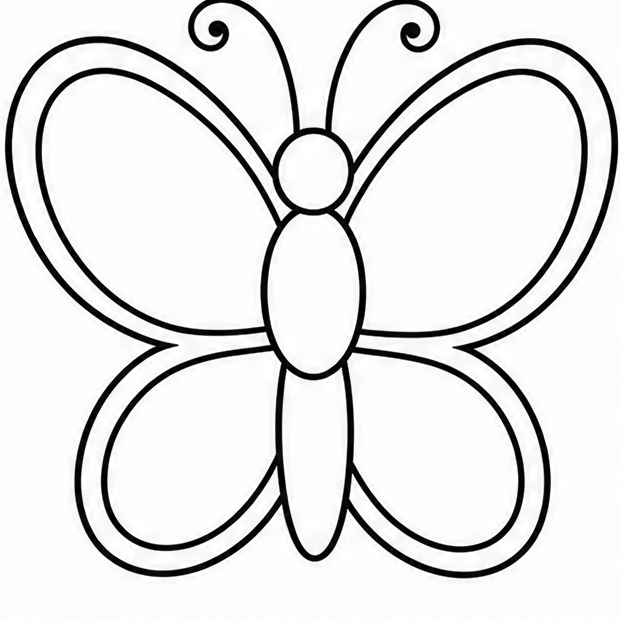
Now comes the fun part of adding details! Inside each of the four wings, draw a slightly smaller version of the same wing shape. This creates a neat border around the edges of the wings. Follow the outside curve closely.
Tip: Leave a little bit of empty space between your two lines.
- 8Step 8 of 9
Add simple wing patterns
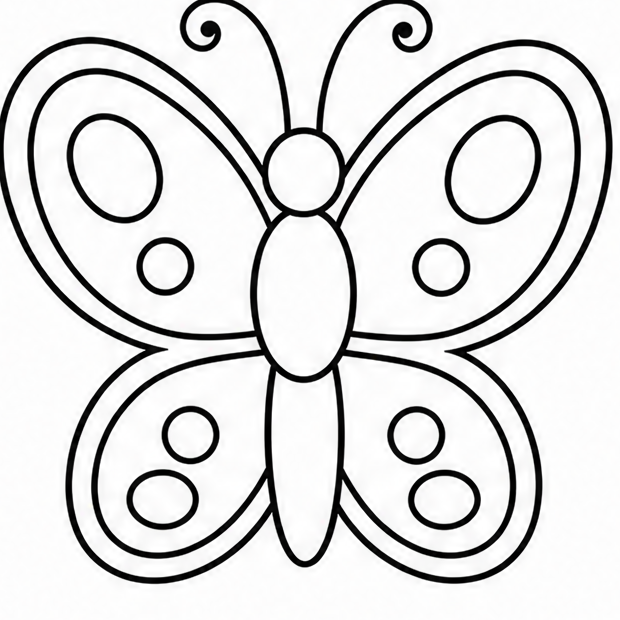
Let us decorate the wings before we finish up. Inside the empty spaces of the top wings, draw two or three small circles or ovals. Do the exact same thing for the bottom wings. These spots make your artwork look special.
Tip: You can place these little spots wherever you think looks best.
- 9Finished drawing
Color your finished artwork
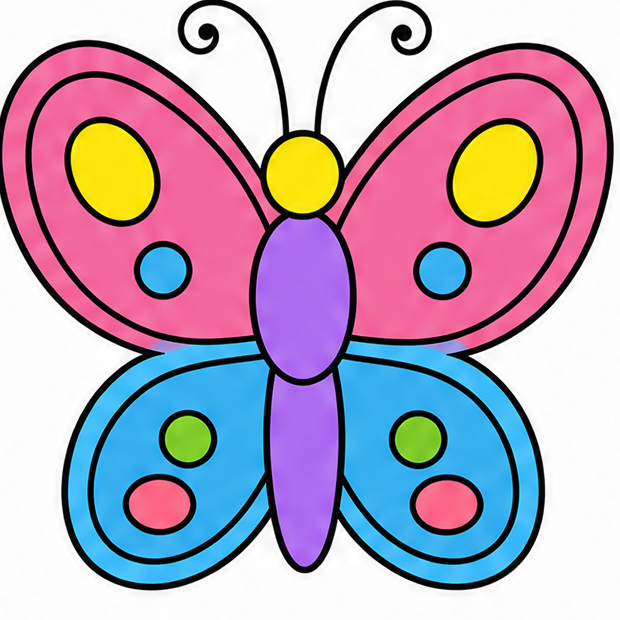
You finally know how to draw a butterfly! For the last step, use your crayons or markers to fill in the wings with bright, happy colors. You can color the borders dark and make the main wings pink or blue.
Tip: Have fun and use your favorite bright colors to finish it.
Draw Butterfly in 9 Easy Steps
Anyone can learn how to draw a butterfly — no drawing experience needed.
Simple steps
Start to finish
Great for
Fun Ways to Change Your Butterfly
Once you master how to draw a butterfly, try mixing things up! Here are three easy ideas to make your next drawing look brand new.
Change the Wing Shape
Instead of smooth curves, try drawing the outside edges with wavy or jagged lines.
Try a Side View
Draw just the right wings overlapping the left wings so it looks like it is resting on a leaf.
Add a Happy Face
Put two tiny dots for eyes and a small curved smile on the head.
Common Mistakes When Learning How to Draw a Butterfly
Making the body too thick
If the center body is too wide, the wings might look too small. Try keeping the center ovals very thin and narrow.
Worrying about perfect sides
Nature is never perfectly equal! If one wing is a bit larger than the other, it just makes your art more unique.
Drawing the spots too tiny
If you draw the wing spots too small, they will be very hard to color later. Make them big and bold.
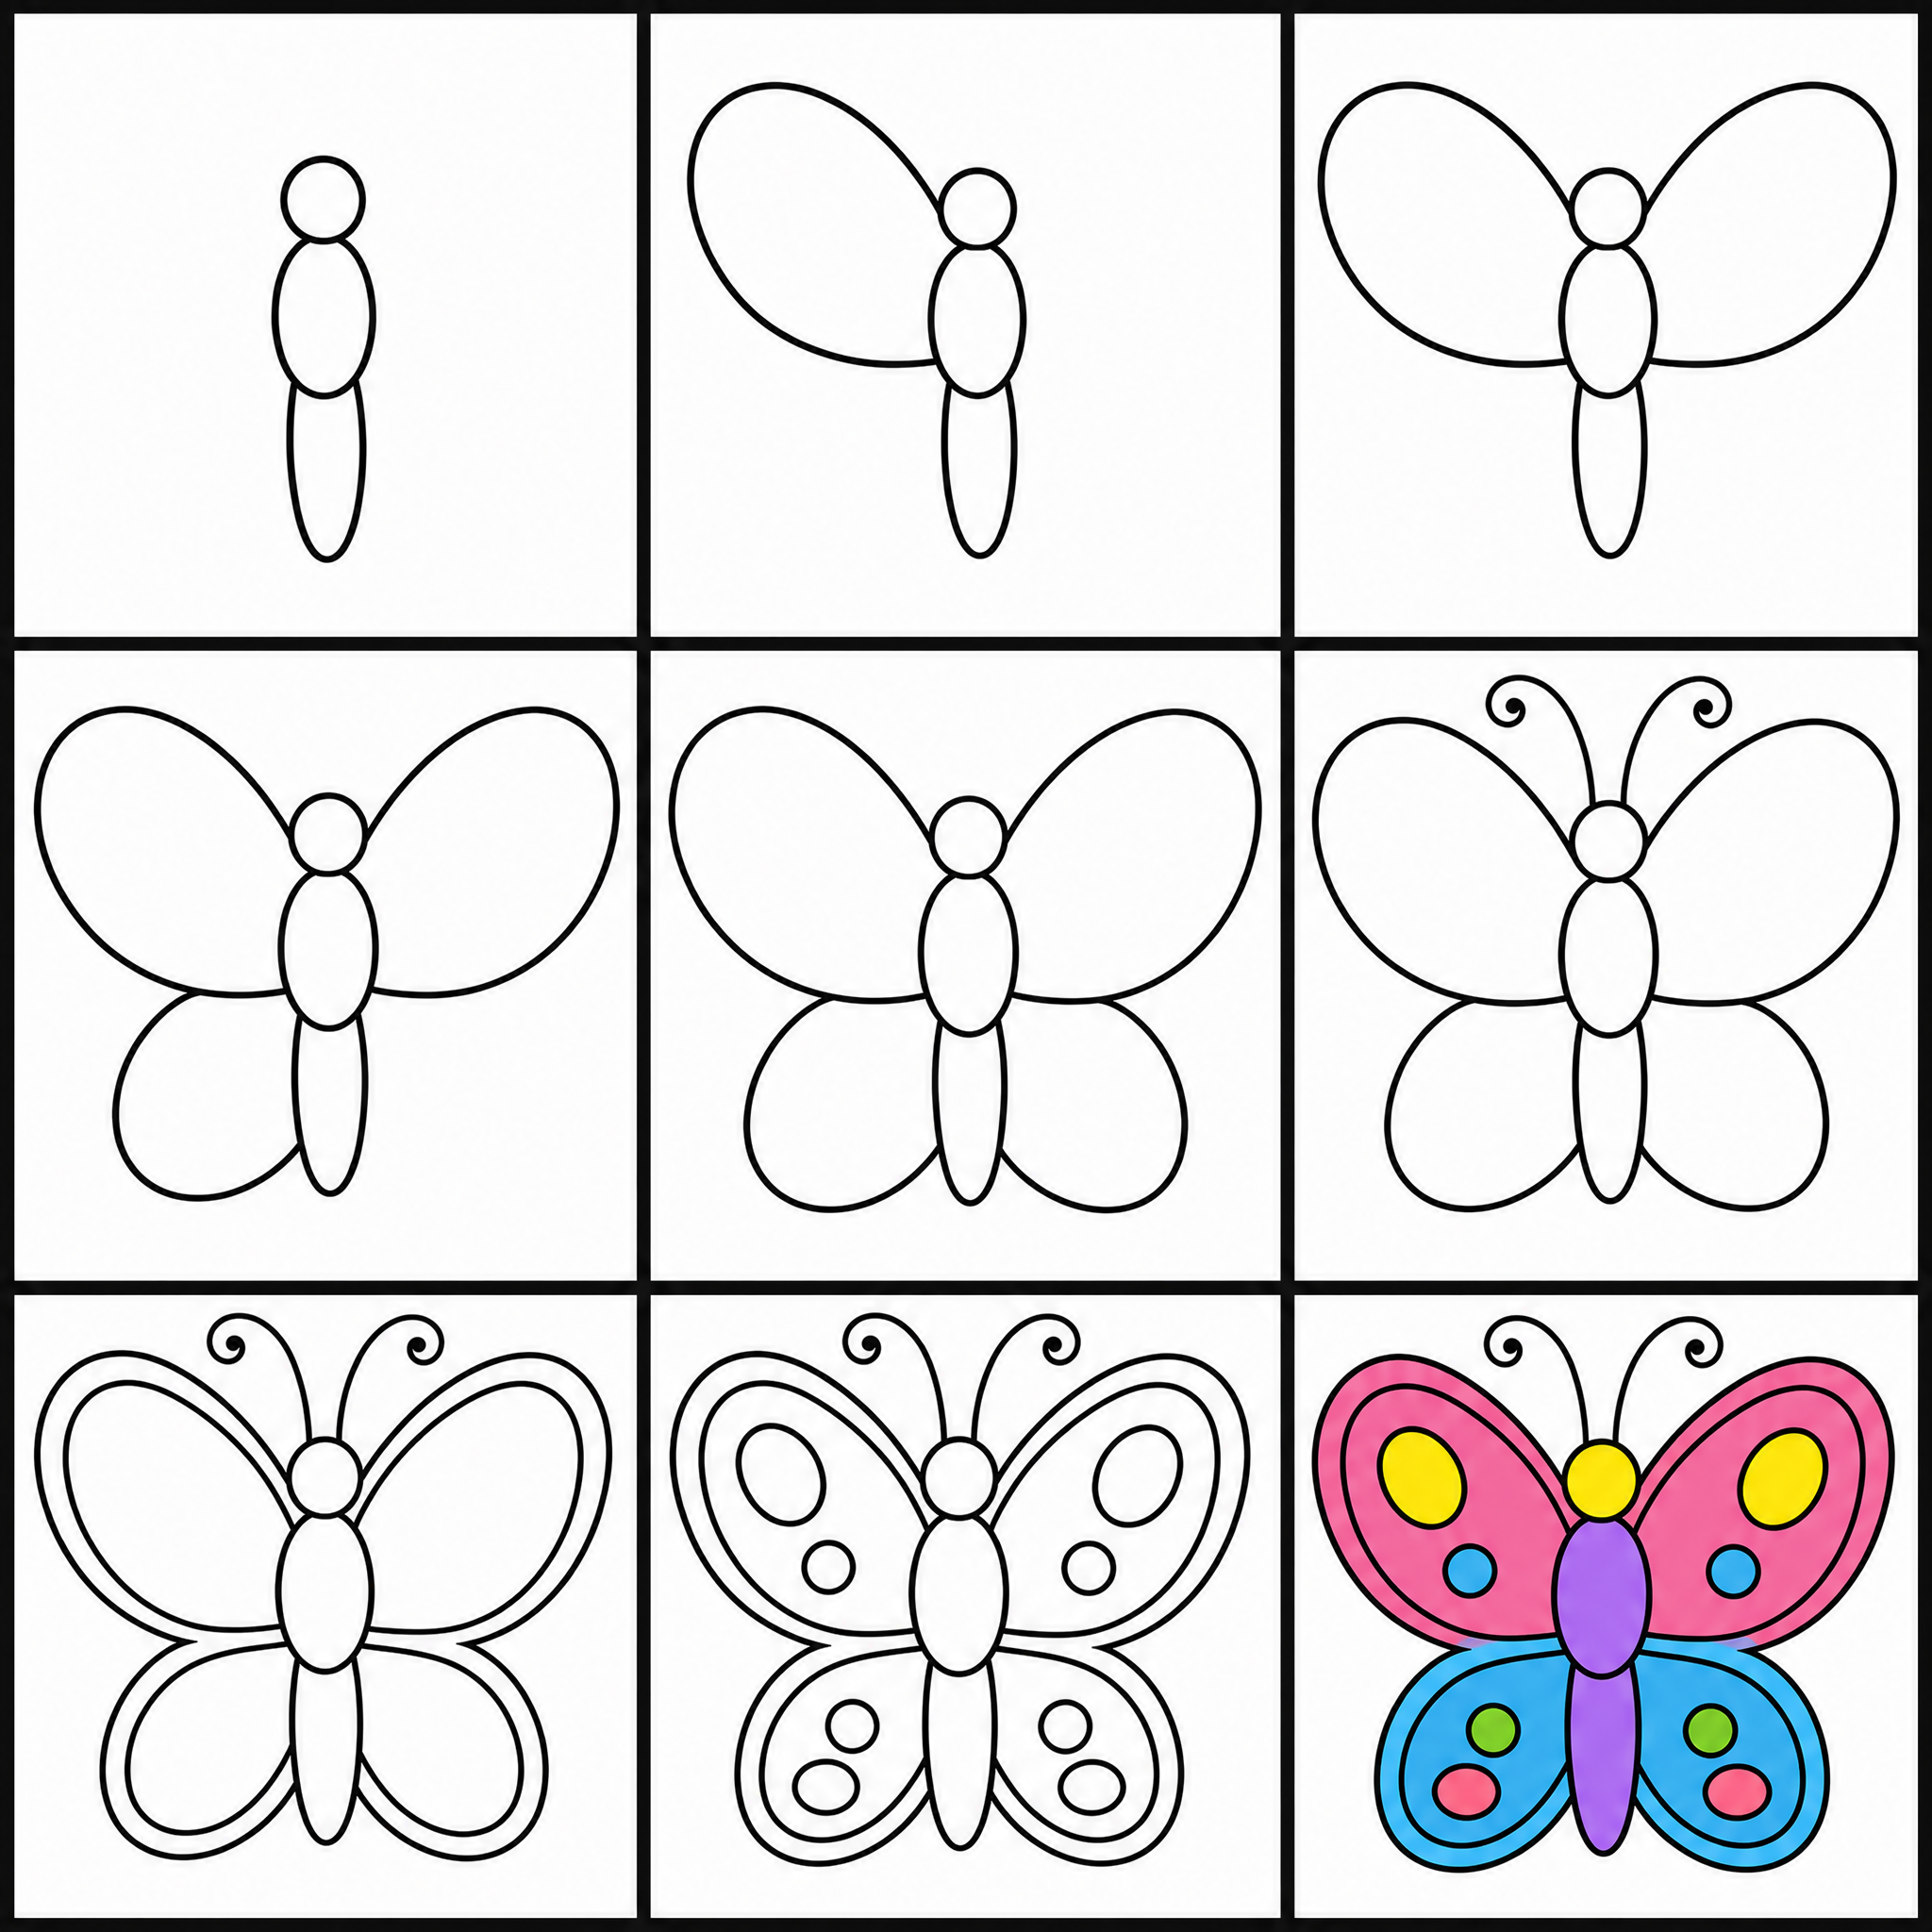
How to Draw Butterfly: All 9 Steps at a Glance
Here is the whole butterfly drawing, step by step, in one picture — save it or print it to follow along.
Frequently Asked Questions

Ready to Draw Butterfly?
Grab a pencil and follow the 9 easy steps — you can finish your butterfly drawing in minutes.