How to Draw a Car
Are you ready to learn how to draw a car? You have come to the right place because this guide makes it completely simple. We will break the whole process down into basic shapes that any beginner can follow. Grab your favorite pencils and let's start creating your very own automobile!
- Easy
- 15 Minutes
- Ages 4+
- drawing for kids
- easy drawing steps
Why This Guide Makes Drawing Easy
When learning how to draw a car, many beginners get stuck on the tricky parts. This lesson uses basic rectangles and circles to build the foundation first. By taking it one step at a time, kids and parents can enjoy a frustration-free art session.

How to Draw a Car Step by Step
- 1Step 1 of 12
Draw the lower body shape

Let's begin learning how to draw a car by making the bottom half. Draw a long, flat rectangle across the middle of your paper. Round the corners slightly so the edges do not look completely sharp. This is the strong main base of your automobile.
Tip: Draw lightly so you can erase lines later on!
- 2Step 2 of 12
Add the rounded roof
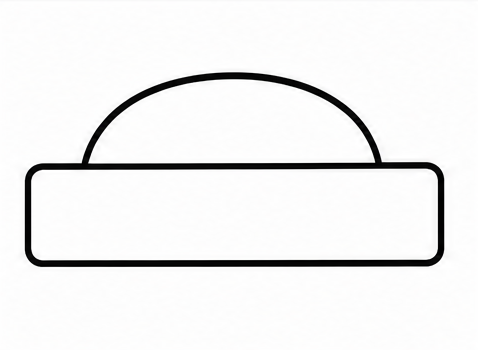
Now, draw a curved line on top of your rectangle to create the roof. Start from the front side and make a smooth arch that connects back down near the rear. This gives the passengers plenty of headroom inside the cabin.
Tip: Make the front of the roof slope a little more than the back.
- 3Step 3 of 12
Create the wheel wells
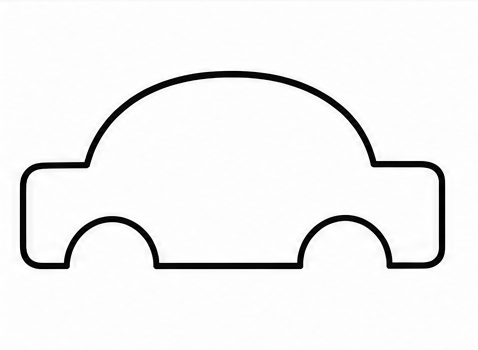
On the bottom edge of your long rectangle, draw two upside-down letter U shapes. Place one near the front and one near the back. Use your eraser to remove the straight line inside each U. These gaps are where the tires will go.
Tip: Space the wheel wells evenly so it stays balanced.
- 4Step 4 of 12
Draw the round tires
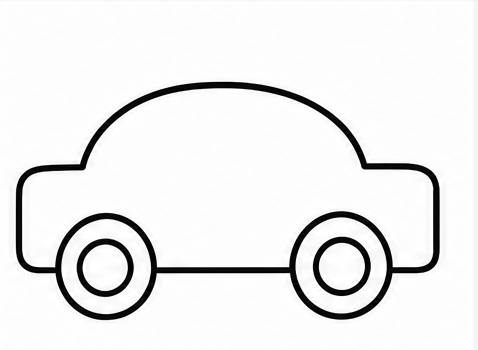
Inside each wheel well you just made, draw a perfect circle. These circles are the rubber tires. Make sure the bottom part of each tire sticks out just a little bit below the car so it can easily roll on the ground.
Tip: If you need help making circles, trace a small coin!
- 5Step 5 of 12
Draw the inner hubcaps
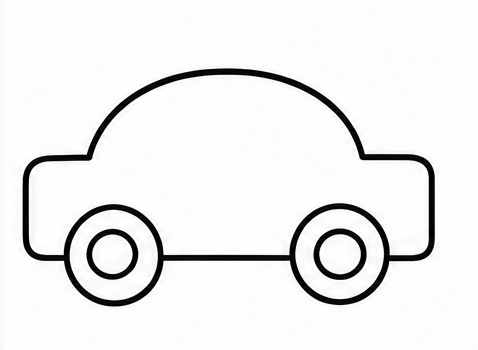
To make the tires look complete, draw a smaller circle directly in the center of each tire. These smaller circles are the shiny metal hubcaps. This simple detail really helps your drawing look put together and ready to drive down the road.
Tip: Keep these inner circles exactly in the middle.
- 6Step 6 of 12
Add front and back windows
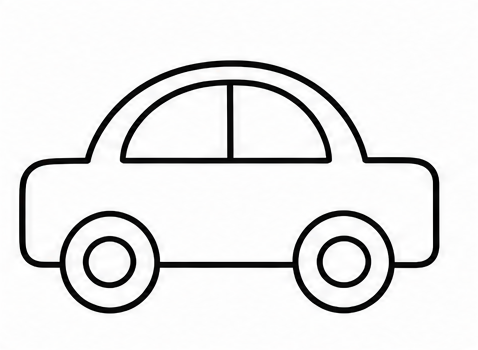
Inside the curved roof shape, draw a smaller matching arch shape to make the glass. Then, draw a straight up-and-down line right in the middle of that space. This splits the glass into a distinct front window and a back window.
Tip: Leave a small border around the windows for the frame.
- 7Step 7 of 12
Draw headlights and taillights
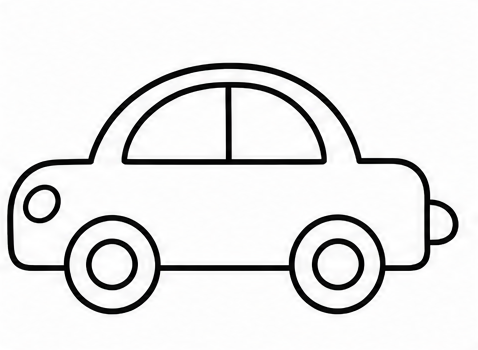
On the front edge of the lower body, draw a small oval for the headlight to light the way. On the very back edge, draw a small half-circle or square for the taillight. This is a very important step for safe driving!
Tip: You can make the headlights round, square, or pointy!
- 8Step 8 of 12
Outline the two doors
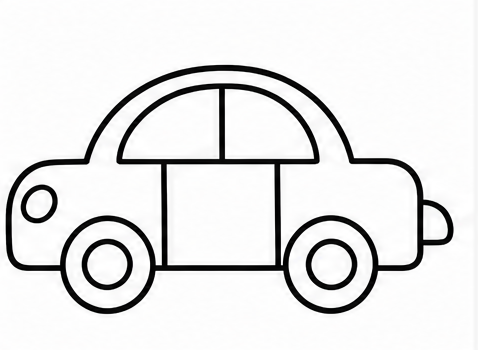
Draw two straight lines going straight down from the windows to the bottom edge of the base. This splits the side of the machine into a front door and a back door. Everyone can easily see where the passengers get inside!
Tip: Make sure the lines go all the way to the bottom.
- 9Step 9 of 12
Draw the door handles
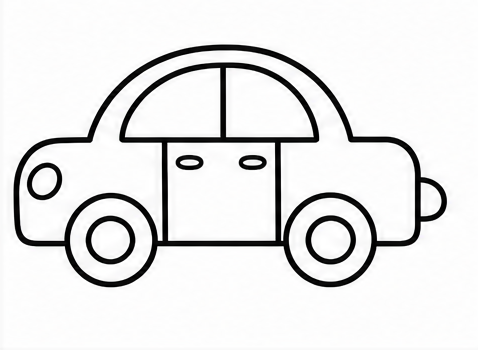
Every passenger needs a way to open the door to get in. Draw a tiny horizontal line or a small oval on each door, right under the windows. Place them near the back edge of each door so they are easy to grab.
Tip: Keep the handles small so they match the door size.
- 10Step 10 of 12
Add the sturdy bumpers
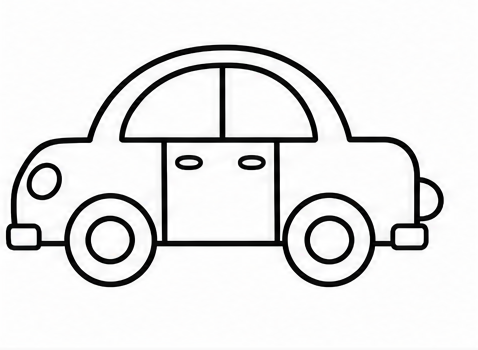
Attach a small, curved shape to the lower front corner and another to the lower back corner. These are the strong bumpers that protect it from bumps. They should wrap slightly around the edges near the tires for a safe finish.
Tip: Make the bumpers stick out just a little bit.
- 11Step 11 of 12
Draw an exhaust pipe
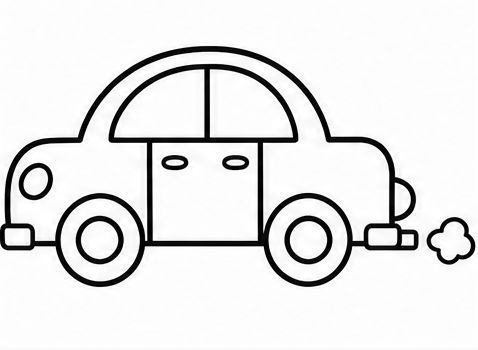
At the very back bottom corner, right behind the rear tire, draw a tiny rectangle pointing out. This is the exhaust pipe. You can even draw a small, puffy cloud shape coming out of it to show that the engine is running!
Tip: Keep the exhaust pipe very small and simple.
- 12Finished drawing
Add simple flat colors
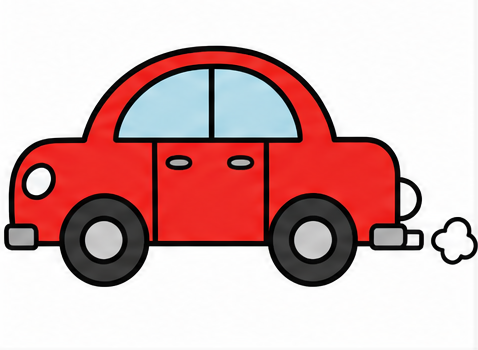
The final step in this guide is adding some fun, flat color! Use a bright red, blue, or green crayon for the main body. Color the tires dark gray or black, and use light blue for the windows so they look like real, shiny glass.
Tip: Use even strokes to color so it looks smooth and bright.
Draw Car in 12 Easy Steps
Anyone can learn how to draw a car — no drawing experience needed.
12
Simple steps
15 Minutes
Start to finish
Ages 4+
Great for
Fun Ways to Customize Your Ride
Once you master how to draw a car, you can change a few details to make it totally unique. Try these easy ideas to give your new drawing a custom look.
Change the shape
Make the roof extra tall to draw a family van, or long and flat for a stretch limousine.
Add an accessory
Draw a simple roof rack with a surfboard or a square suitcase tied securely to the top.
Give it a racing stripe
Draw two straight horizontal lines across the side doors and color the middle with a bright yellow.
Common Beginner Mistakes & Easy Fixes
Tires are floating
If your tires do not touch the ground, simply draw a straight horizontal line right under them to create a solid road.
Windows look too small
Erase the roof arch and draw it slightly taller. This helps make the windows bigger so the passengers have more room to look out.
Uneven wheel spaces
Make sure to draw both of your wheel wells at the same time so you can match their sizes perfectly before adding tires.
How to Draw Car: All 12 Steps at a Glance
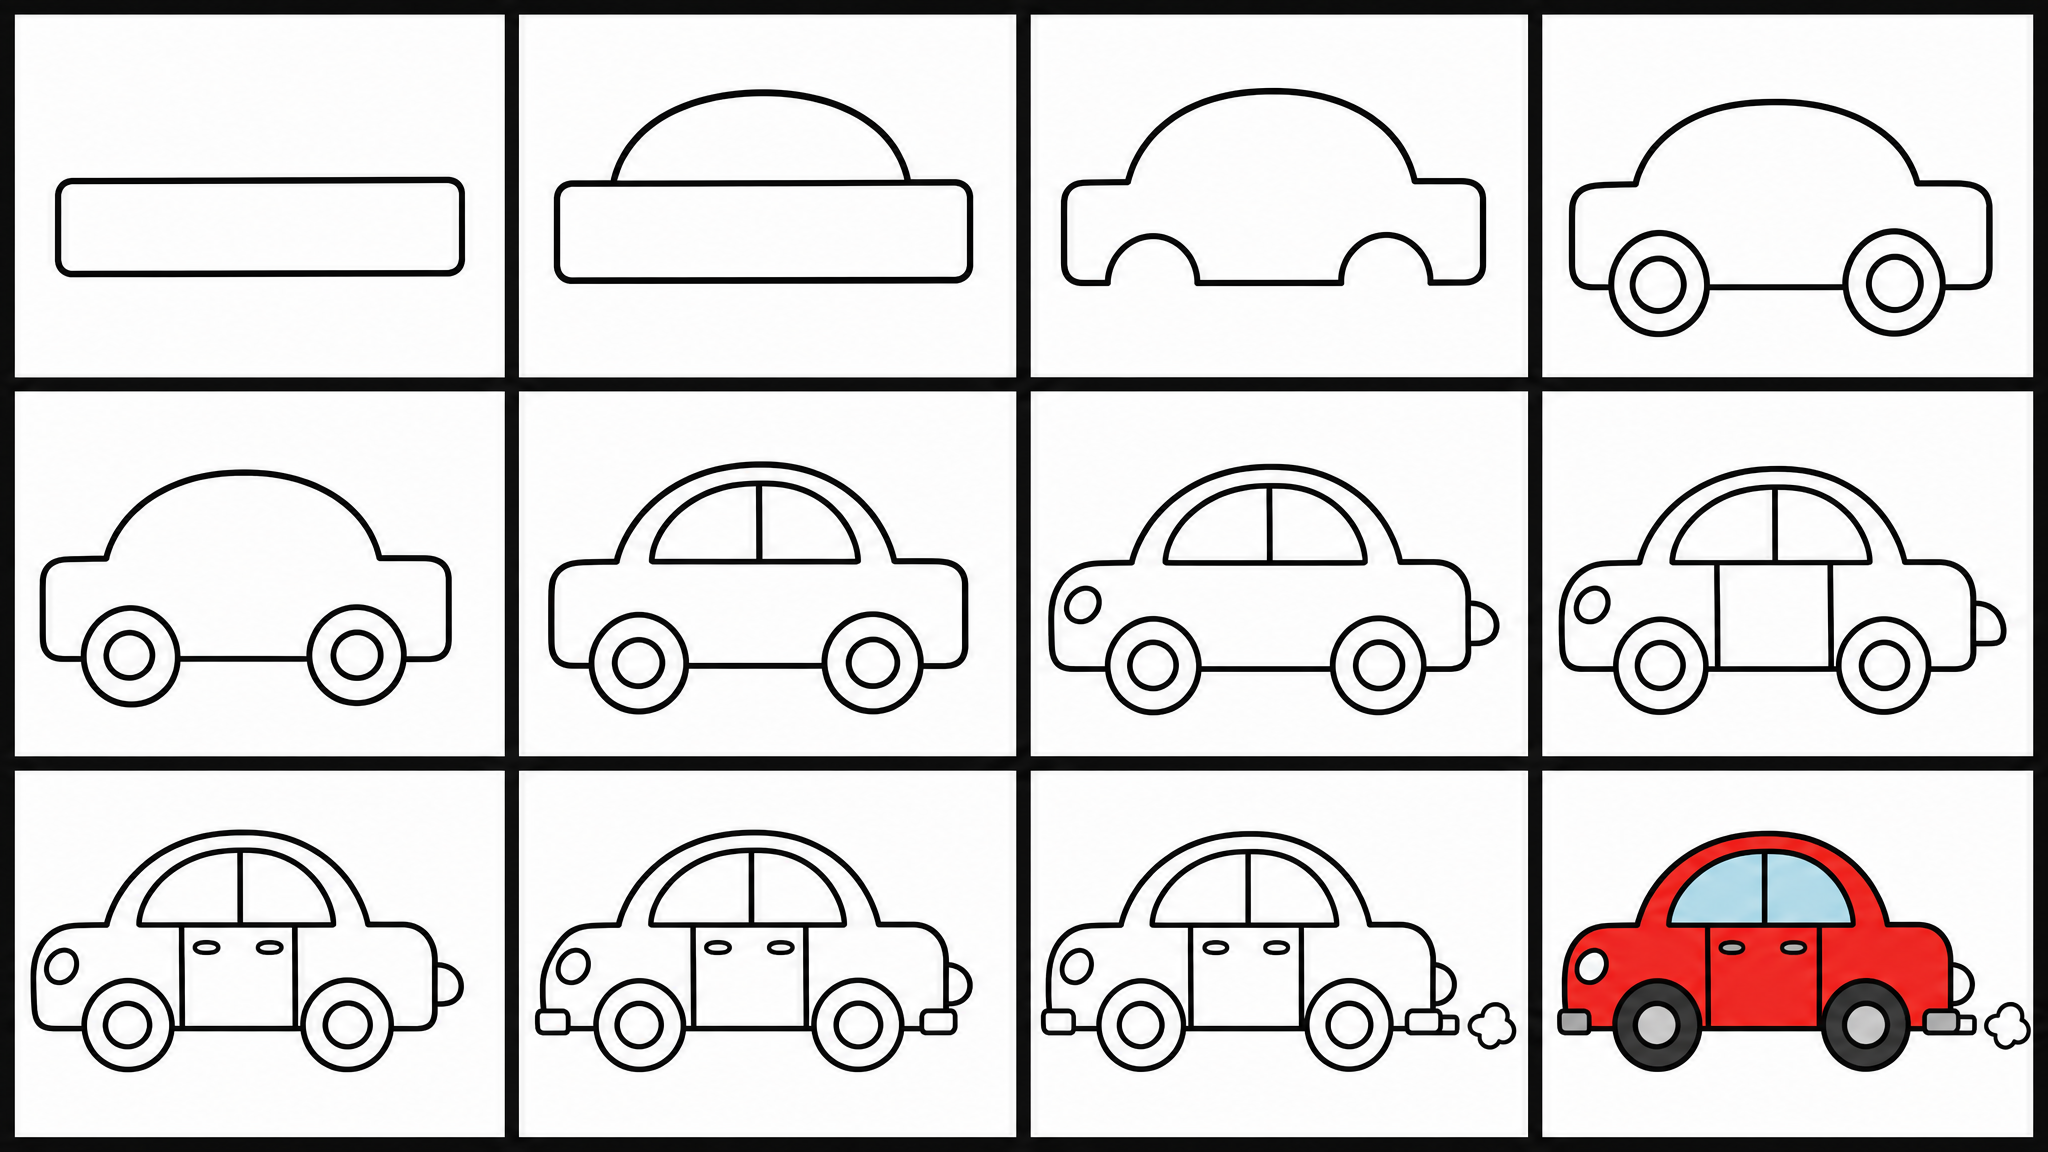
Here is the whole car drawing, step by step, in one picture — save it or print it to follow along.
Frequently Asked Questions
General







Ready to Draw Car?
Grab a pencil and follow the 12 easy steps — you can finish your car drawing in minutes.