How to Draw a Cake
Learning how to draw a cake is a fun and simple activity for artists of all ages. Whether you are preparing for a birthday or just love sweet treats, this guide will help you create a beautiful dessert. Grab a pencil and some paper, because we are going to make drawing this yummy treat incredibly easy!
- Easy
- 15 Minutes
- Ages 4+
- dessert
- food
- party
- birthday
Why Learning How to Draw a Cake is Easy
By breaking the dessert down into basic circles, ovals, and rectangles, anyone can follow along without feeling overwhelmed. You will quickly see how combining these simple shapes turns into a beautiful, towering treat.

How to Draw a Cake Step by Step
- 1Step 1 of 9
Draw an oval for the plate
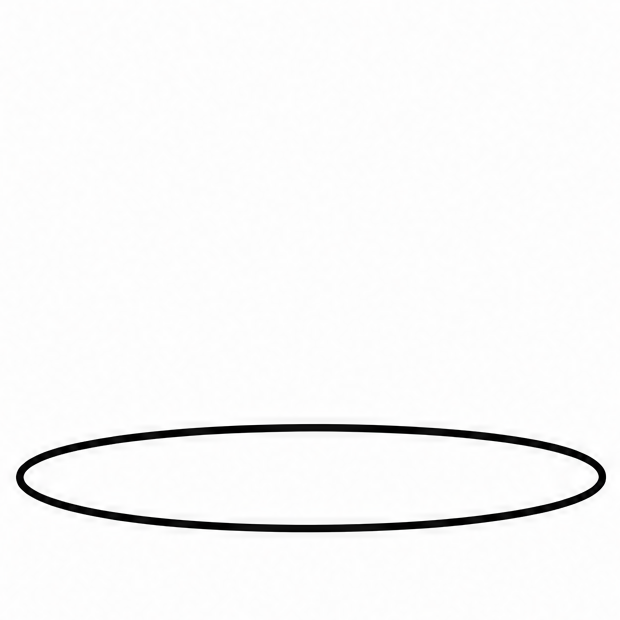
Let's start our drawing by making a nice, wide oval shape at the very bottom of your paper. This will be the plate where our tasty treat sits. Make sure to leave plenty of room above it for the rest of the layers!
Tip: Draw lightly so you can easily erase any mistakes later.
- 2Step 2 of 9
Outline the bottom layer

Right in the middle of your plate, draw two straight vertical lines pointing up. Then, connect the top of these two lines with a slightly curved line that matches the curve of your plate. This creates the main block for learning how to draw a cake easily.
Tip: Keep the lines straight so your treat doesn't look wobbly!
- 3Step 3 of 9
Finish the first layer
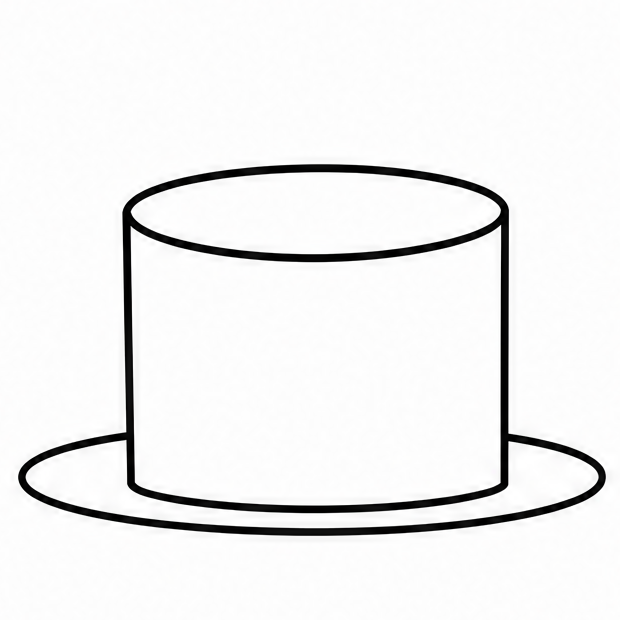
Now, add another curved line connecting the two vertical lines, but this time curve it upwards. This forms a complete oval on top of the bottom layer, making it look round like a real cylinder. Your tasty treat is already taking shape!
Tip: Imagine drawing a flattened circle right on top.
- 4Step 4 of 9
Draw the top layer
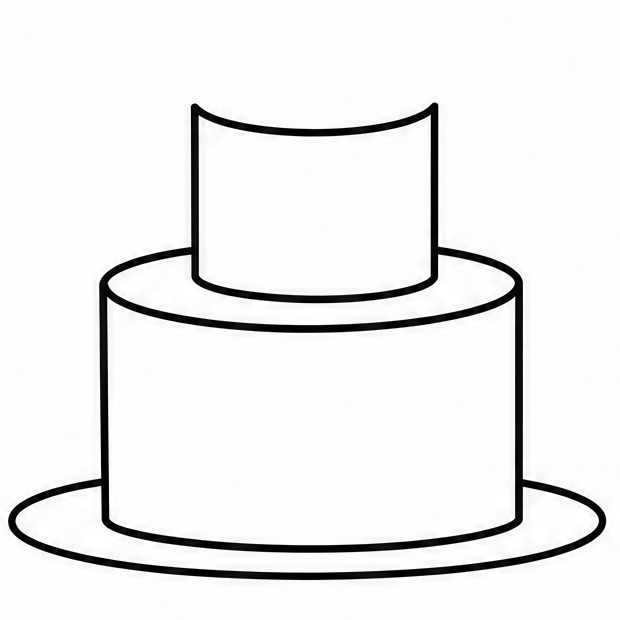
Let's make this extra special by adding a second tier! Just like before, draw two shorter straight lines pointing up from the middle of your bottom oval. Connect them at the top with a curved line. This smaller layer makes it look grand.
Tip: Center this layer right in the middle of the bottom one.
- 5Step 5 of 9
Complete the top layer
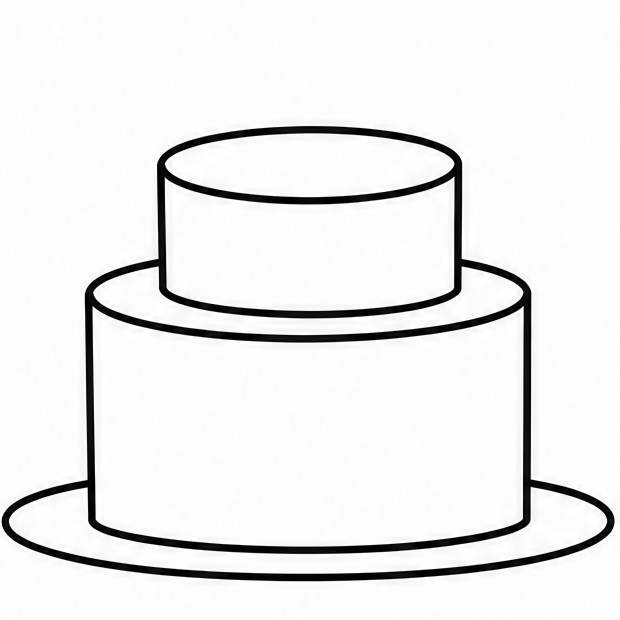
Close the top tier by drawing a curved line that arches upward, connecting the top edges. Now you have two perfectly stacked layers! Breaking it down into simple shapes like this makes figuring out how to draw a cake super fun and easy.
Tip: Take your time drawing the curves so they match nicely.
- 6Step 6 of 9
Add sweet wavy lines
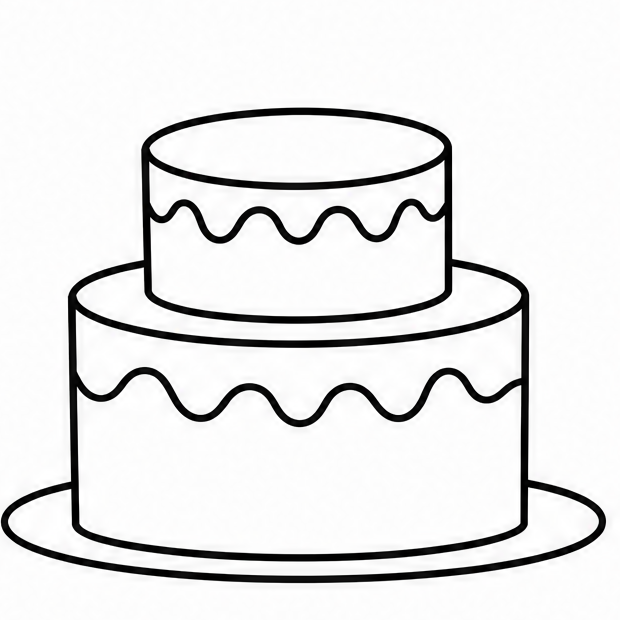
Give your drawing some fun decorations! Draw a wiggly, wavy line around the top edge of both the top and bottom layers. This makes it look like sweet syrup or melted chocolate is dripping down the sides of your yummy creation.
Tip: There is no wrong way to draw a wiggly line!
- 7Step 7 of 9
Draw a birthday candle
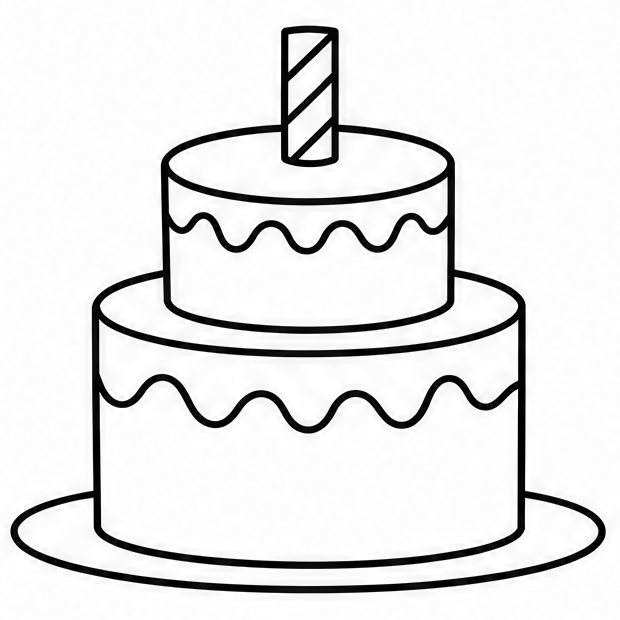
Every good celebration needs a candle! Draw a small, thin rectangle standing straight up from the very center of the top layer. You can even add tiny diagonal stripes inside the candle to make it look bright and festive for a party.
Tip: Make sure the candle isn't too tall or too short.
- 8Step 8 of 9
Draw the candle flame
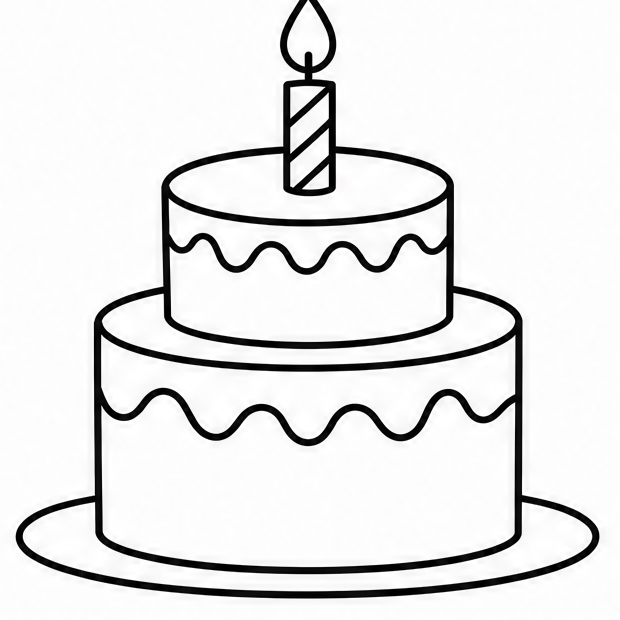
Right above the candle, draw a simple teardrop shape pointing up to create a glowing flame. Draw a tiny line connecting the flame to the candle for the wick. Your beautiful drawing is almost complete and looks good enough to eat!
Tip: A teardrop is just a circle with a pointy top.
- 9Finished drawing
Add simple color
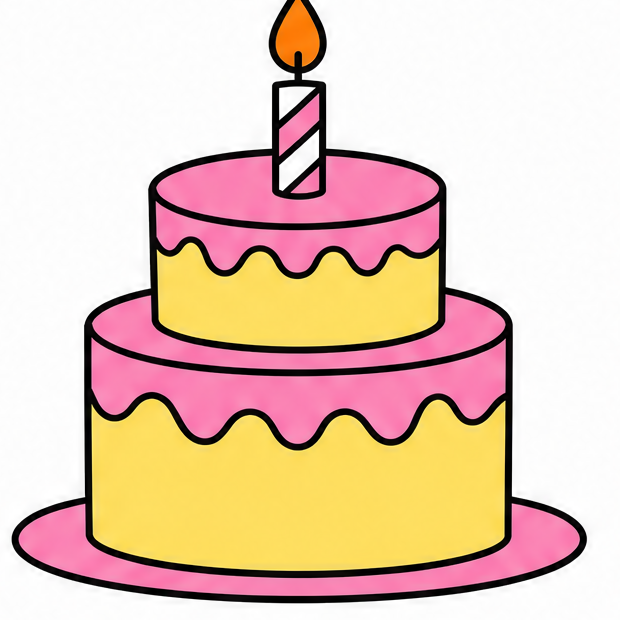
Now for the best part—bringing your creation to life with color! Grab your favorite crayons or markers. You can use pink for strawberry, brown for chocolate, or yellow for vanilla. Once you finish coloring, you have mastered how to draw a cake!
Tip: Use bright, happy colors to make your drawing pop out.
Draw Cake in 9 Easy Steps
Anyone can learn how to draw a cake — no drawing experience needed.
9
Simple steps
15 Minutes
Start to finish
Ages 4+
Great for
Fun Cake Variations
Once you know the basics, you can customize your drawing to make it unique for any special occasion.
Add more layers
Draw three or four stacked tiers to create a giant, towering party dessert.
Change the decorations
Draw small circles for sprinkles or tiny stars all over the sides of the layers.
Add extra candles
Draw a whole row of bright candles on the top tier for a big birthday party.
Common Beginner Mistakes
Crooked layers
If your tiers look like they might fall over, use a ruler to keep your vertical lines perfectly straight.
Flat looking top
Make sure to draw wide ovals instead of straight lines across the top so your dessert looks nice and round.
Drawing too dark
Sketch your basic ovals lightly at first, because you will need to erase some lines when you add sweet decorations.
How to Draw Cake: All 9 Steps at a Glance
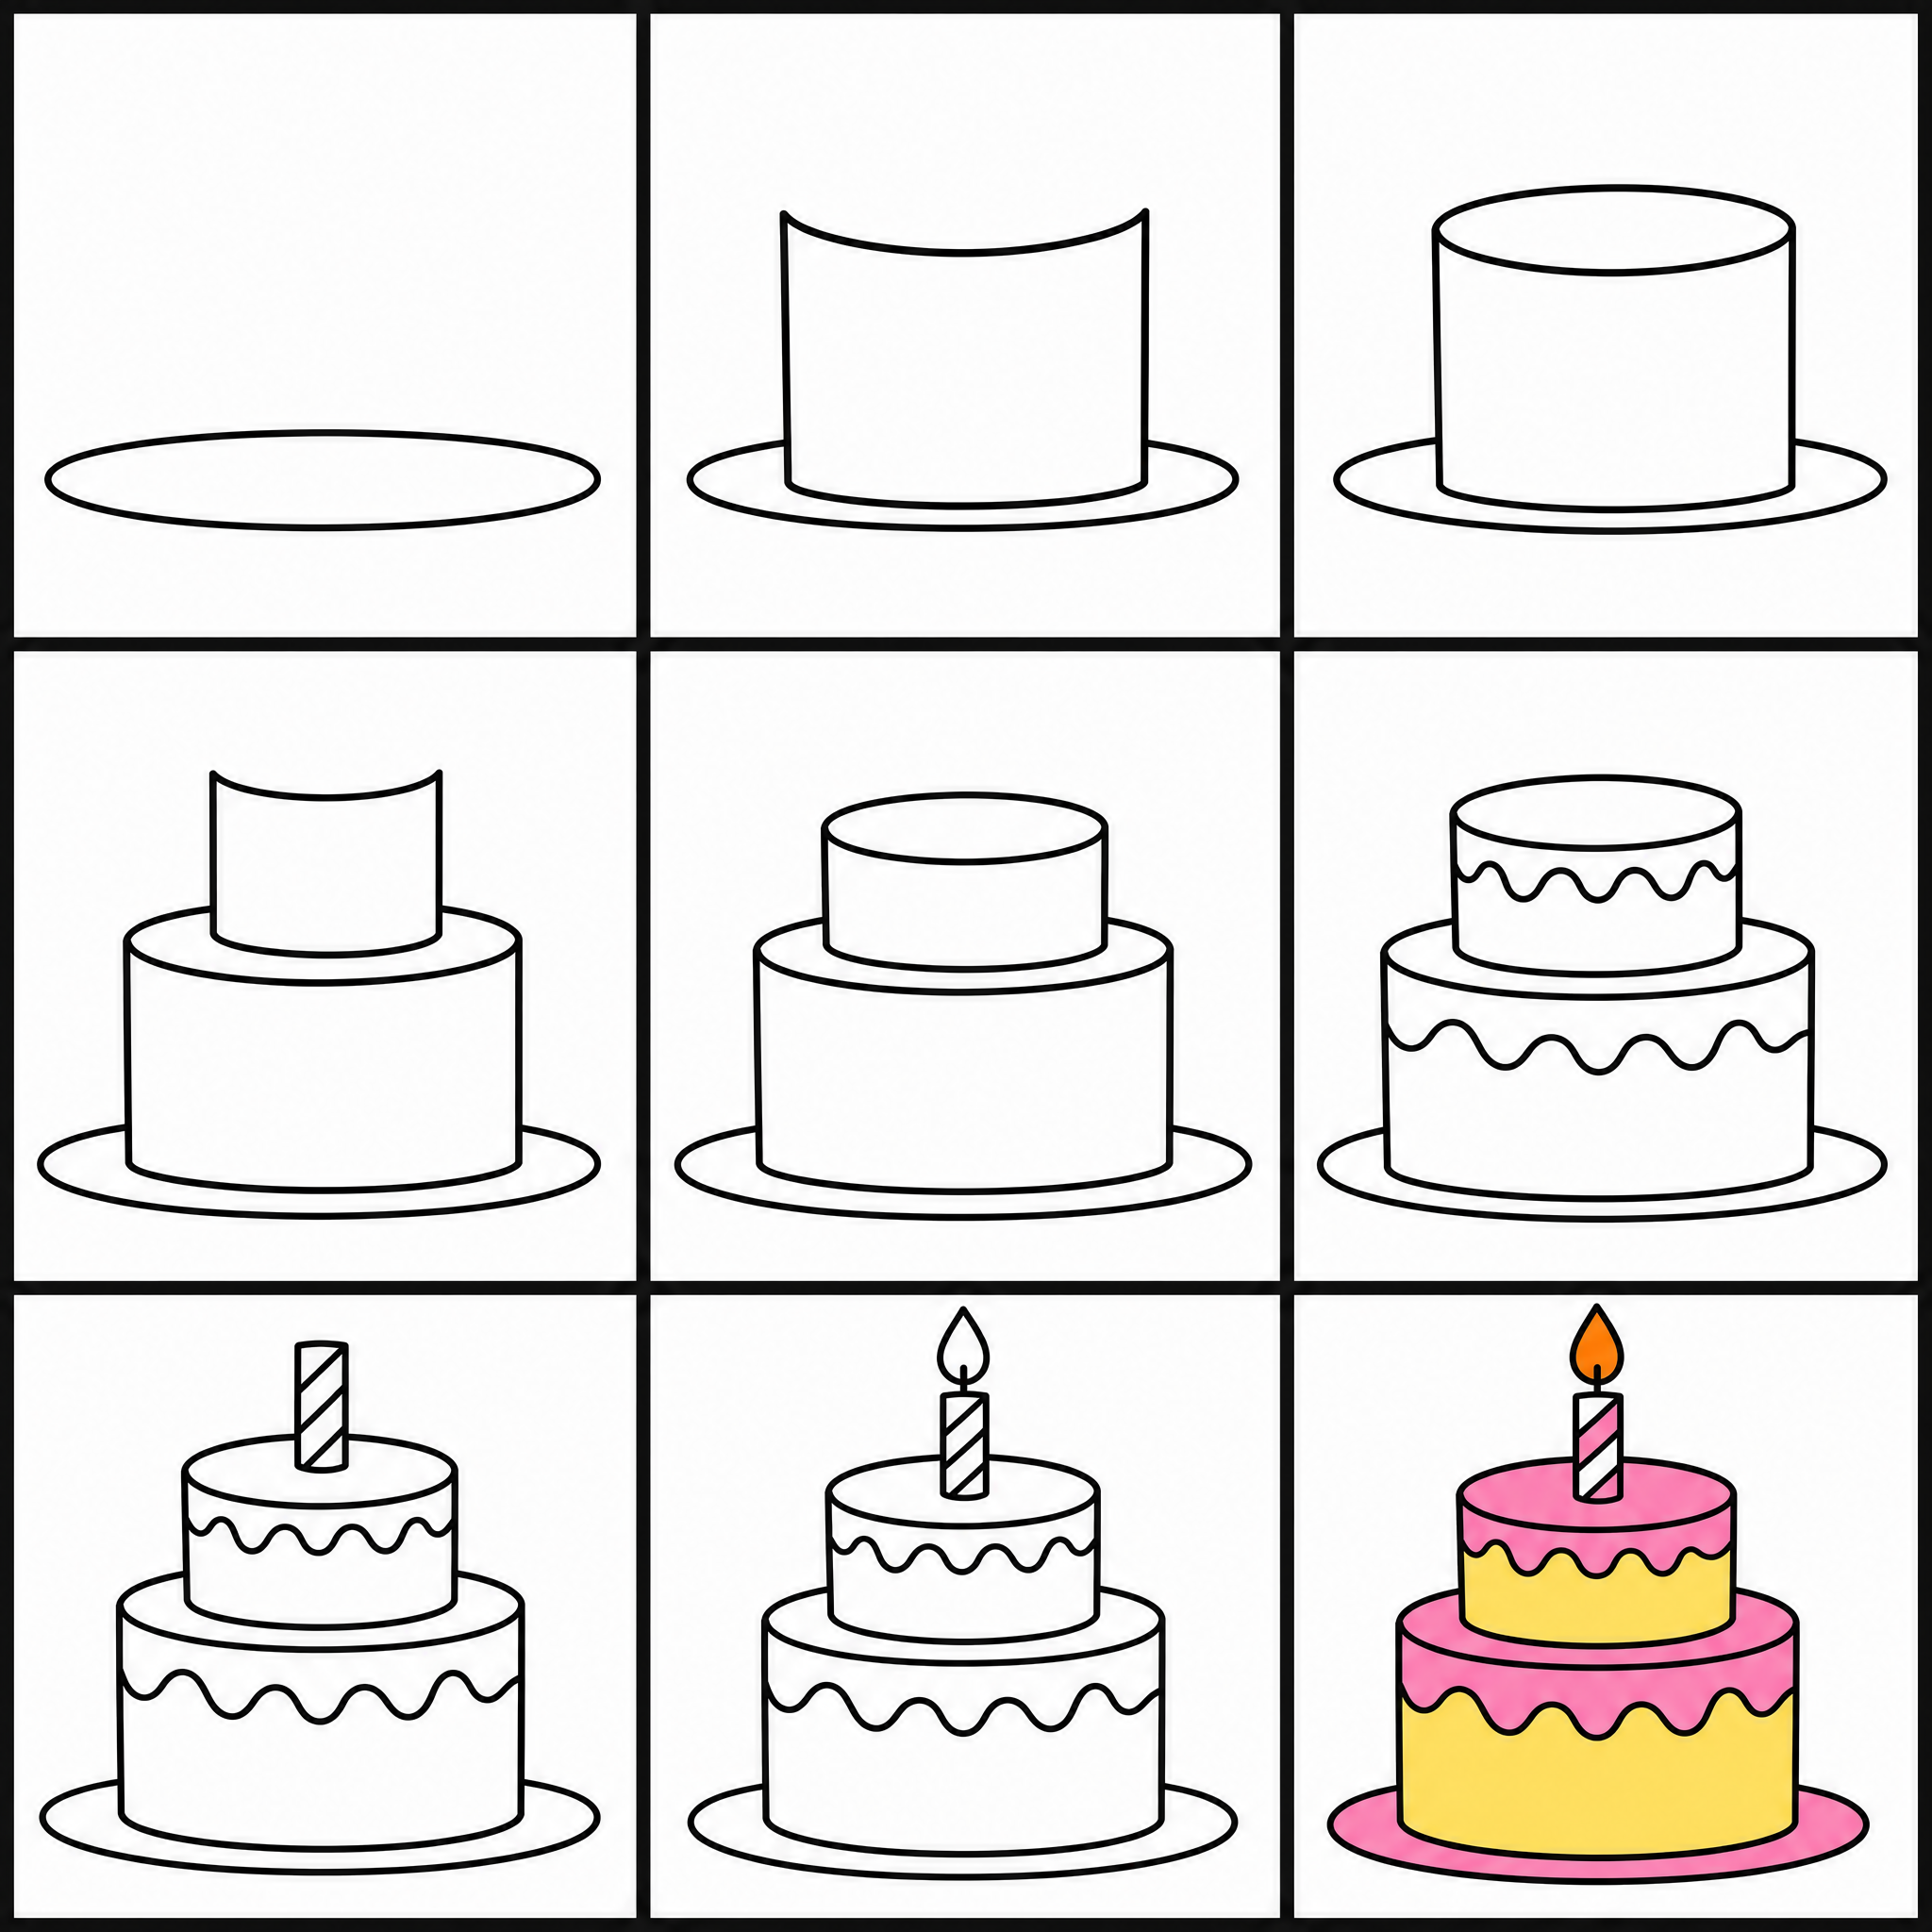
Here is the whole cake drawing, step by step, in one picture — save it or print it to follow along.
Frequently Asked Questions
General




Ready to Draw Cake?
Grab a pencil and follow the 9 easy steps — you can finish your cake drawing in minutes.