How to Draw an Apple
Are you looking to learn how to draw an apple today? You have found the perfect place to start your drawing journey! This simple guide is made especially for kids and total beginners who want to create fun art. Grab a piece of paper, and let's start drawing together.
- Easy
- 10 Minutes
- Ages 4+
- Fruit
- Food
- Nature
About This Simple Apple Drawing
If you ever wondered how to draw an apple step by step, this lesson breaks it down into very basic shapes. You will learn to sketch the round fruit, add a cute stem, and draw a leaf. By following along, you will build confidence in your drawing skills.

How to Draw an Apple Step by Step
- 1Step 1 of 6
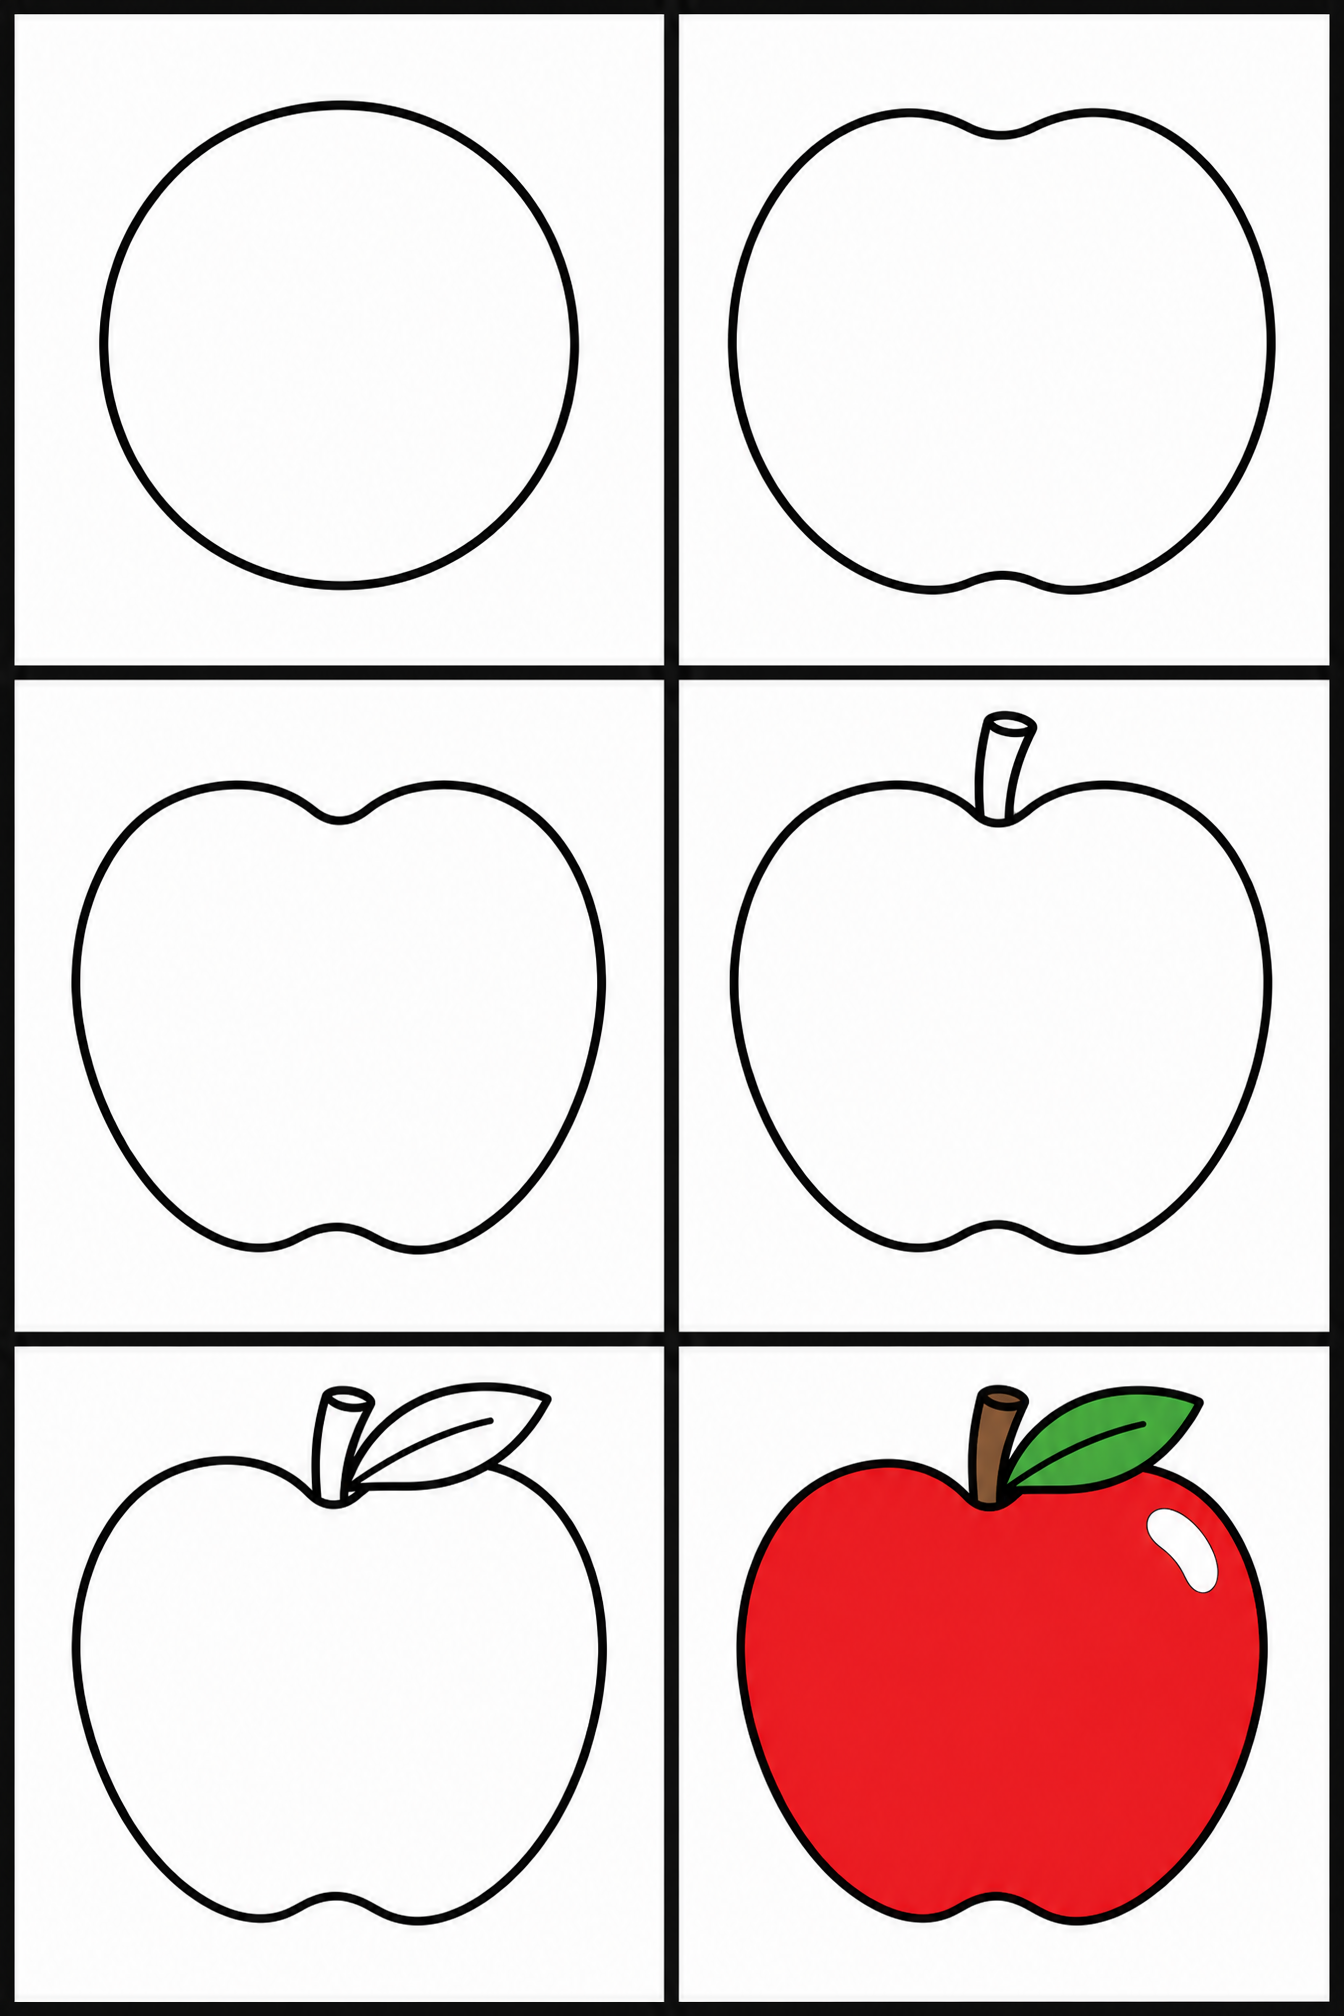
Draw a big circle

Let's start our apple by drawing a large circle right in the middle of your paper. It does not have to be a perfectly round shape, because real apples have tiny bumps! This circle will be the main body of your apple drawing.
Tip: Draw lightly so you can easily erase any mistakes later.
- 2Step 2 of 6
Curve the top and bottom
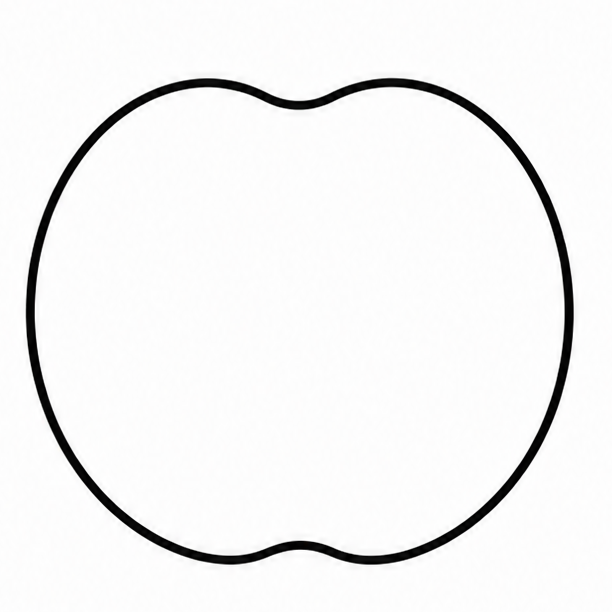
At the top of your circle, draw a gentle curve dipping downwards like a tiny smile. Then, do the exact same thing at the very bottom. These little dips give your apple that classic fruit shape instead of just looking like a round ball.
Tip: Make the top dip a little deeper than the bottom one.
- 3Step 3 of 6
Clean up your shape
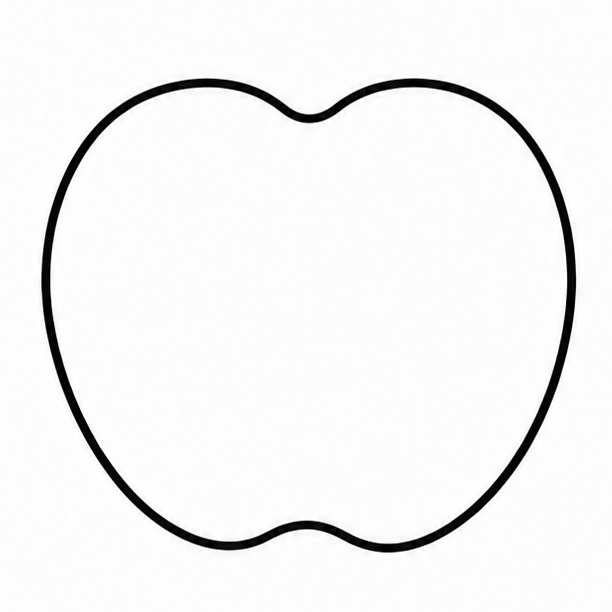
Now take your eraser and carefully rub out the top and bottom parts of the original circle that are outside of your new dips. Learning how to draw an apple is all about adjusting basic shapes! Your paper should now show the smooth outline of an apple.
Tip: Hold your paper flat so it doesn't wrinkle while you erase.
- 4Step 4 of 6
Add the apple stem
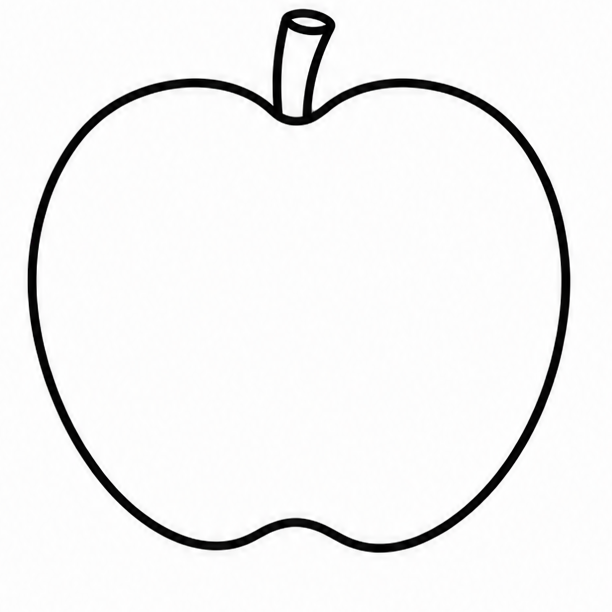
Right inside the top dip, draw a short, slightly curved rectangle going up. This is the stem where the apple used to hang on the tree branch! Make it just thick enough so it stands out clearly on top of your fruit.
Tip: A slight curve makes the stem look much more natural.
- 5Step 5 of 6
Attach a little leaf
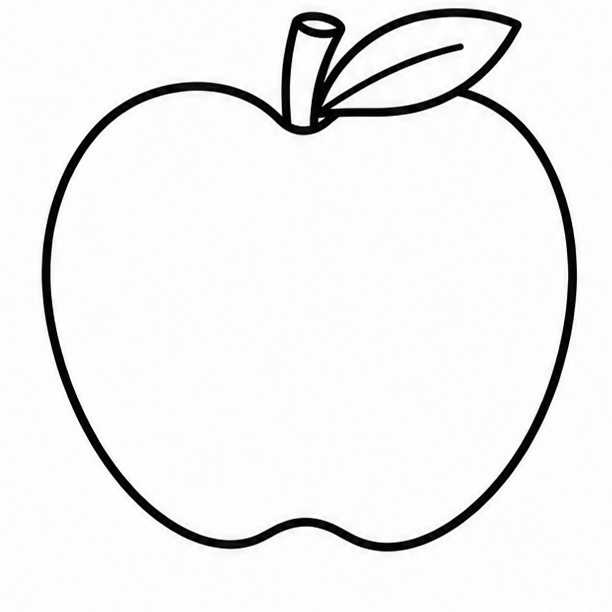
Starting from the bottom of the stem, draw a pointy oval shape pointing out to the side. Draw a single line down the middle of this leaf to show the center vein. Adding a leaf makes your apple look fresh and ready to eat!
Tip: You can make the leaf point left or right, it is up to you.
- 6Finished drawing
Add simple color
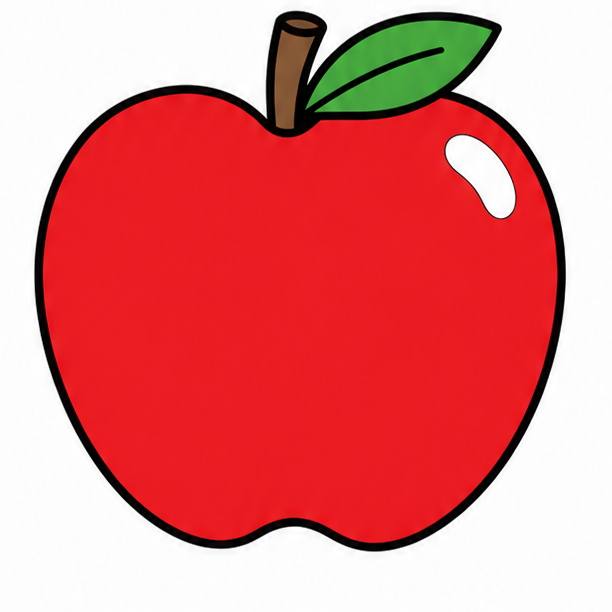
It is time to finish your artwork! Grab your favorite red, green, or even yellow crayons to color the main fruit. Color the stem brown and the leaf a bright green. Great job learning how to draw an apple perfectly today!
Tip: Leave a tiny white spot uncolored to look like a shiny reflection.
Draw Apple in 6 Easy Steps
Anyone can learn how to draw an apple — no drawing experience needed.
6
Simple steps
10 Minutes
Start to finish
Ages 4+
Great for
Fun Ways to Change Your Apple
Once you know how to draw an apple, you can try making it unique! These simple ideas will help you practice drawing apples in fun new ways.
Draw a Bitten Apple
Erase a small part of the side and draw a zig-zag line to look like someone took a big bite.
Add a Little Worm
Draw a tiny circle near the top with two little eyes to make a friendly worm poking out.
Make it an Apple Tree
Draw several small apples hanging from a big leafy cloud shape to create an entire tree.
Common Mistakes When Drawing an Apple
Making it a perfect circle
Apples are rarely perfectly round! If it looks too much like a ball, remember to add deeper dips at the top and bottom.
Drawing the stem straight up
A perfectly straight stem can look a bit stiff. Give the stem a slight tilt or curve to make it look much more natural.
Forgetting the little dips
Without the dips at the top and bottom, it looks like a cherry or a bouncy ball. Those simple curves are the secret to a great apple.
How to Draw Apple: All 6 Steps at a Glance
Here is the whole apple drawing, step by step, in one picture — save it or print it to follow along.
Frequently Asked Questions
General






Ready to Draw Apple?
Grab a pencil and follow the 6 easy steps — you can finish your apple drawing in minutes.