How to Draw a Bear
Welcome! If you want to learn how to draw a bear, you are in the right place. This guide is made just for kids and total beginners. We will use simple shapes to bring your friendly woodland animal to life in no time at all!
- Easy
- 15 Minutes
- Ages 5+
- Animals
- Beginner Drawing
- Kids Art
Why This Tutorial Is Great for Kids
Knowing how to draw a bear is a fun skill that any young artist will love. We break down the shapes into easy circles and ovals, so drawing a simple bear feels like a breeze. You will build confidence with every single line you make!

How to Draw a Bear Step by Step
- 1Step 1 of 9
Draw the head shape
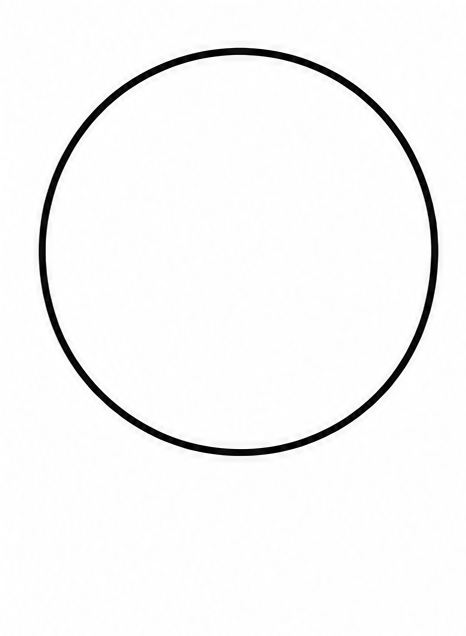
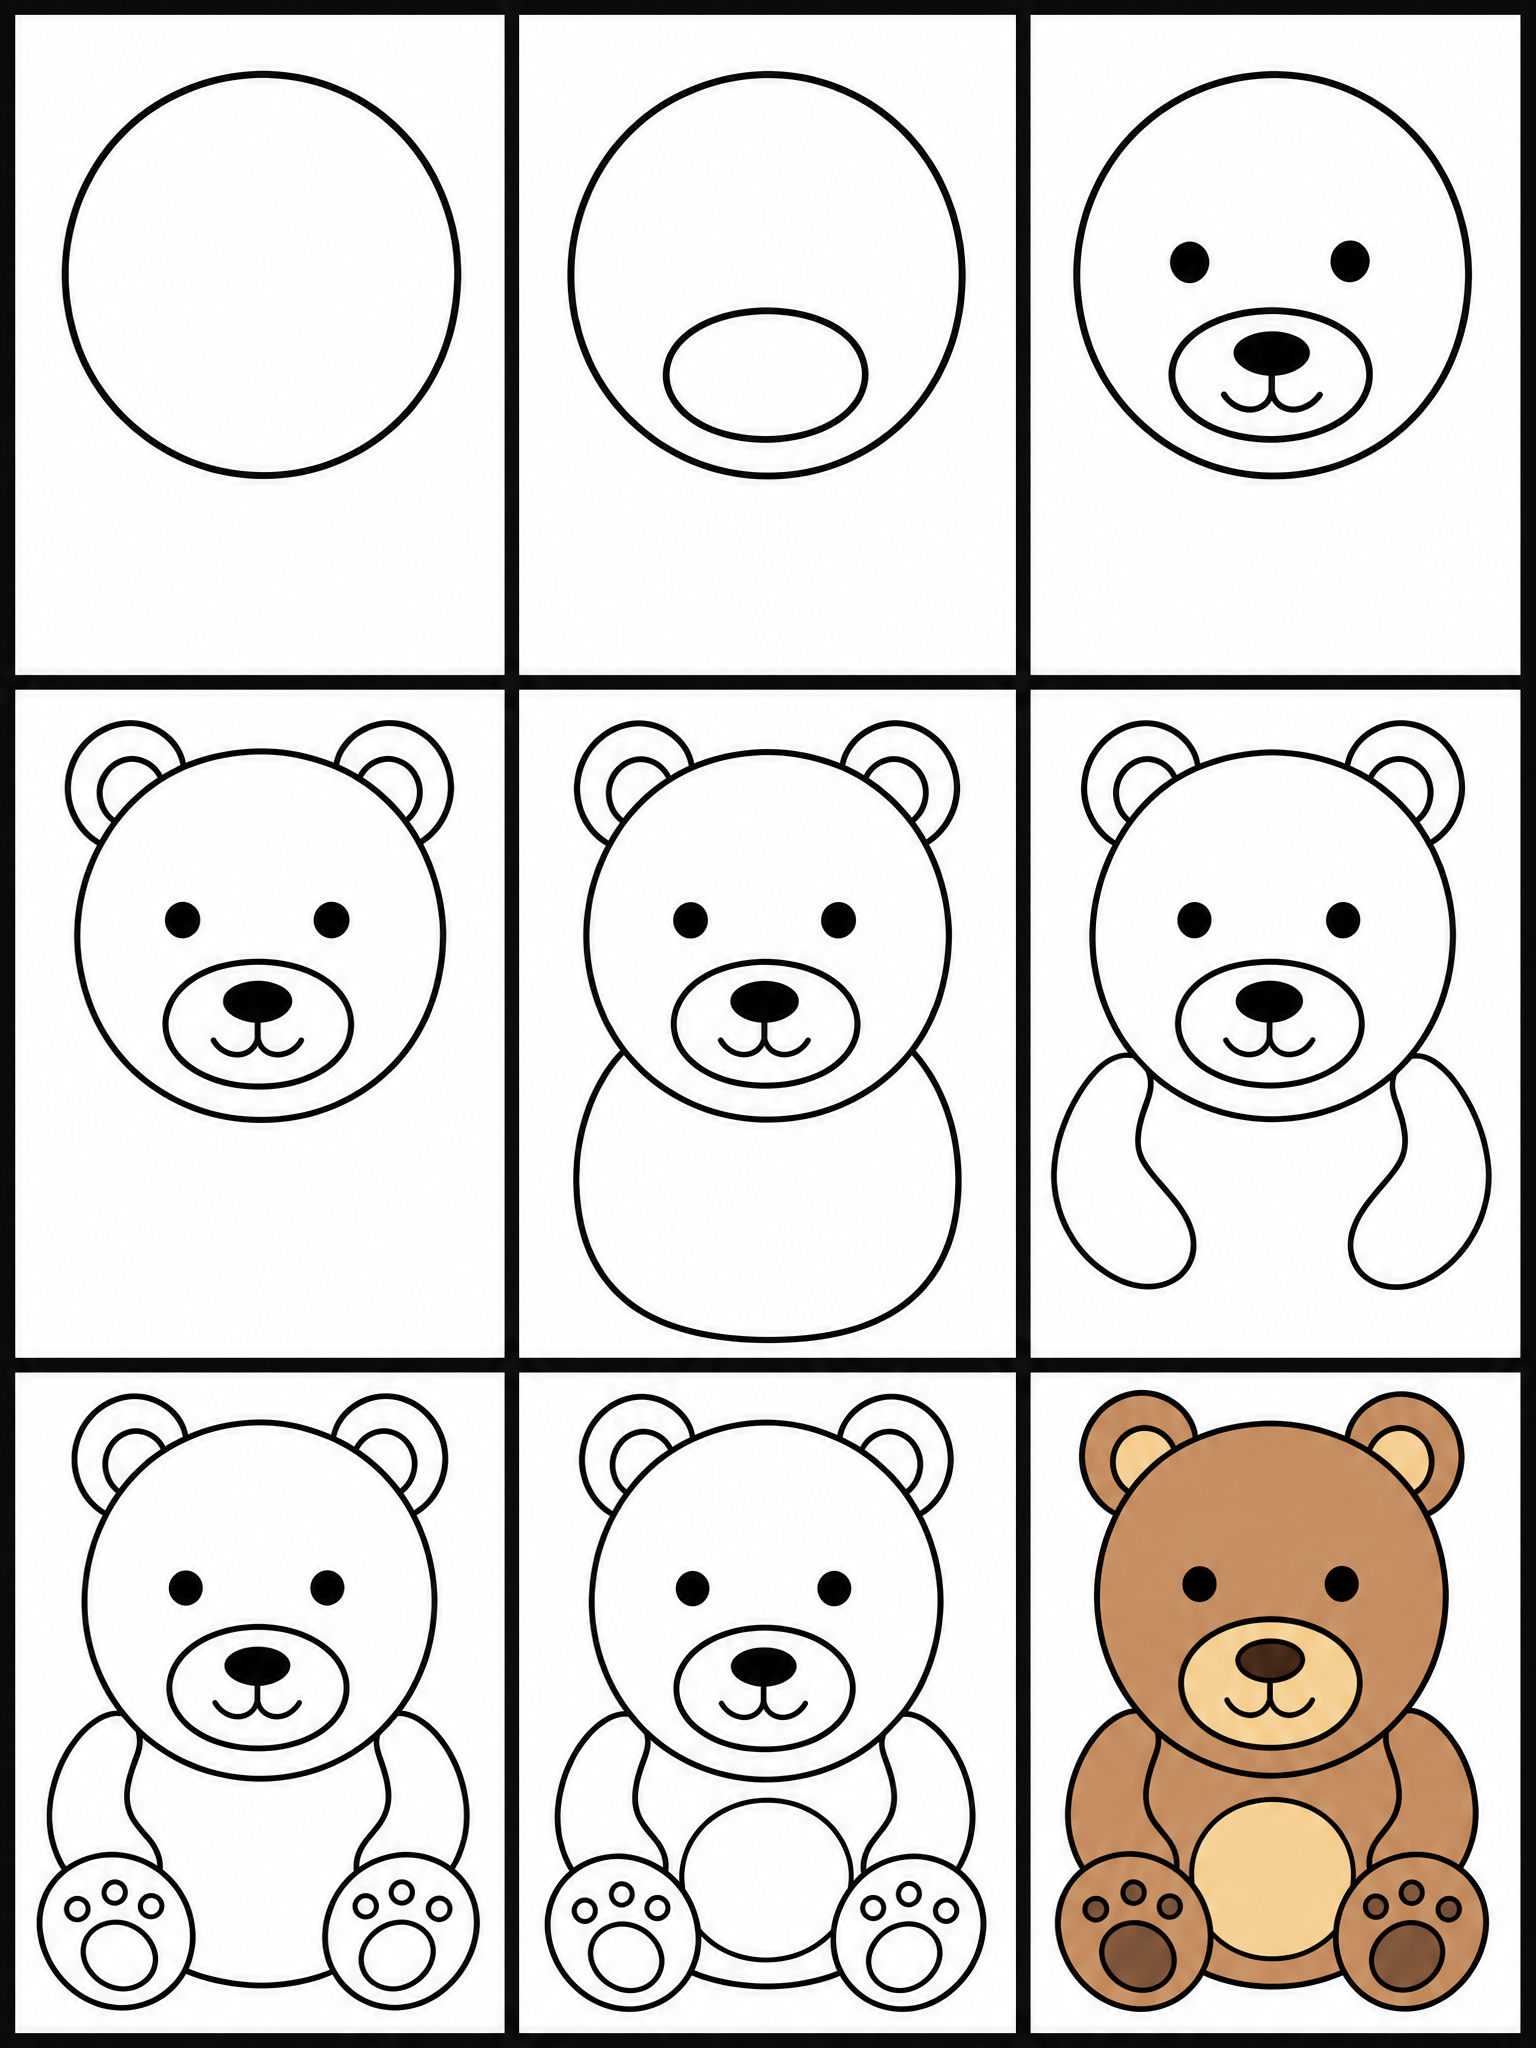
To start our guide on how to draw a bear, begin with a large circle right near the top of your paper. This will be the main part of the face. Leave plenty of room at the bottom for the rest of the body.
Tip: Sketch lightly so you can easily erase if your circle isn't perfectly round.
- 2Step 2 of 9
Add the snout
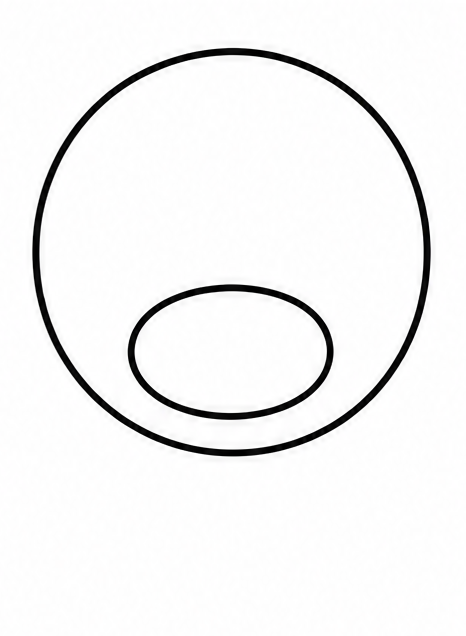
Inside the bottom half of the head circle, draw a smaller oval shape. This oval is for the snout. Making it nice and wide will give your friendly animal a very sweet and gentle look.
Tip: Make sure the bottom of the snout oval touches the bottom line of the head.
- 3Step 3 of 9
Draw the eyes and nose
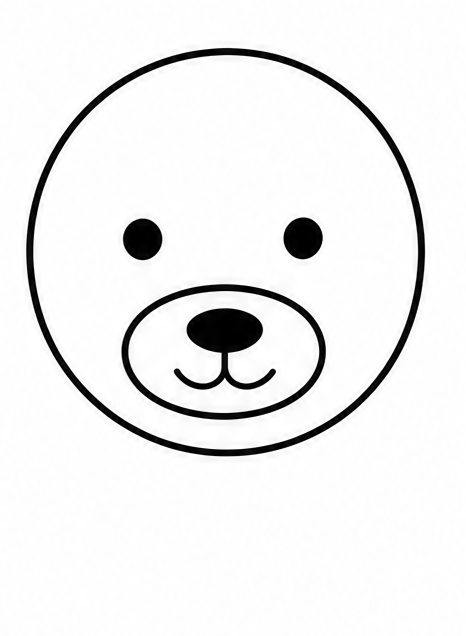
Draw a small oval inside the top part of the snout for the nose, and color it in. Then, draw two little solid circles above the snout to make the eyes. Add a tiny curve below the nose for a little smile.
Tip: Leave a tiny speck of white inside the eyes to make them sparkle.
- 4Step 4 of 9
Add the round ears
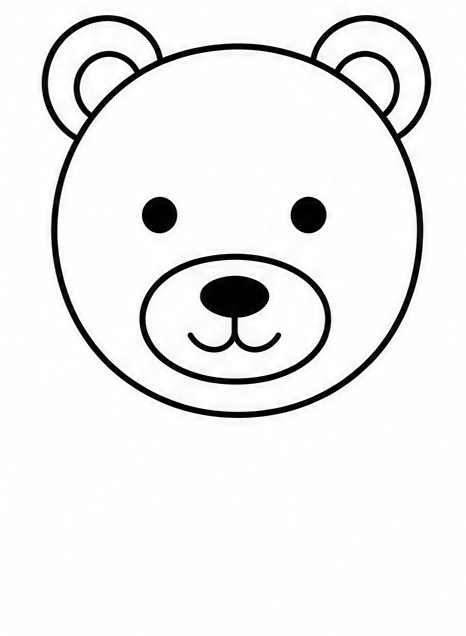
Draw two half-circles on the very top of the head, one on the left and one on the right. Then, draw a smaller half-circle inside each one to create the inner part of the ear.
Tip: Keep the ears spaced evenly apart on the head.
- 5Step 5 of 9
Draw the main body
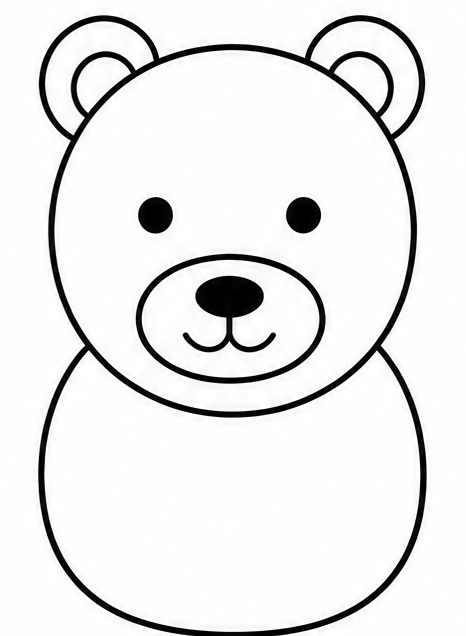
Now it is time to draw the body. Start a line on the left side of the head, bringing it down and around in a big U-shape, connecting it back to the right side of the head. It should look like a big jellybean!
Tip: Make the body slightly wider at the bottom so it looks like it is sitting down.
- 6Step 6 of 9
Sketch the arms
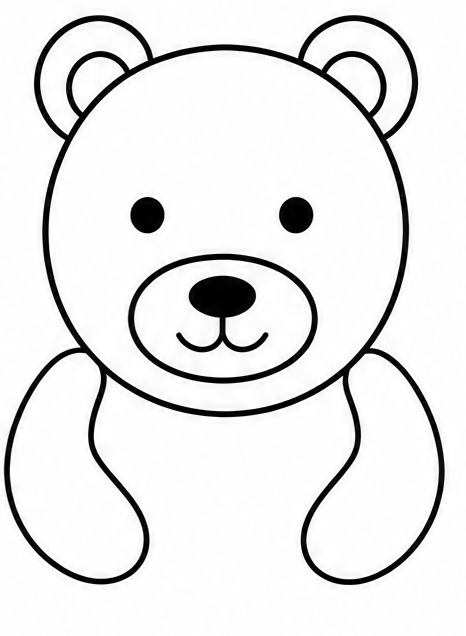
Draw two curved oval shapes on the sides of the body for the front arms. Start from just under the head and curve them downward toward the middle of the tummy. This makes it look like it is resting its paws.
Tip: You can draw three small lines at the end of each arm for simple claws.
- 7Step 7 of 9
Add the lower legs
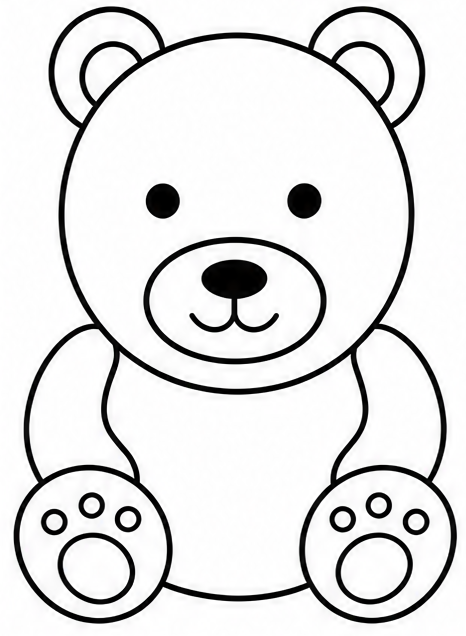
At the bottom corners of the body, draw two large circles or wide ovals sticking out. These are the bottom feet. Since it is sitting, the feet look flat and wide, pointing straight at you.
Tip: Draw three little circles inside the bottom feet for the paw pads.
- 8Step 8 of 9
Draw the tummy patch
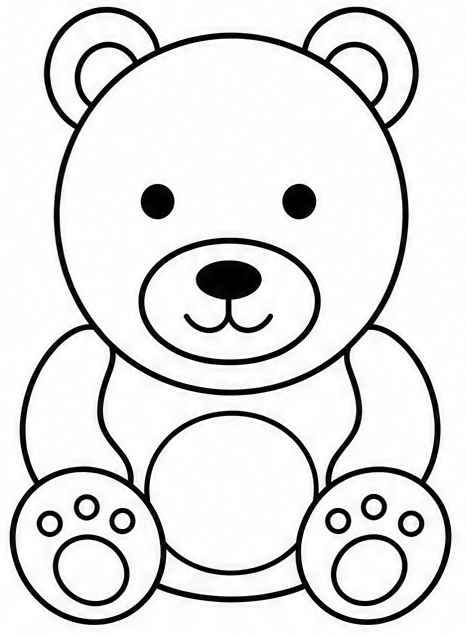
Inside the body area, draw a large circle right in the middle to create a soft tummy patch. This adds a sweet detail to your drawing. You can now take your eraser and clean up any overlapping lines from the body and arms.
Tip: Trace over your final pencil lines with a dark marker to make them stand out.
- 9Finished drawing
Add simple color
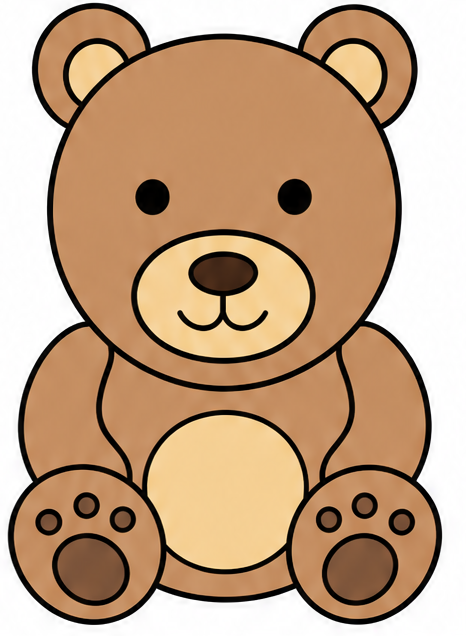
The final step is adding color to your picture! Grab your favorite brown crayons, markers, or pencils. Color the main body light brown, and use a darker brown for the nose and paw pads. Leave the tummy and snout a lighter tan color.
Tip: Color in one direction to keep your drawing neat and smooth.
Draw Bear in 9 Easy Steps
Anyone can learn how to draw a bear — no drawing experience needed.
9
Simple steps
15 Minutes
Start to finish
Ages 5+
Great for
Fun Ways to Change Up Your Drawing
Once you master the basic steps, try changing the pose or the size to make your artwork completely unique.
Change the size
Try drawing a huge parent and a tiny baby next to each other using the exact same steps.
Make it sleep
Instead of open eyes, draw two downward curves to show your furry friend taking a long winter nap.
Change the expression
Draw the mouth wide open in a big happy smile or give it a silly sticking-out tongue.
Common Beginner Mistakes & Easy Fixes
The head looks too small
If the head gets lost on the body, just make the top circle larger before adding the face. Always sketch lightly so you can adjust the size!
Ears look uneven
To fix this, draw a tiny dot where you want each ear to go before drawing the curves. This helps them stay perfectly balanced.
Arms blend into the body
Make sure to outline the arms with a slightly thicker marker, or thoroughly erase the body lines that go straight through the arm shapes.
How to Draw Bear: All 9 Steps at a Glance
Here is the whole bear drawing, step by step, in one picture — save it or print it to follow along.
Frequently Asked Questions
General

Ready to Draw Bear?
Grab a pencil and follow the 9 easy steps — you can finish your bear drawing in minutes.