How to Draw a Nose
Welcome to our simple guide on how to draw a nose! If you are learning to draw faces, getting the center just right is super fun and important. This easy lesson breaks everything down into basic shapes that any beginner or kid can follow. Grab your favorite pencil, and let's get started on your fun new artwork right now.
- Easy
- 10 minutes
- Ages 5+
- Nose
- Easy Drawing
- Face Parts
- For Kids
About This Simple Nose Drawing
Have you ever wondered how to draw a nose without getting totally confused? We use simple circles and smooth curves to build the shape step by step. You will quickly learn that drawing noses is actually very easy once you break it down into smaller parts!

How to Draw a Nose Step by Step
- 1Step 1 of 6
Draw the center tip
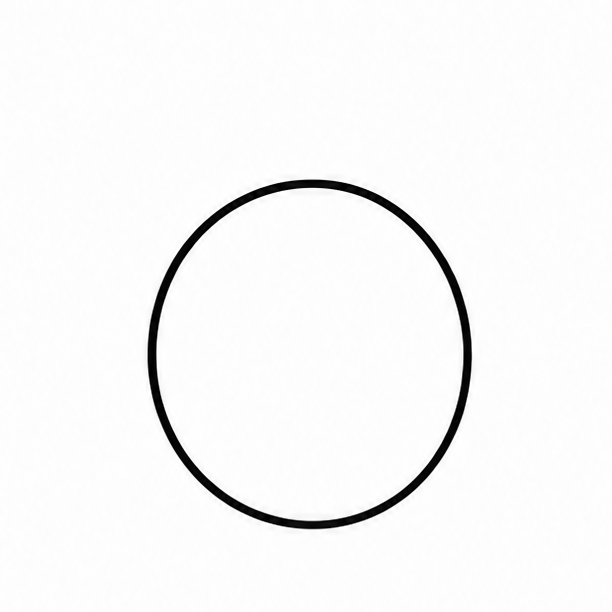
Let's start our guide on how to draw a nose by drawing a nice, medium-sized circle right in the middle of your paper. This circle will be the round, soft tip. Make sure to press lightly so you can adjust it later.
Tip: Draw your starting circle very lightly so it is easy to erase.
- 2Step 2 of 6
Add the bottom curves
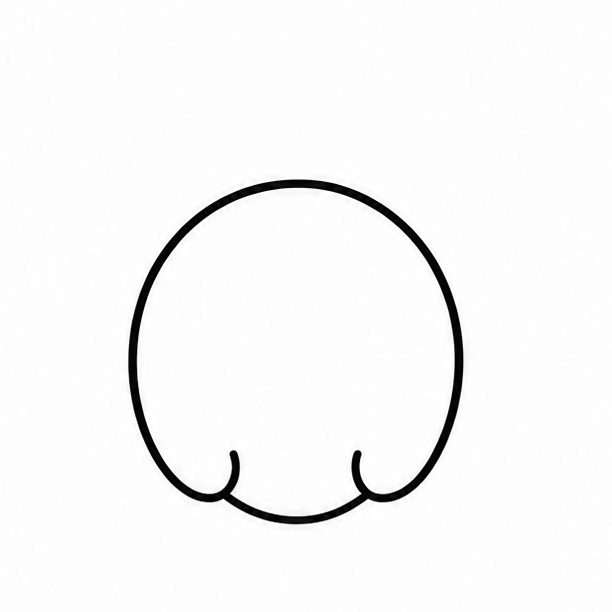
Right at the bottom edge of your center circle, draw two tiny curved lines shaped like smiles. These little arches show where the bottom edge of the nose rests. Leave a small gap between them right at the very middle.
Tip: Make these little curves gentle and soft for a cute look.
- 3Step 3 of 6
Draw the side bumps
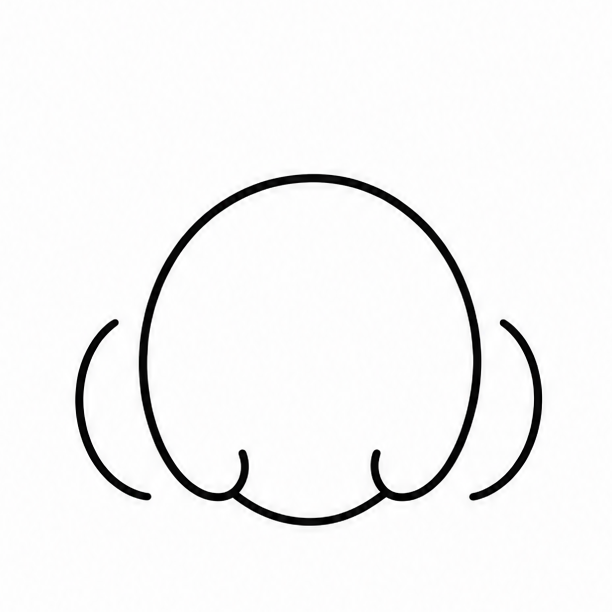
Now, let's add the little rounded parts on the sides! Draw a smooth curve on the left side of your circle, and another matching curve on the right side. These lines should wrap around the center circle like small hugs.
Tip: Try to make both side curves the same size for balance.
- 4Step 4 of 6
Outline the bridge lines
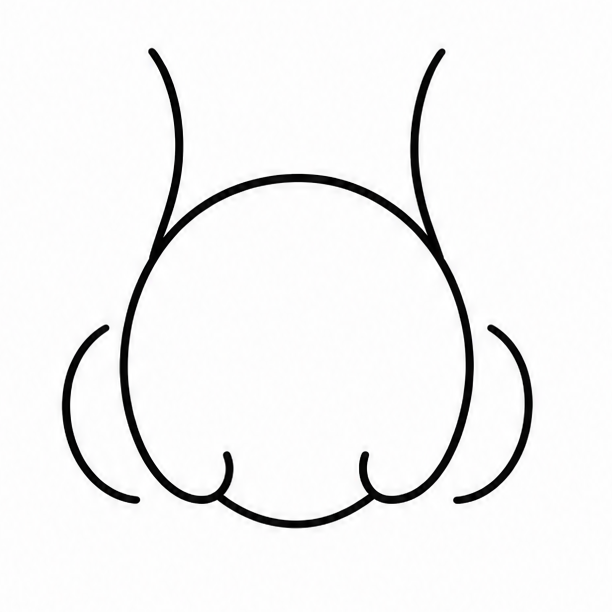
Above the center circle, draw two long, gentle lines reaching upward. These vertical lines make up the bridge, connecting the nose to the rest of the face. They should be slightly farther apart at the top and curve inward toward the bottom circle.
Tip: Keep the upward bridge lines very soft and faint.
- 5Step 5 of 6
Erase lines and add highlights
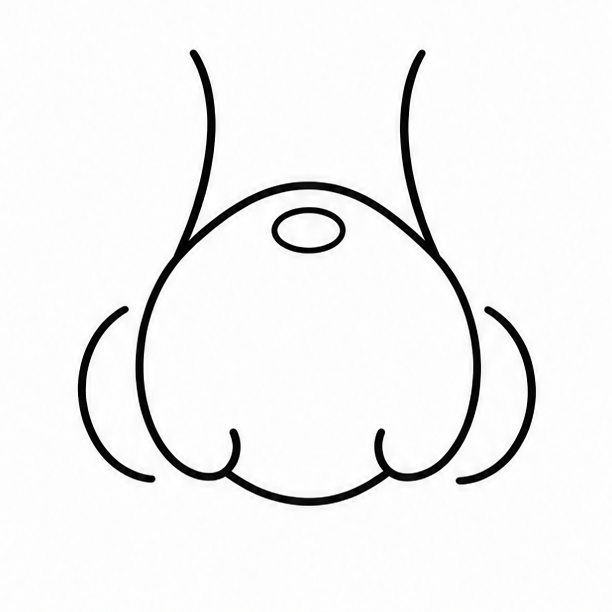
Carefully erase the top part of your original center circle so the nose blends smoothly into the bridge lines. Then, draw a tiny oval right on the tip of the nose to act as a bright, shiny light reflection. This makes it look very round.
Tip: A small oval highlight makes the shape look full and bright.
- 6Finished drawing
Add simple color
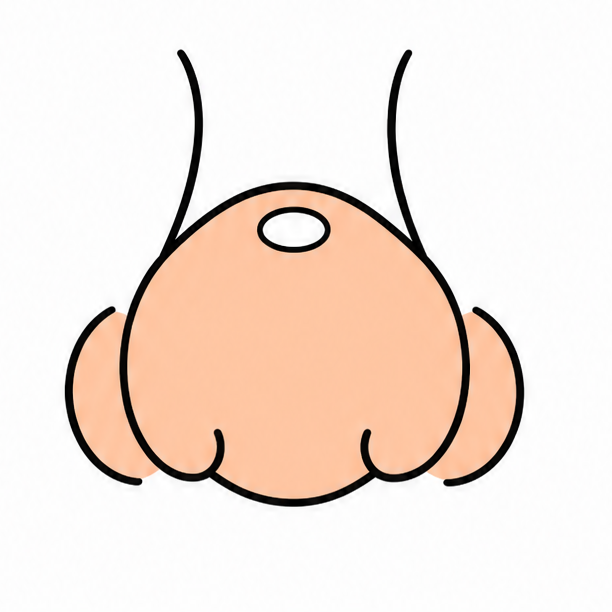
It is time to bring your picture to life! Pick a warm peach, soft brown, or any fun shade you like to color it in. Knowing how to draw a nose is great, but coloring it makes your drawing truly pop!
Tip: Color around the tiny highlight oval to keep it bright white.
Draw Nose in 6 Easy Steps
Anyone can learn how to draw a nose — no drawing experience needed.
Simple steps
Start to finish
Great for
Fun Nose Variations
Once you master how to draw a nose, you can easily change its shape to create totally new looks. Try out these fun and easy ideas to make your drawing completely unique!
Pointy Shape
Draw the center tip as a small triangle instead of a circle for a sharp look.
Wide Shape
Make the center circle wider and stretch out the side curves to change the size.
Adding Freckles
Draw lots of tiny dots across the bridge to give your drawing adorable freckles.
Common Beginner Mistakes
Pressing Too Hard
If you press your pencil too hard on the first circle, it will be tough to erase later. Always sketch softly at the beginning!
Making the Bridge Too Wide
A bridge that is extremely wide can look a little strange. Keep the upward lines relatively close together.
Uneven Side Curves
Drawing one side curve much bigger than the other throws off the balance. Try to mirror your lines so they match up.
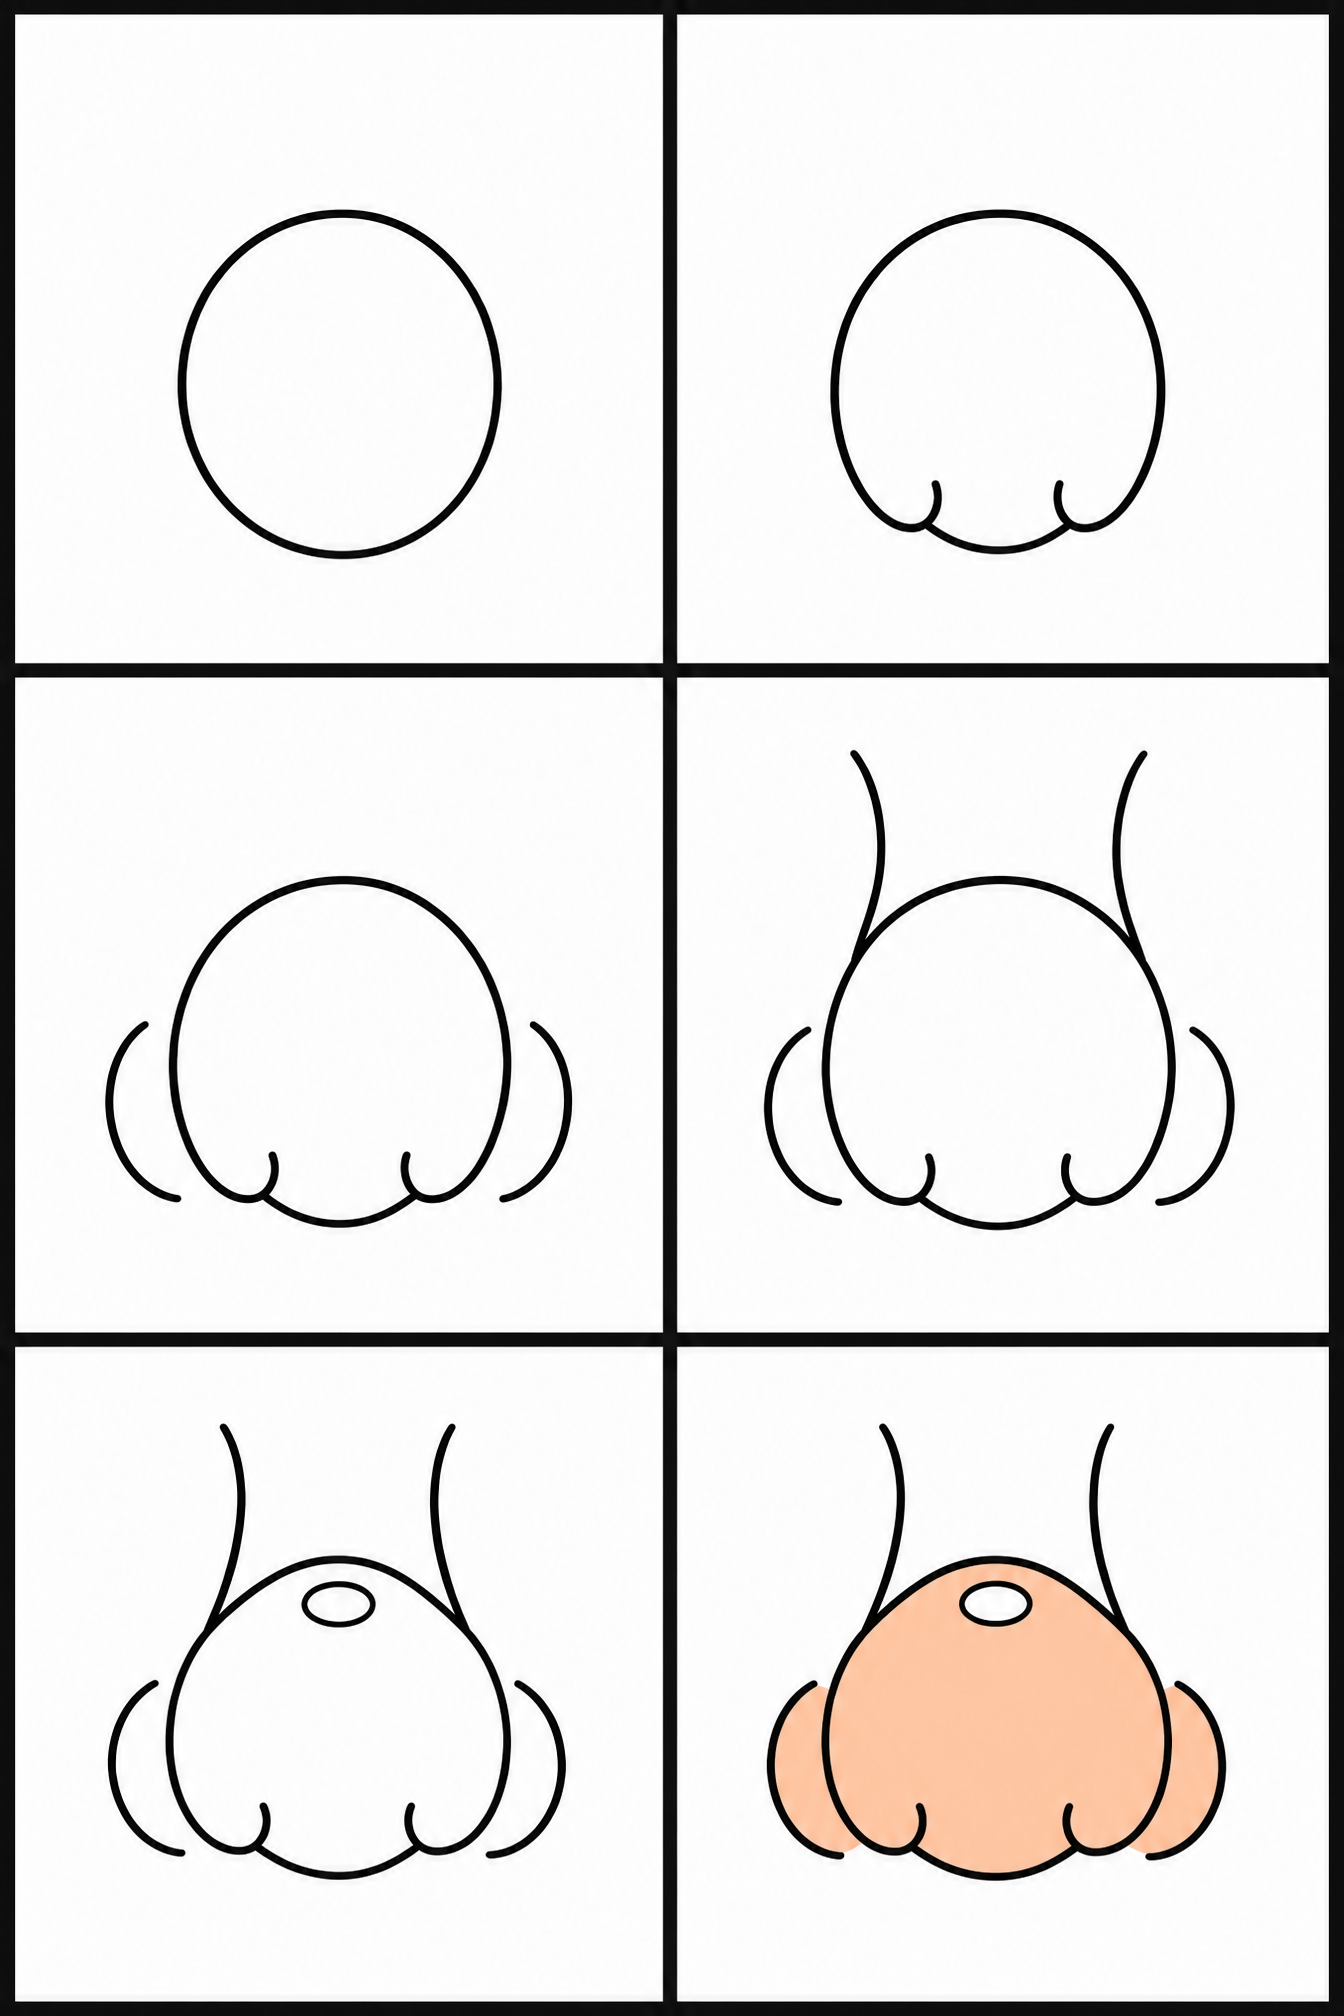
How to Draw Nose: All 6 Steps at a Glance
Here is the whole nose drawing, step by step, in one picture — save it or print it to follow along.
Frequently Asked Questions


Ready to Draw Nose?
Grab a pencil and follow the 6 easy steps — you can finish your nose drawing in minutes.