How to Draw a Bird
If you are looking for fun and simple art projects, learning how to draw a bird is a perfect place to start. This easy tutorial is designed specifically for total beginners and kids, so you do not need any special skills to follow along. Just grab your favorite pencil, and let's create a beautiful feathered friend together!
- Easy
- 15 Minutes
- Ages 4+
- Animals
- Nature
About This Easy Drawing Guide
We break down how to draw a bird into basic circles and smooth curves that anyone can master quickly. By starting with a simple round shape for the body, you will see your sketch come to life right before your eyes.

How to Draw a Bird Step by Step
- 1Step 1 of 9
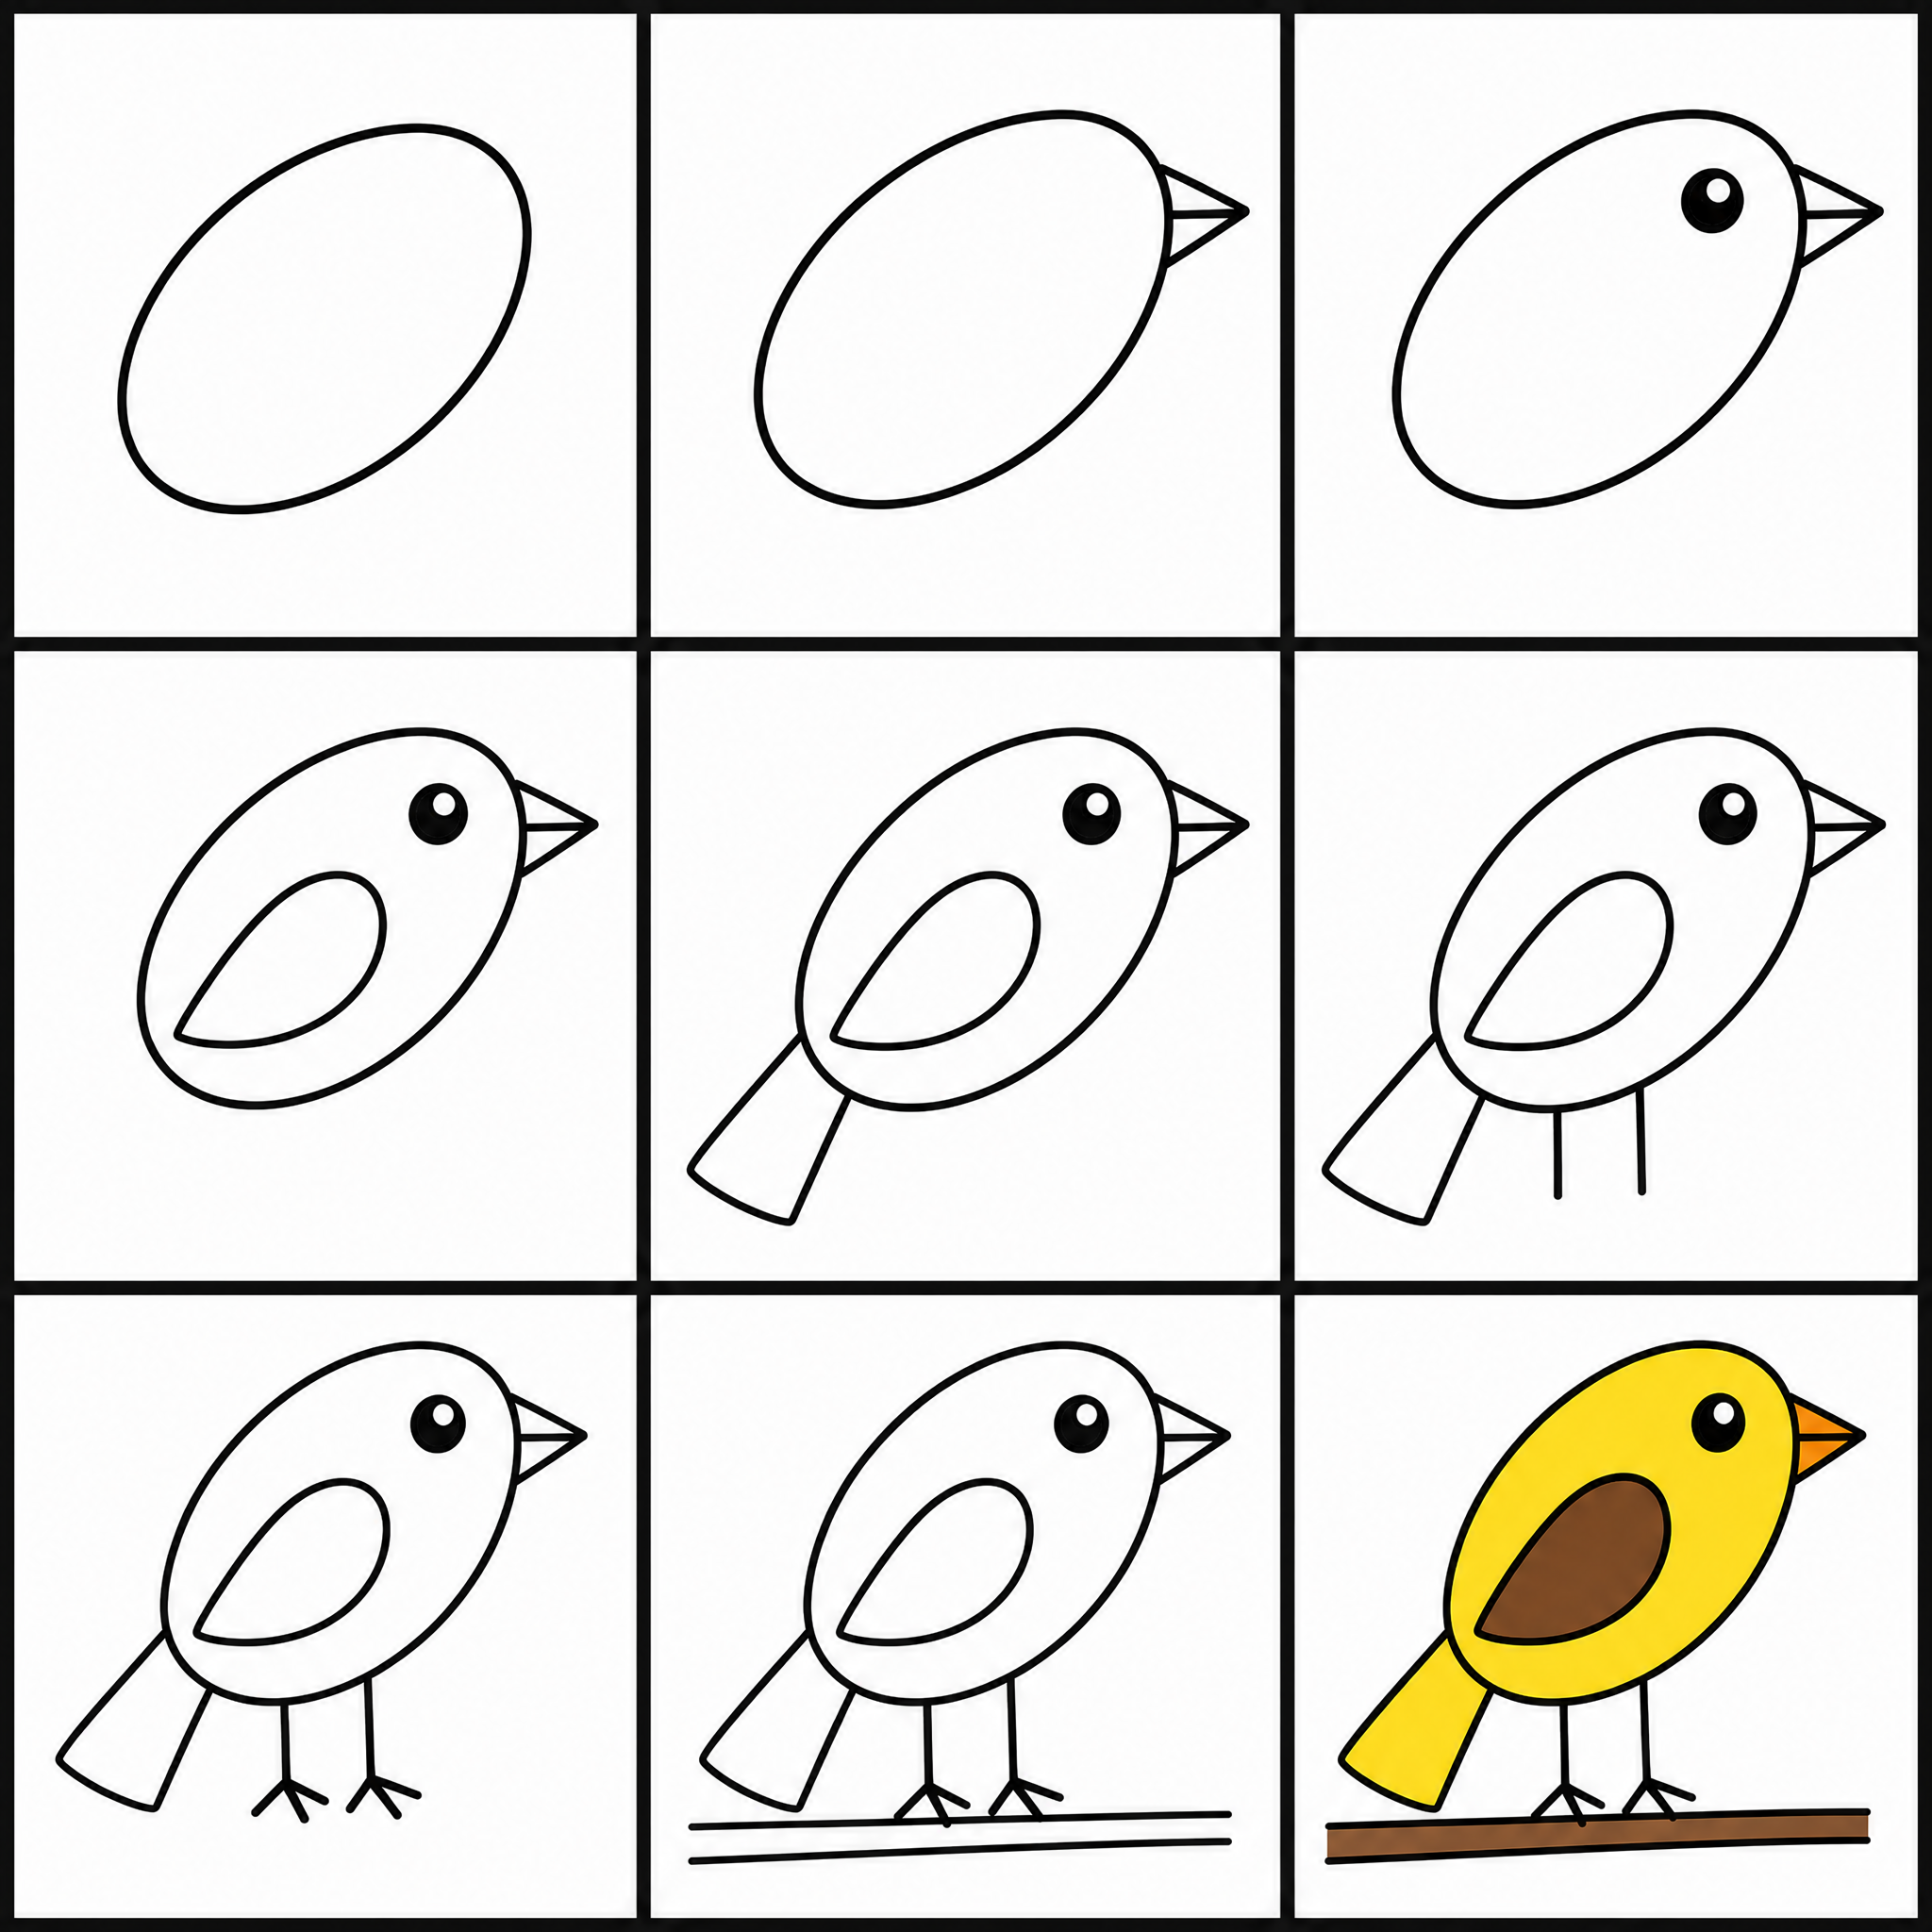
Draw the head and body
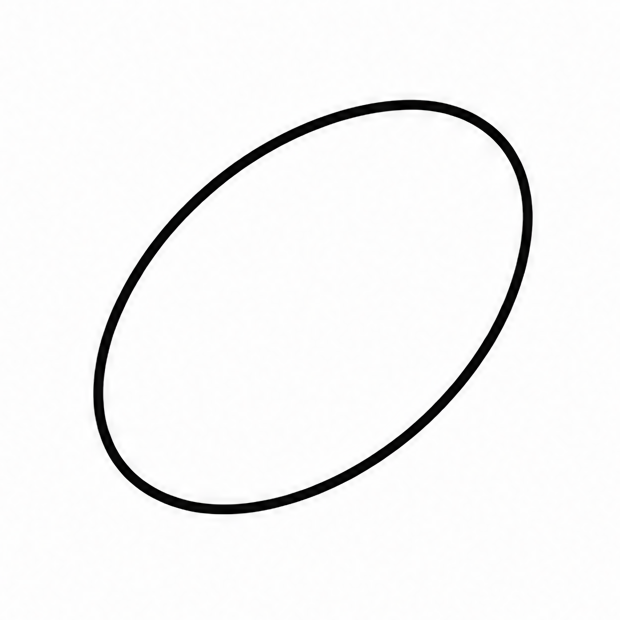
Let's start figuring out how to draw a bird by sketching a large, soft oval shape in the middle of your paper. This simple rounded shape will act as both the head and the main body of your feathered friend. Make it nice and chubby!
Tip: Draw lightly so you can easily erase your guide lines later.
- 2Step 2 of 9
Add a little beak
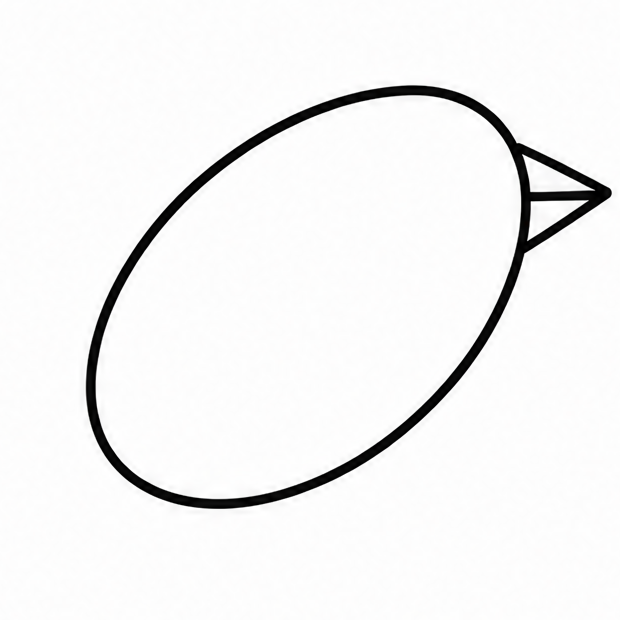
On the upper right side of your oval, draw a small triangle pointing outward to create the little beak. You can add a tiny horizontal line right through the middle of the triangle to show exactly where the mouth opens.
Tip: Make the triangle small and pointy to look like a seed-eater.
- 3Step 3 of 9
Draw a simple eye
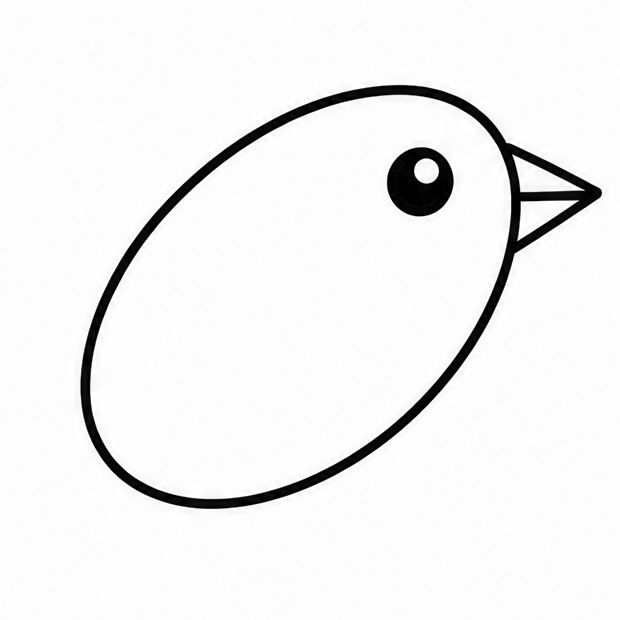
Just behind the beak, draw a small circle to create a bright, happy eye. Fill in the center of the circle to make a dark pupil, but make sure to leave a tiny white dot to make the eye sparkle with life.
Tip: Leaving a little white dot in the eye makes it look shiny.
- 4Step 4 of 9
Sketch a curved wing
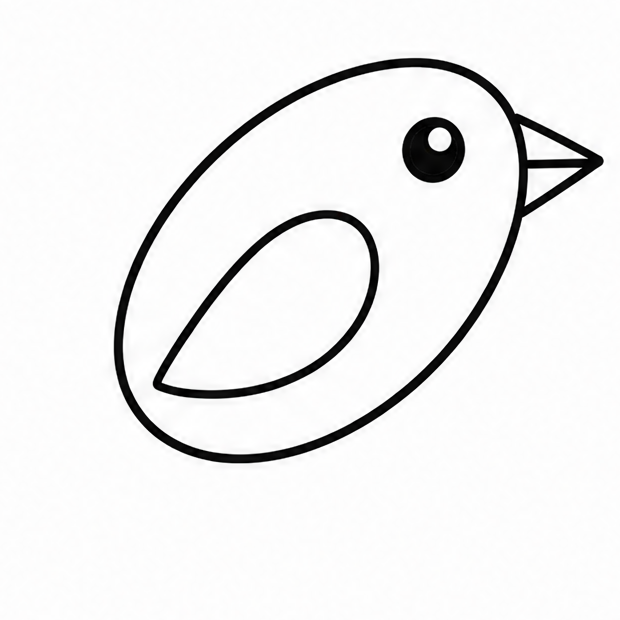
Inside the big oval body, draw a curved line that looks like a smooth sideways teardrop or a long leaf. Start from the middle of the body and let it point down toward the bottom left to create a folded wing.
Tip: Keep the curve smooth to make the feathers look soft.
- 5Step 5 of 9
Add the tail feathers
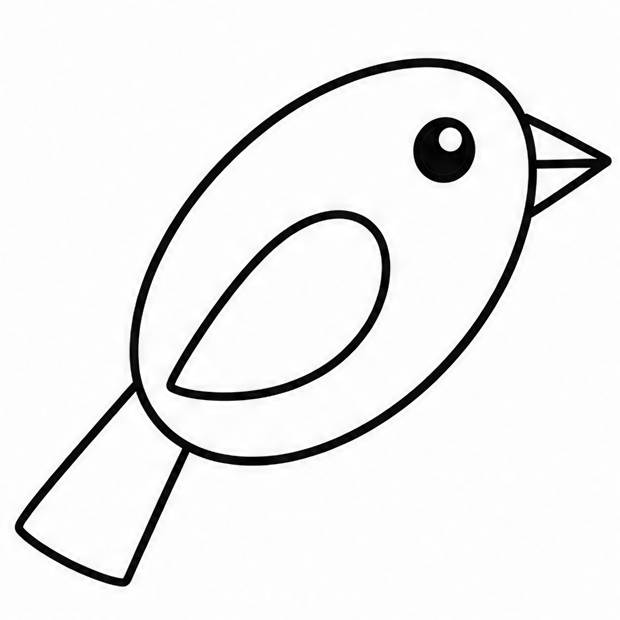
At the bottom left of your main oval, attach a long, flat rectangle with slightly rounded edges. This shape sticks out from the back of the body and points down, creating simple tail feathers to help your creature balance in the air.
Tip: You can make the tail short or long depending on what you like.
- 6Step 6 of 9
Draw two little legs
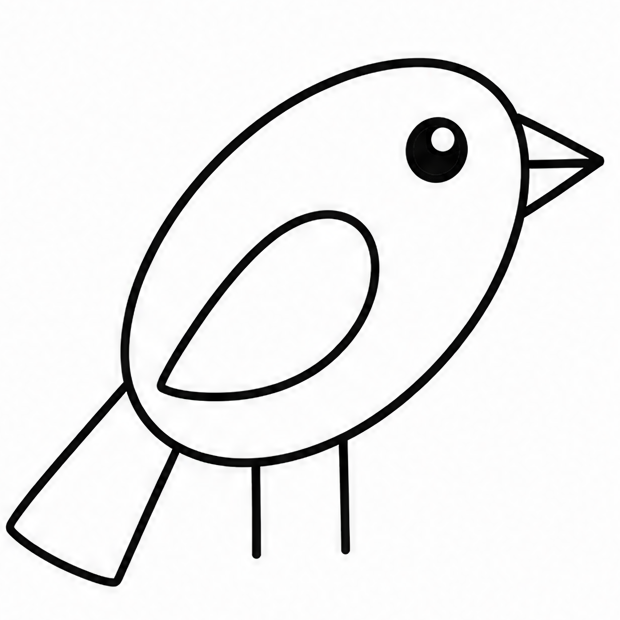
At the bottom of the round body, draw two short, straight lines pointing straight down toward the ground. These will be the upper parts of the little legs. Keep them quite close together since our little drawing is resting comfortably.
Tip: Keep the legs thin and short for a cute, compact look.
- 7Step 7 of 9
Add the toes and feet
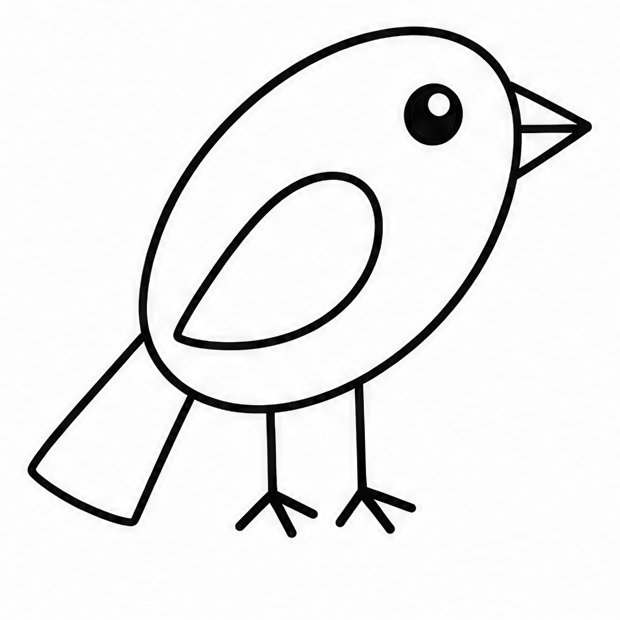
At the end of each little leg line, draw three tiny lines spreading out forward, and one tiny line pointing backward. This easy step creates the basic toes, which are absolutely perfect for holding tightly onto branches, twigs, and perches.
Tip: Drawing three toes in front and one in back is very common.
- 8Step 8 of 9
Draw a tree branch
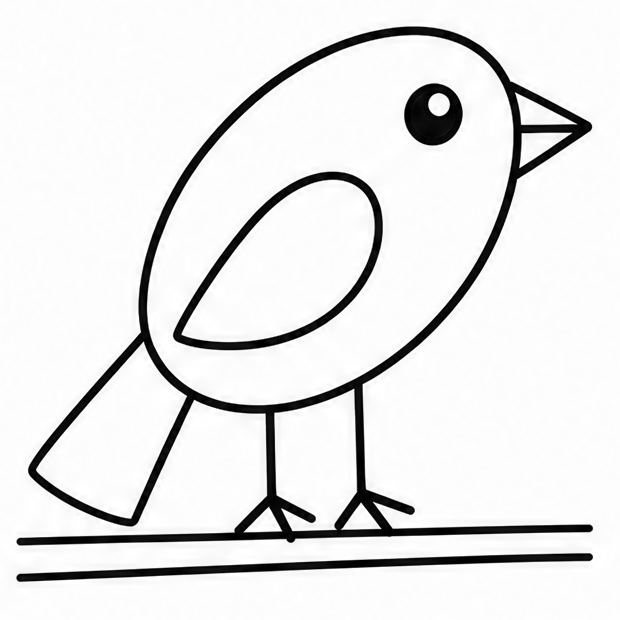
Give your new feathered friend a wonderful place to rest comfortably! Draw two horizontal, slightly bumpy lines across the paper right under the little feet. This makes a simple wooden branch for perching, adding a nice background detail to your art.
Tip: Bumpy lines make the wood look like a real tree branch.
- 9Finished drawing
Add simple color
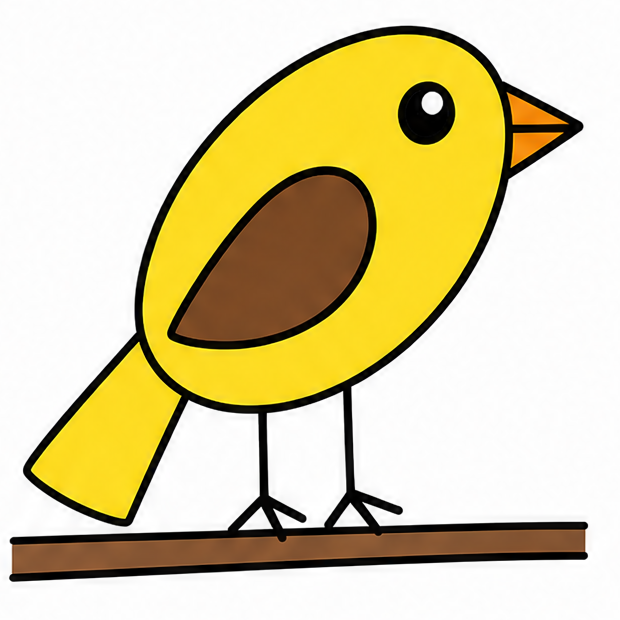
Now you finally know how to draw a bird perfectly! Grab your favorite crayons, markers, or colored pencils to finish up your artwork. You can use red, yellow, green, or brown. Coloring is the best part, so let your imagination fly!
Tip: Use flat, bright colors to make your artwork pop out beautifully.
Draw Bird in 9 Easy Steps
Anyone can learn how to draw a bird — no drawing experience needed.
Simple steps
Start to finish
Great for
Fun Ways to Change Your Bird
Once you have learned this basic shape, you can easily change the details to create totally new ideas! Try these simple tweaks to make your art completely unique.
Change the Beak
Make the beak long and thin for sipping sweet flower nectar, or draw it thick and curved for cracking tough seeds.
Add a Feather Tuft
Draw three little pointy feathers sticking up right on top of the head for a fun, messy hair look.
Draw It Flying
Instead of drawing the wing tucked resting inside the body, draw it sticking out and pointing upward into the sky.
Common Beginner Mistakes
Making the Beak Too Big
If the beak is giant, it might look unbalanced. Start small; you can always make it bigger if you need to!
Drawing Legs Too Long
Very long legs make it look like a wading marsh animal. Keep them short for a cute little tree dweller.
Pressing Too Hard With Your Pencil
Heavy lines are very hard to erase. Always sketch lightly until you are totally happy with your basic shapes.
How to Draw Bird: All 9 Steps at a Glance
Here is the whole bird drawing, step by step, in one picture — save it or print it to follow along.