How to Draw a Rose
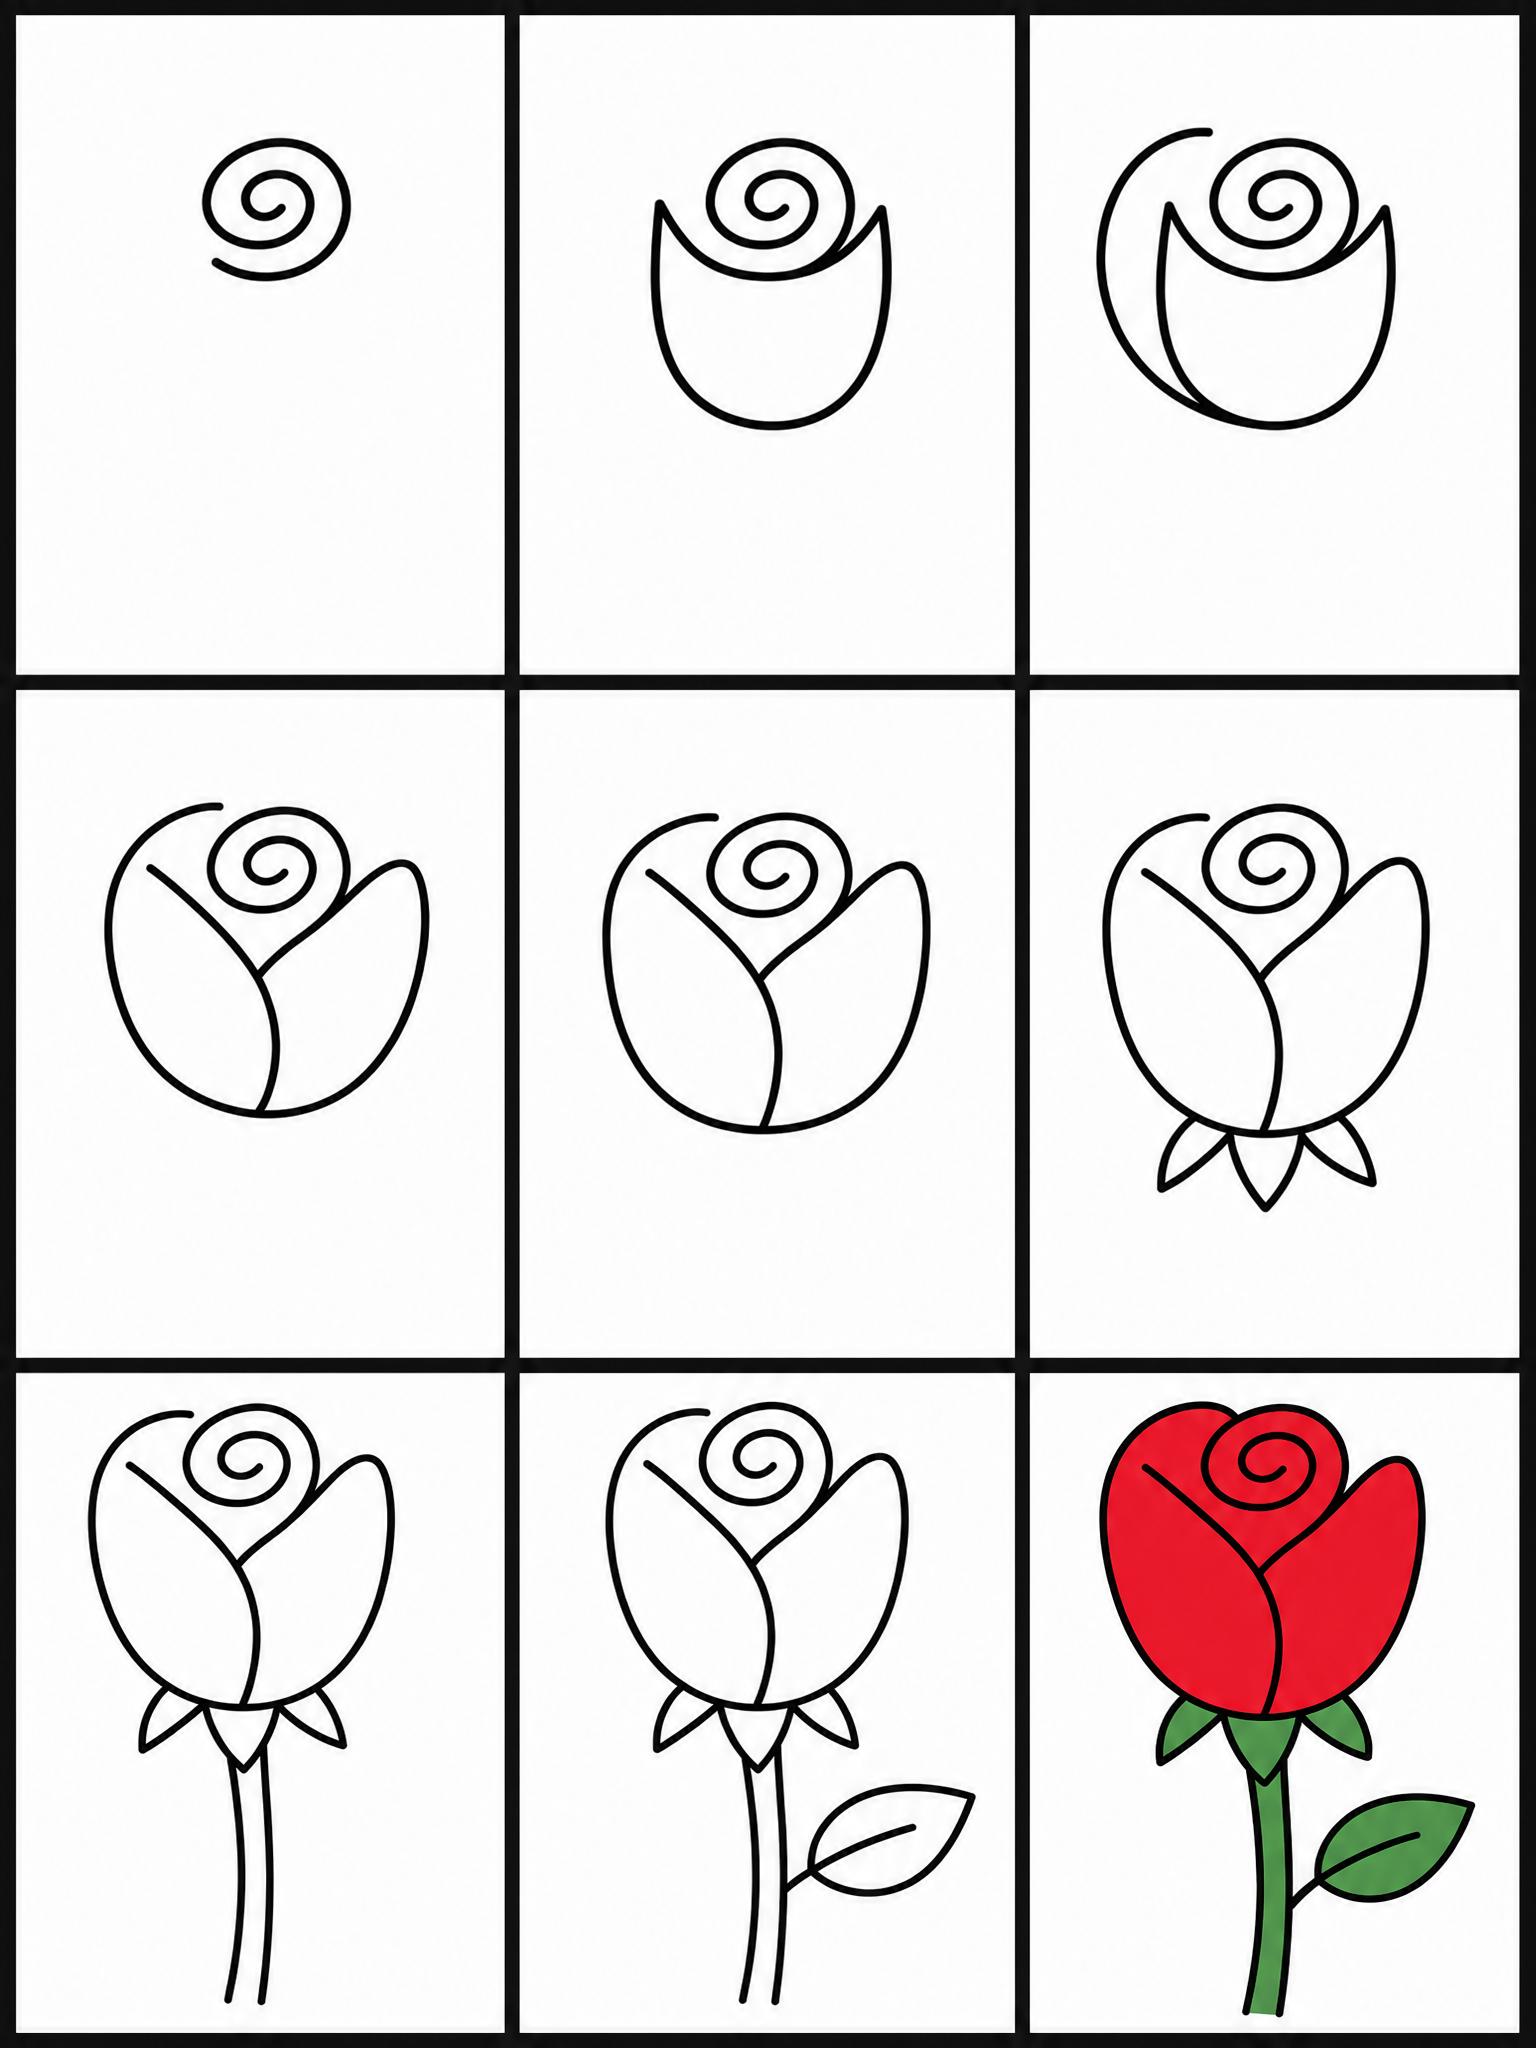
Welcome! Today we are learning how to draw a rose. This simple guide is perfect for kids, parents, and total beginners who want to make fun art. By breaking the shapes down into easy lines, anyone can create a beautiful drawing.
- Easy
- 15 Minutes
- Ages 5+
- Nature
- Plants
- Beginner
Why This Tutorial Is So Easy
If you have ever wondered how to draw a rose, you might think it looks too complicated. We use simple swirls and basic curved lines to build the shape gradually, making it super easy to follow.

How to Draw a Rose Step by Step
- 1Step 1 of 9
Draw the center swirl
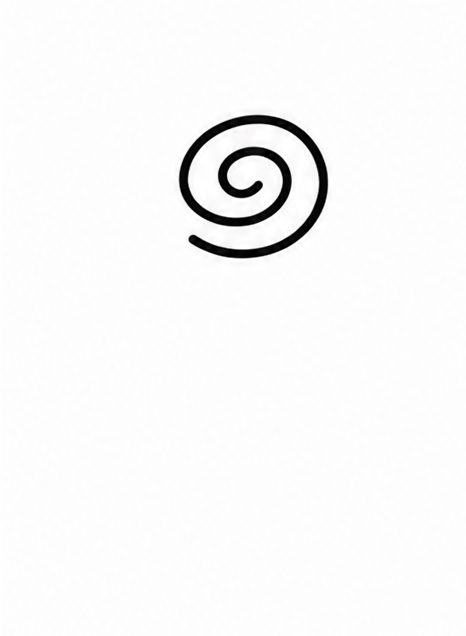
Start near the top of your page so you have room for the stem later. Draw a small, tight spiral or swirl shape right in the middle. This will be the very center part of your beautiful drawing, giving it a soft, wrapped look.
Tip: Make sure you leave plenty of room below for the tall stem.
- 2Step 2 of 9
Draw an inner cup
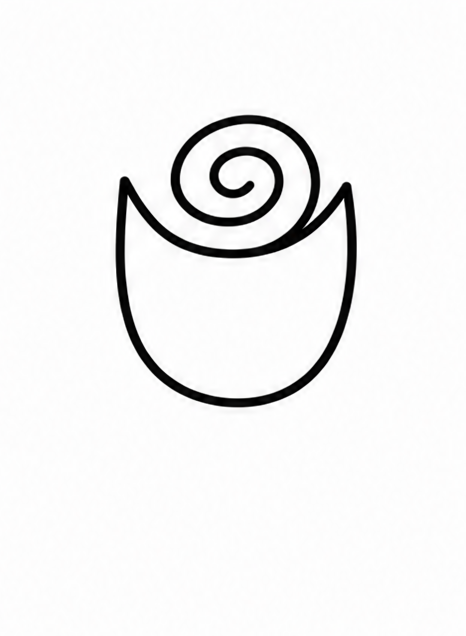
Underneath your center spiral, draw a large U-shape that connects to the left and right edges of the swirl. It should look a bit like a little rounded cup holding the middle section. This forms the tight inner base of your drawing.
Tip: Draw lightly so you can adjust the size if needed.
- 3Step 3 of 9
Add the first petal
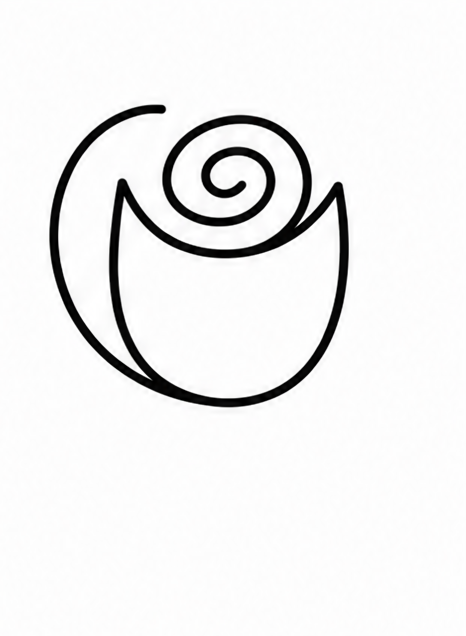
Now it is time to draw a curved line starting from the upper left side of your cup shape. Bring the line down and connect it smoothly near the bottom middle of the cup. This creates your very first big overlapping petal.
Tip: Natural shapes are organic, so your lines do not need to be perfect!
- 4Step 4 of 9
Add the right petal
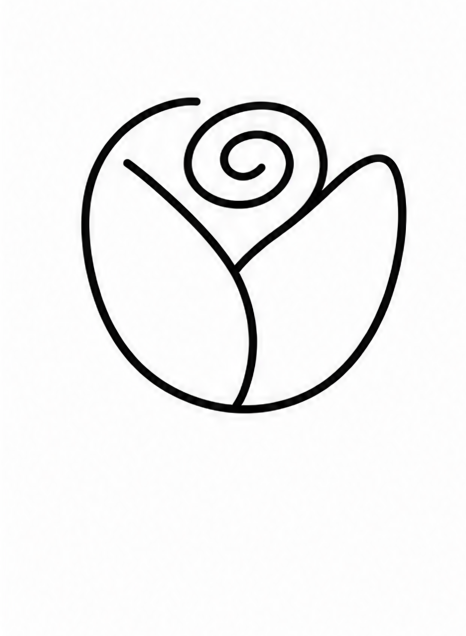
Next, draw another long curved line on the right side to balance it out. Start near the top right of the cup and curve it downwards to meet the first petal at the bottom. The shapes are starting to overlap nicely.
Tip: Keep your lines smooth and relaxed as you curve downwards.
- 5Step 5 of 9
Draw a bottom petal
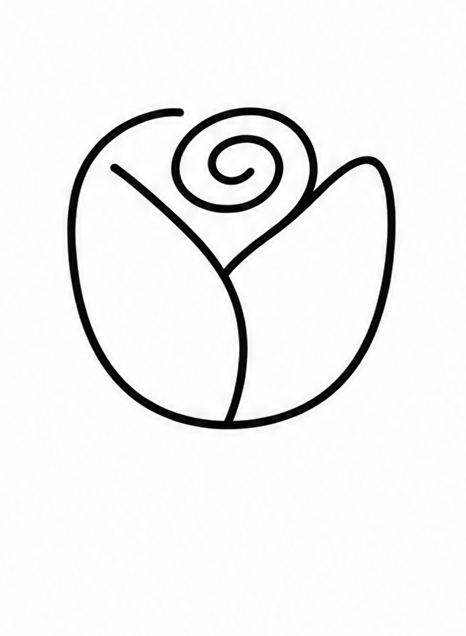
Draw one more large, wide curve underneath the left and right sides you just made. This forms a big outer petal wrapping snugly around the bottom of your drawing. This sweeping curve gives everything a nice, full, rounded shape for a classic look.
Tip: Make this curve slightly wider to give your drawing volume.
- 6Step 6 of 9
Draw the base leaves
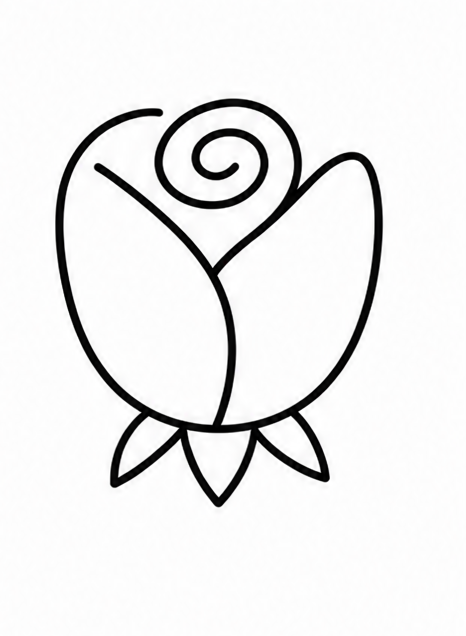
At the very bottom of the large outer petals, draw two or three tiny, pointy triangles pointing down. These little green parts help hold the top section securely to the stem. Make the points sharp to contrast with the soft, curvy lines above.
Tip: Draw these small so they do not cover up the stem.
- 7Step 7 of 9
Draw the tall stem
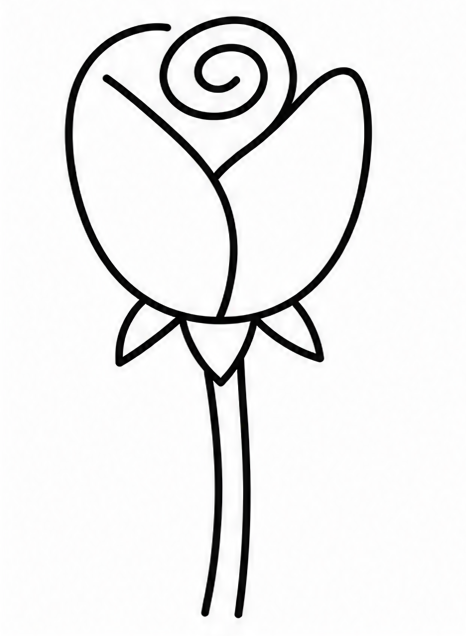
From the middle of those small pointy triangles, draw two long, slightly curved lines going straight down toward the bottom of the page. This creates a tall, graceful stem. Keep the two lines parallel and close together so it does not look too thick.
Tip: Try curving the stem just a little bit to look natural.
- 8Step 8 of 9
Add a side leaf
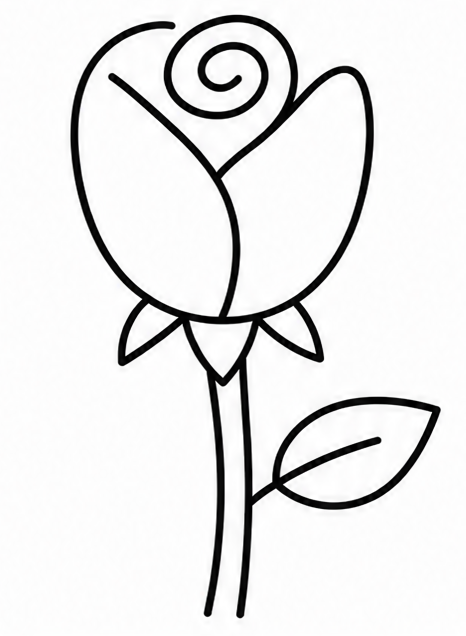
On one side of the stem, draw a short line curving slightly outward. Connect a simple pointed oval shape to the end of this short line to create a pretty side leaf. You can draw one straight line inside the leaf for an extra detail.
Tip: You can place the leaf high up or low down on the stem.
- 9Finished drawing
Color your drawing
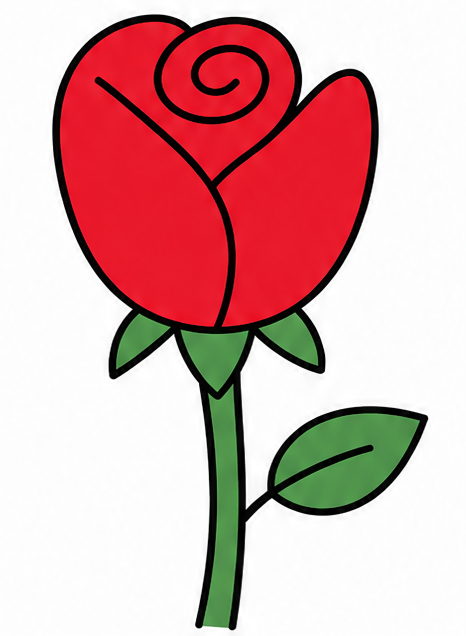
You have just learned how to draw a rose! Now it is time to add simple, bright colors to finish your artwork. Try coloring the top part bright red or soft pink, and make the stem and leaves a vibrant shade of green.
Tip: Use flat, even colors and try to stay inside your outlines.
Draw Rose in 9 Easy Steps
Anyone can learn how to draw a rose — no drawing experience needed.
Simple steps
Start to finish
Great for
Fun Ways to Change Your Drawing
Once you finish the basic steps, try adding these fun ideas to make your art unique.
Add More Leaves
Draw a second, matching leaf on the other side of the stem for better balance.
Make a Super Tall Stem
Draw the parallel lines extra long and curvy so your drawing stands out.
Draw Tiny Thorns
Add small, sharp triangle shapes all along the sides of the stem.
Common Beginner Mistakes
Making the stem too thick
If the two stem lines are far apart, it looks like a tree trunk. Keep them close together.
Swirling the center too much
A giant spiral can take up the whole page. Keep the starting swirl small and tight.
Worrying about perfect circles
Nature is never perfectly round! It is okay if your petals are slightly wavy or uneven.
How to Draw Rose: All 9 Steps at a Glance
Here is the whole rose drawing, step by step, in one picture — save it or print it to follow along.