How to Draw a Mushroom
If you want to learn how to draw a mushroom, you are in the perfect place! This easy tutorial is made just for kids and total beginners. Grab your pencils and paper, because we are going to make some fantastic forest art together. Let's get started on your fun drawing journey!
- Easy
- 15 Minutes
- Ages 4+
- Nature
- Forest
- Plants
About This Mushroom Tutorial
We will build our forest friend using very basic shapes like a half-circle and some ovals. Learning how to draw a mushroom is a great way to practice connecting simple lines to make a complete picture. You will be amazed at how quickly your drawing comes to life!

How to Draw a Mushroom Step by Step
- 1Step 1 of 6
Draw the top of the cap
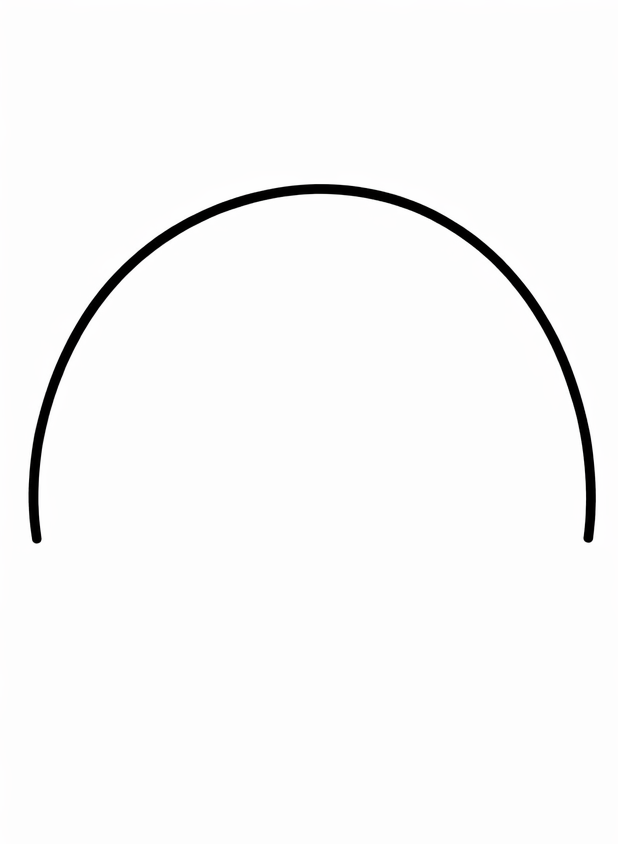
The first step in learning how to draw a mushroom is to make the top of the cap. Draw a large, smooth curve that looks like a rainbow or an upside-down letter U. This will be the main umbrella shape of your drawing.
Tip: Make your rainbow shape big so there is plenty of room for spots!
- 2Step 2 of 6
Connect the bottom of the cap
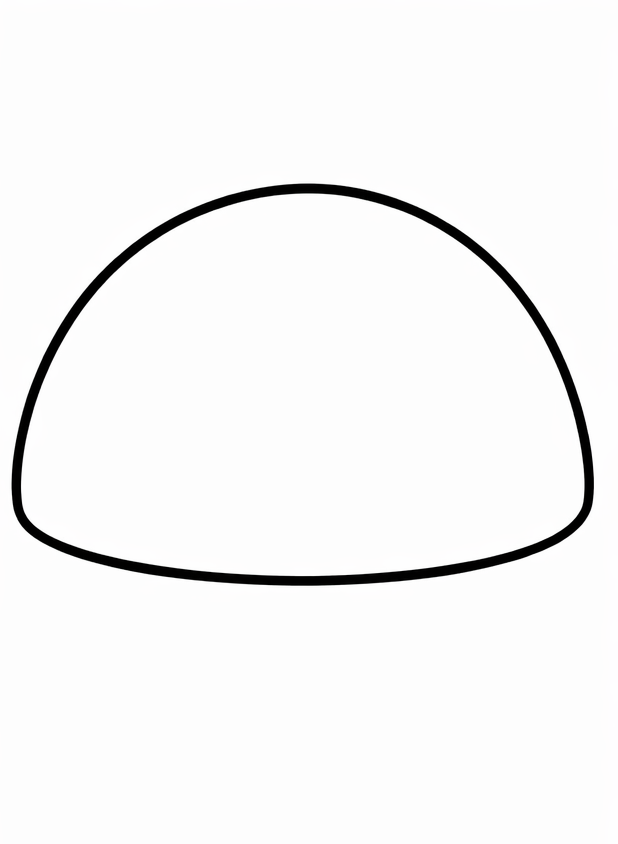
Now, let's close the shape of the mushroom cap. Draw a slightly curved line connecting the left side of your rainbow shape to the right side. It should look a little bit like the shape of a bell or a wide bowl.
Tip: Draw this line lightly in case you want to make the cap wider later.
- 3Step 3 of 6
Draw the mushroom stem
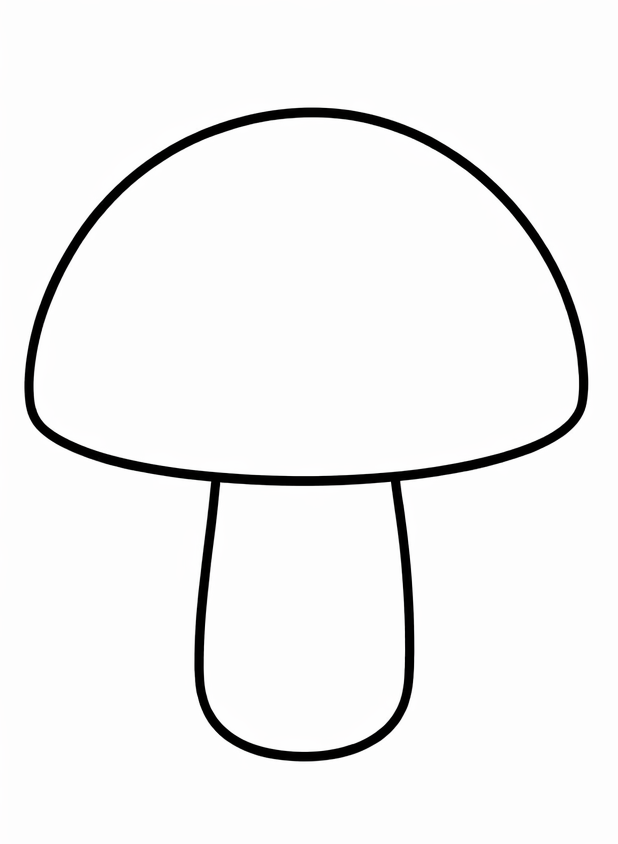
Every mushroom needs a sturdy base to stand on! Right under the middle of the cap, draw two lines going straight down. Then, connect those two lines at the bottom with a tiny curve. This makes the solid stem.
Tip: Make the stem thicker at the bottom so your mushroom looks safely balanced.
- 4Step 4 of 6
Add grass around the base
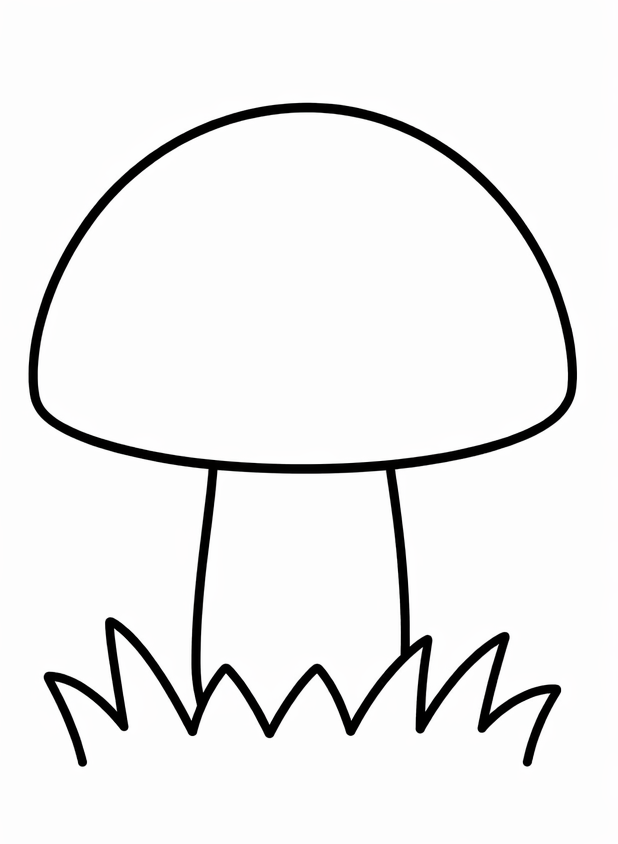
Let's give our drawing a nice home in the forest. Draw a few pointy, zigzag lines at the very bottom of the stem. This will look like little blades of grass poking up around the base of the stem.
Tip: Grass points in different directions, so your zigzags do not have to be perfect.
- 5Step 5 of 6
Draw spots on the cap
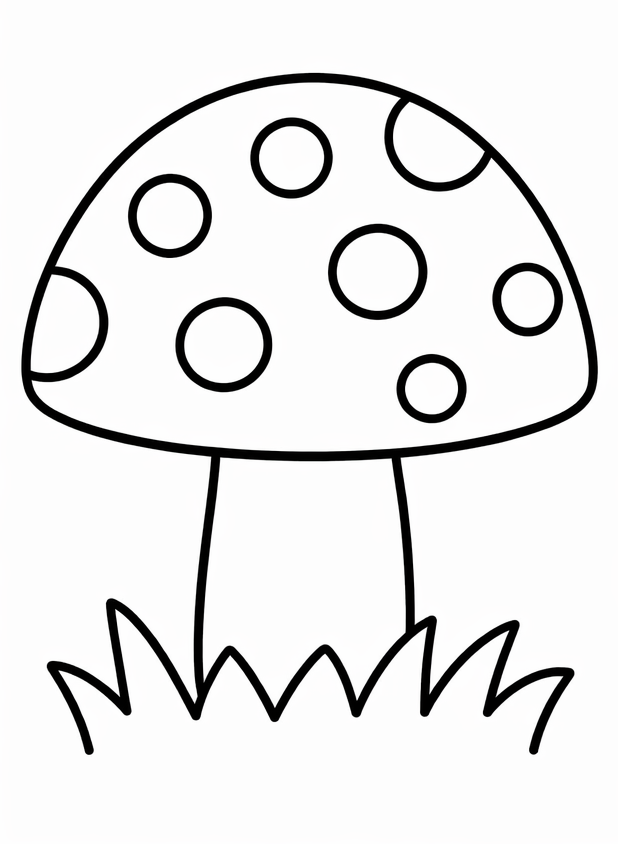
This is the most fun part of how to draw a mushroom! Draw several circles and ovals all over the top part of the cap. You can make some spots big, some small, or even draw half-circles near the edges.
Tip: Spread the spots out so the cap looks bumpy and interesting.
- 6Finished drawing
Add simple color
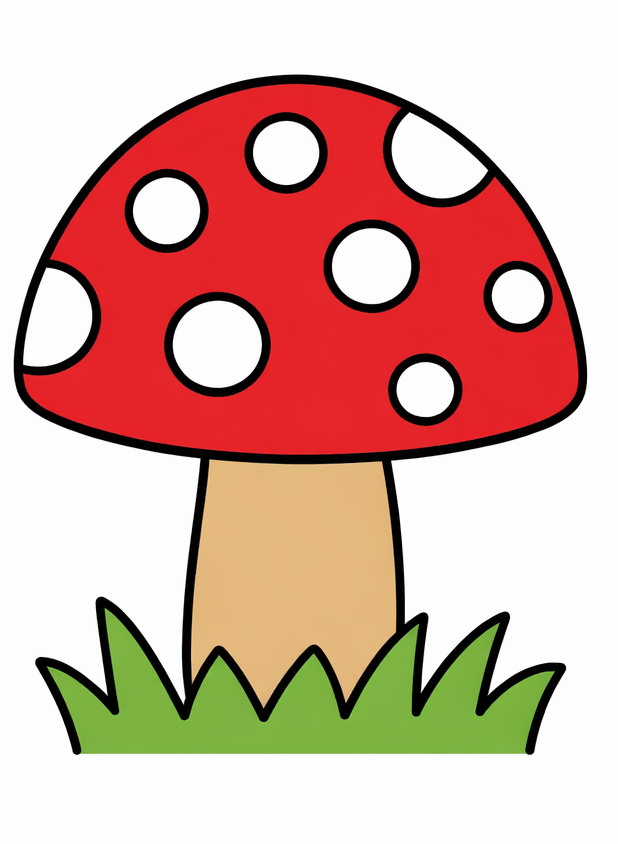
Now it is time to finish up! Color the mushroom cap a bright red, but leave the round spots totally white. Then, color the stem a light tan or cream color, and make the spiky grass at the bottom a bright green.
Tip: Color slowly around the spots so they stay nice and white.
Draw Mushroom in 6 Easy Steps
Anyone can learn how to draw a mushroom — no drawing experience needed.
6
Simple steps
15 Minutes
Start to finish
Ages 4+
Great for
Fun Ways to Change Your Drawing
Once you know how to draw a mushroom, it is easy to make it completely unique. Try these fun ideas to change up your forest friend!
Change the spots
Instead of drawing circles, try drawing little stars or tiny hearts on the mushroom cap.
Make a mushroom family
Draw one big mushroom in the middle, and then draw a tiny baby mushroom right next to it.
Grow it super tall
Make the stem very long and skinny to change how the whole plant looks.
Common Beginner Mistakes
Drawing the stem too thin
If the stem is too skinny, the drawing looks like it might tip over. Try making the stem a little thicker near the grassy bottom.
Making the spots too perfectly round
Mushroom spots are rarely perfect circles. Draw some as uneven ovals or squiggly shapes to make it look much more natural.
Forgetting the background
A mushroom floating in the air looks a bit lonely! Always remember to draw a little bit of grass or a flat line for the ground.
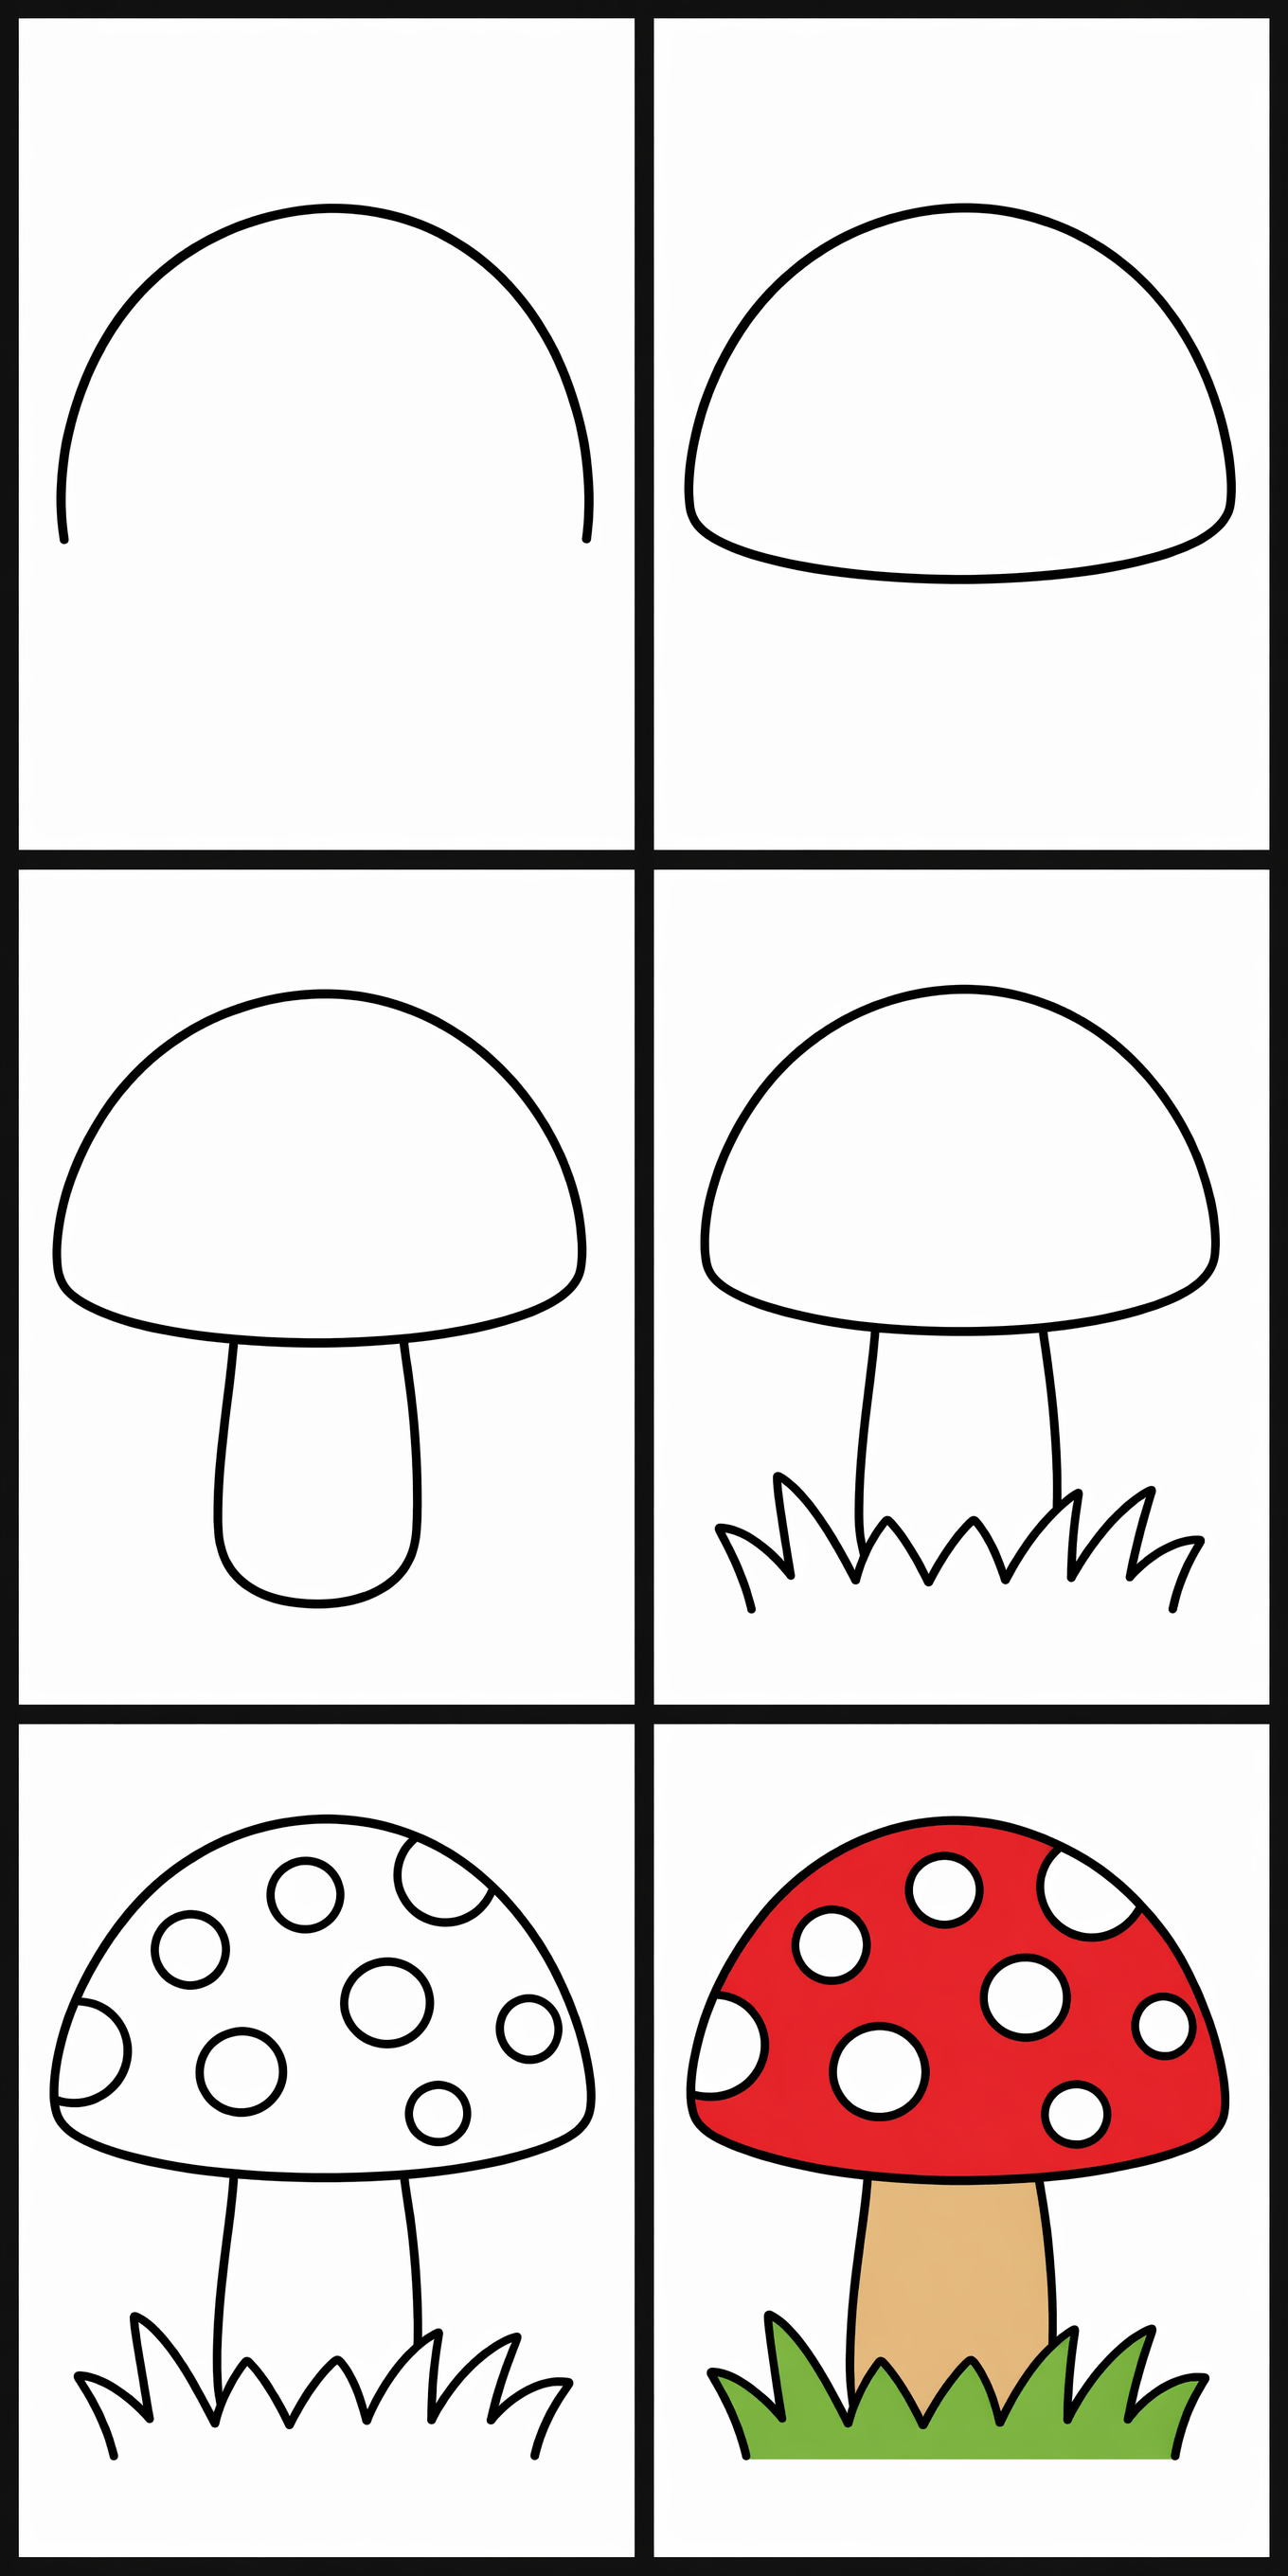
How to Draw Mushroom: All 6 Steps at a Glance
Here is the whole mushroom drawing, step by step, in one picture — save it or print it to follow along.
Frequently Asked Questions
General


Ready to Draw Mushroom?
Grab a pencil and follow the 6 easy steps — you can finish your mushroom drawing in minutes.